This post is dedicated to Kari McCabe :).
Those of you who know me, know that I love to throw a good party. I used to be an avid crafter until, well, life got WAYYYYYY too busy for that. I still have managed to make time to throw my kids’ birthday parties and a shower here and there, but otherwise, my crafty side has remained dormant.
That is, until, everything changed on October 5, 2013.
We threw a little birthday party for our tweet one year old, and though I started out by saying, “I’m going to keep it SIMPLE!” I just got swept up in the adorable theme and couldn’t help myself. My mind was flooded with birds and puns and ideas to bless our daughter, and they all came into existence. We invited just a few close friends and family, and my dear friend Kari was one of the guests. I’ll never forget the moment her eyes had just scanned ALLLLL of the birds around our house, each intricate tail, beak, wing, and body cut by hand and she said to me, “You didn’t cut these all out by hand, did you?”
“Yes, I did!” I said proudly.
“Ummm, haven’t you heard of a Cricut?” she asked me, stunned.
“The insect?”
A slight smile slowly spread across her face as she stared at me in disbelief…”No…..the machine that would have cut all of this out FOR YOU…”
I was TRULY baffled. For years, I have made every one of my decorations by hand…in that one moment, my memory flashed back to Elliott’s ball birthday party where I cut out EVERY SINGLE BALL by hand and his Construction themed birthday party where I cut out EVERY SINGLE CUPCAKE CONSTRUCTION SIGN by hand and then I stared at each bird, each cupcake topper, each number that marked the different years of Selah’s birthday banner and I thought about every minute that it took for me to cut each one out by hand…and I almost cried.
“It does WHAT…?!”
She tried to explain to me the concept of this “electronic cutting machine” but I was so overwhelmed at the idea of it–and all of the hours I had spent that didn’t need to spent if she was, indeed, telling me the truth. It was as if I had been making the trek every day to the river to wash my family’s clothes with rocks in hand and somebody told me there was a MACHINE that would do that all for me. Brian jumped off of the couch and began to research. (One of the many reasons I LOVE this husband of mine!) Within just a few minutes he had found a different version of the Cricut–an electronic cutting machine called a Silhouette. It got far better reviews than the Cricut and for several reasons it seemed like a much better option. We sat there while guests continued to mingle at our house and we watched the promo video for it. I’m sure there was a puddle of drool on the floor beneath me because I couldn’t BELIEVE the things this machine said it could do. Where had it been all my life??!! I was in love.
I spent the next few hours, days, weeks and months convincing Brian that this would be the BEST investment we could POSSIBLY make for our future and our household. 🙂 After a few good nudges come December, I opened up my very special gift on Christmas day.
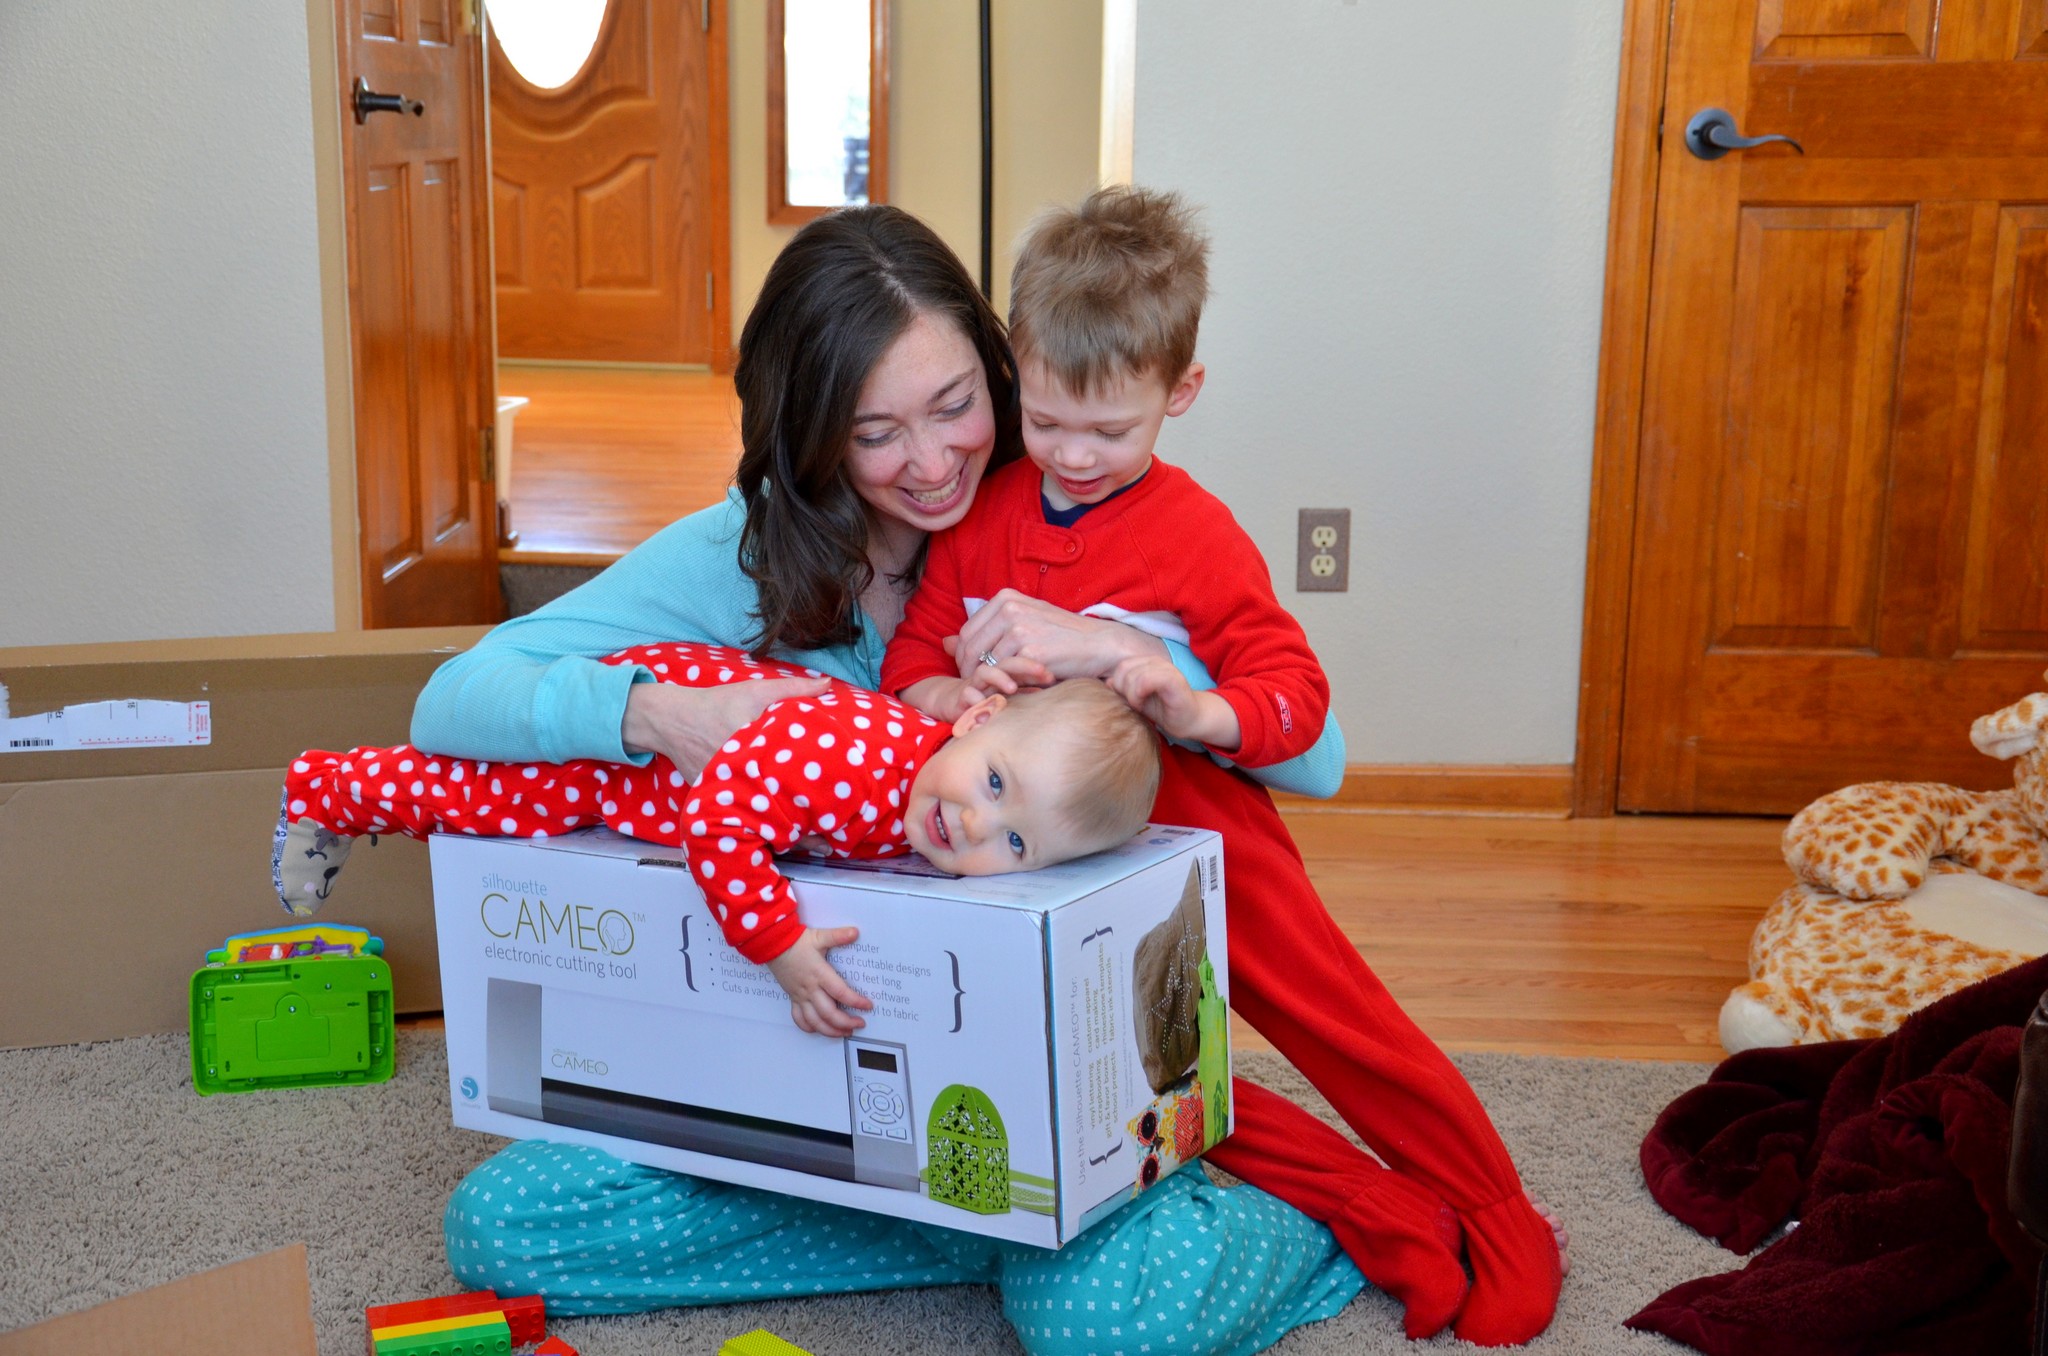
There she was…in all of her beauty. She was gorgeous, and terrifying. I knew I had to jump in right away and figure out how to use her quickly before she sat dormant too long.
Brian and I opened the box together, read all the instructions, and watched the video. I designed a simple card and made my first cut.
And sliced right through the cutting mat. (Palm to forehead.)
Good thing it came with two :/. Needless to say, it has been a huge learning curve for me. I have moved from designing a few very simple cards to some fun signs for Elliott’s 3rd birthday to making banners and wedding presents to some meaningful gifts for friends to…my latest projects…home decor.
I stumbled upon a facebook group that is like a Silhouette support group. Everyone who is a part of it is AWESOME–everyone is so kind and helpful and it’s SO MUCH FUN to see people’s creativity and to share a bit of mine. Each month, the group hosts a “challenge” with a theme, and I finally decided to be brave and jump in this month. 🙂
This month’s theme is HOME DECOR. I had just finished this project, and so I figured this would be a fun way to share it!
Several months ago, I came across this scripture while reading the Word one morning. It resonated so deeply with me, because this is SO who Brian and I long for our children to be!
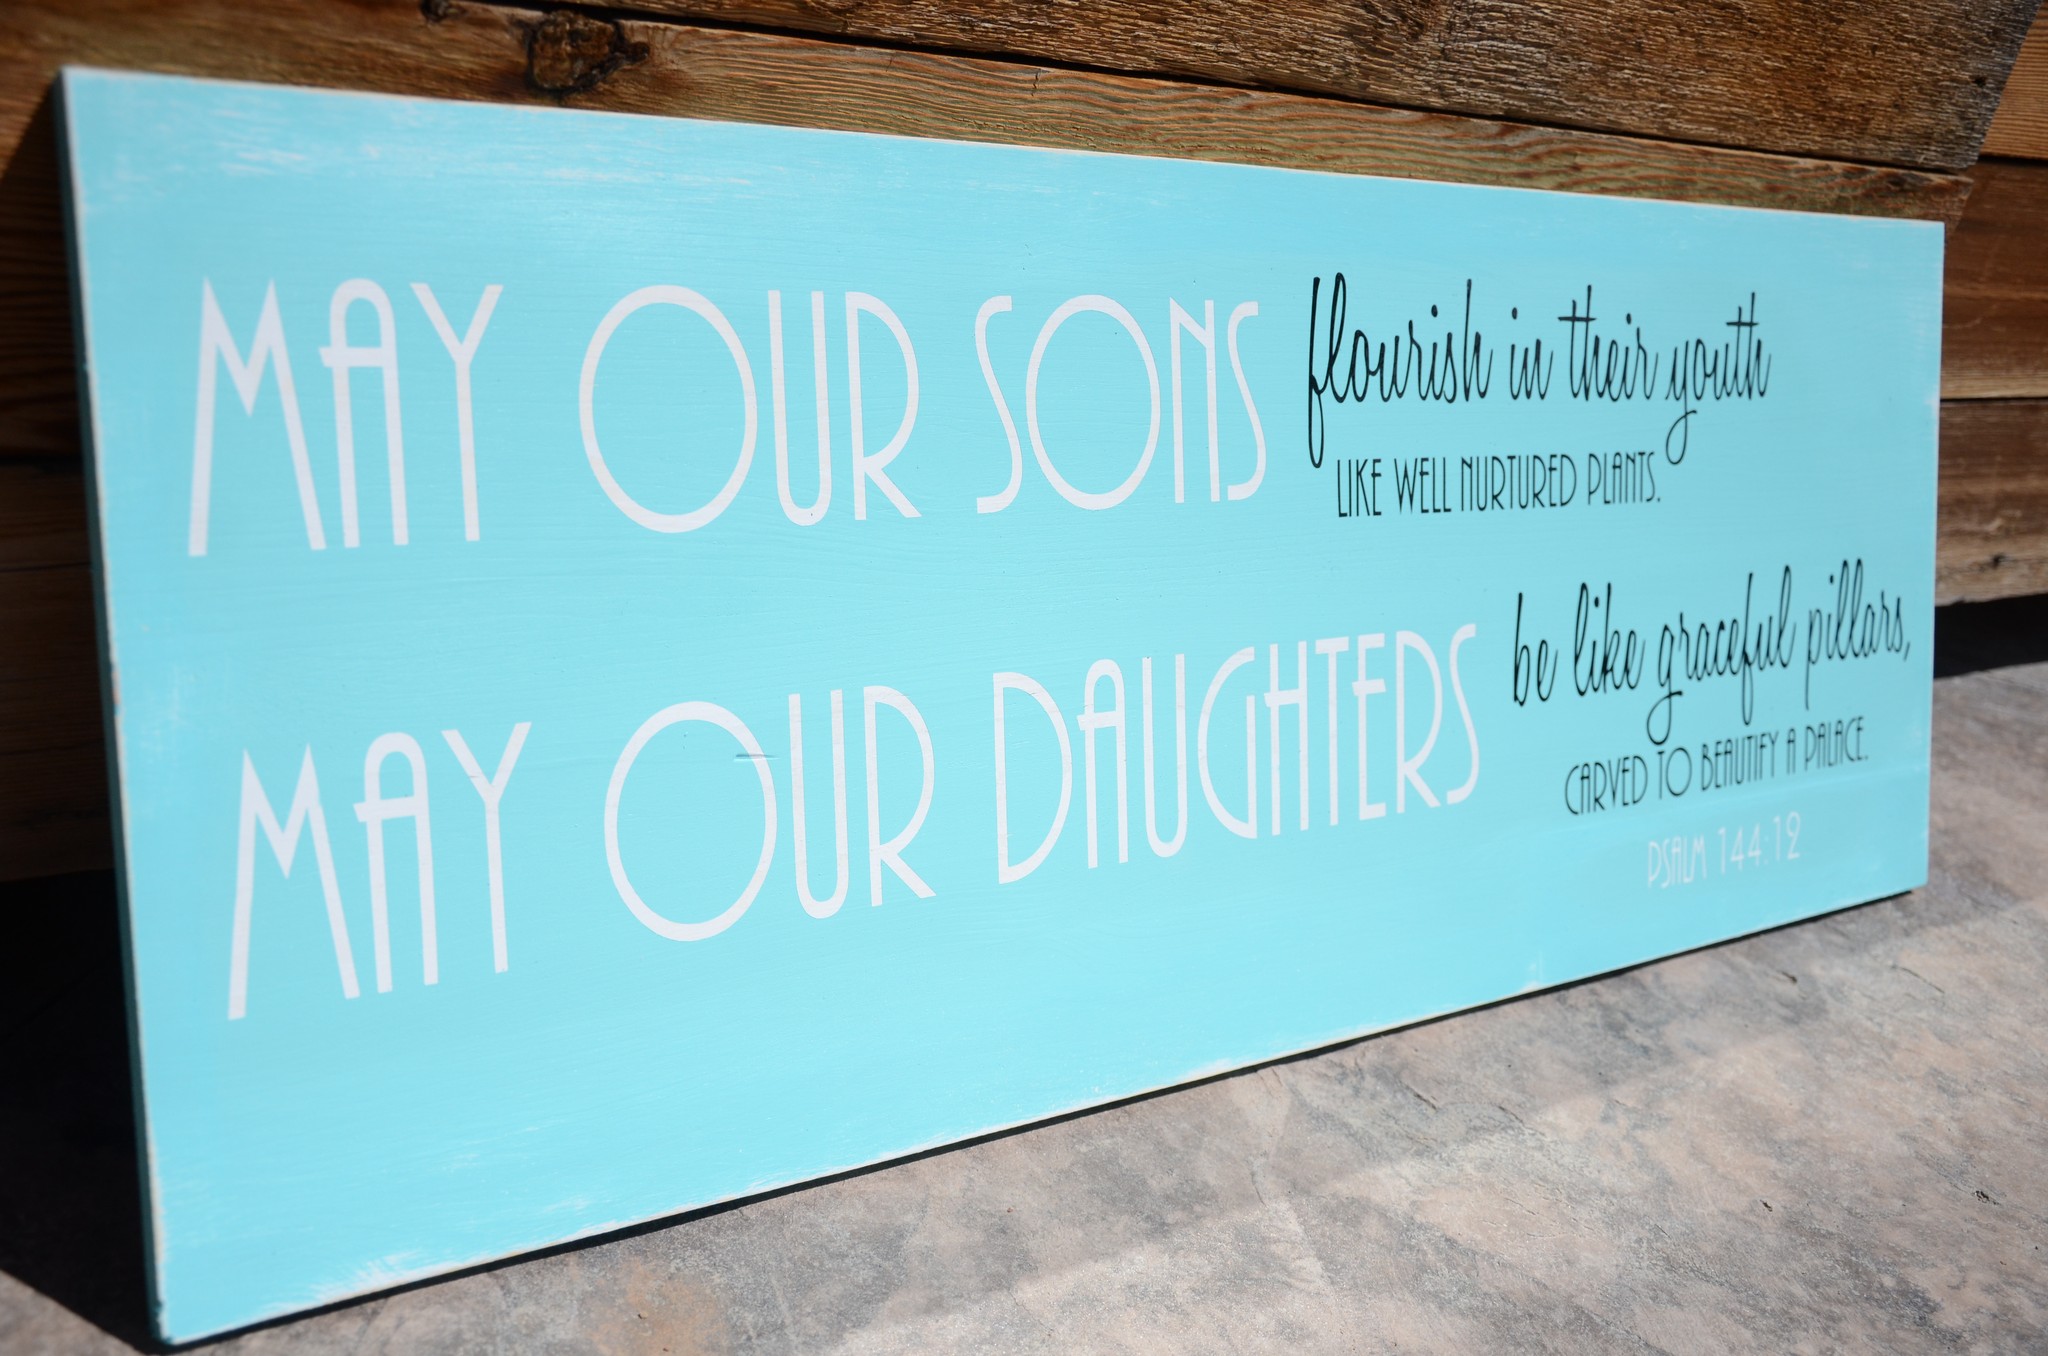
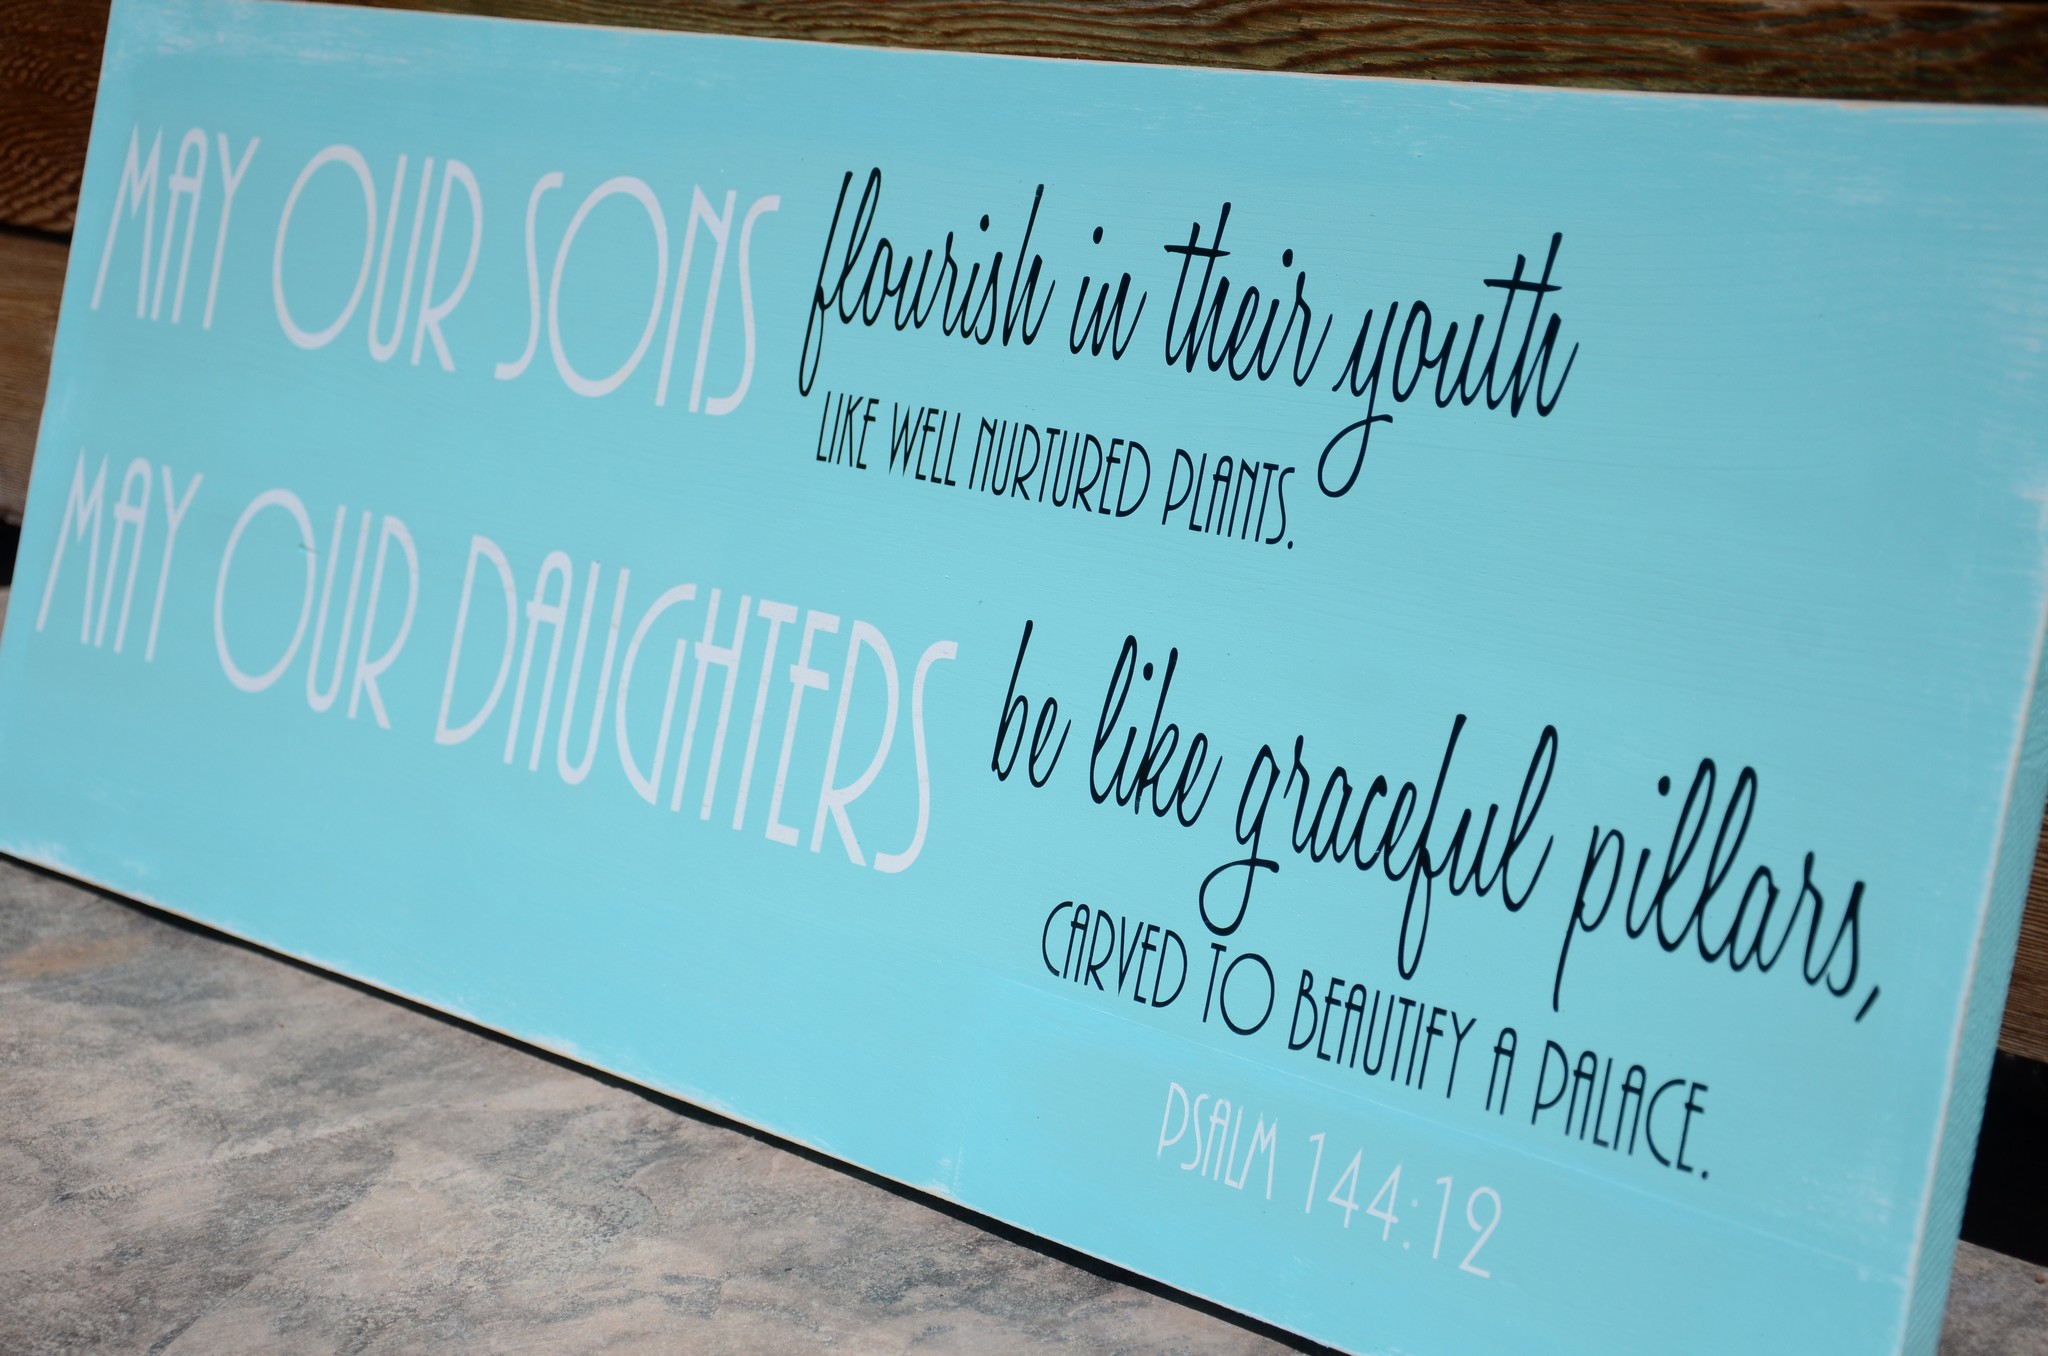
“May our sons flourish in their youth like well-nurtured plants. May our daughters be like graceful pillars, carved to beautify a palace.” Psalm 144:12
YES. I have mentioned it briefly before, but I LONG for my son to not be quenched in his “boyness” but to FLOURISH in his youth. Yes, I want to raise him to be respectful and kind and thoughtful, but all the while being brave and mighty and BOY. Our society has a tendency to want little boys to act and behave like little girls, and then years later when they become a man and husband, their wives are upset because they are passive. I won’t go off on a tangent now 🙂 but this is so our heart’s cry: that our son would FLOURISH in his youth. We have gone to great lengths to nurture our son; his heart is SO sensitive and soft that, like a tender shoot of a young plant, he takes a LOT of nurturing. We have tried so hard, resting on the grace of God, to know his heart and shepherd it, while at the same time encouraging him to be brave and bold. Oh, Lord, may he flourish in his youth!!
And, our sweet Selah. THIS GIRL. I tell you what, she is STRONG–strength like a pillar. I LOVE this description of a girl: a graceful pillar. YES. We want our daughter to be filled with grace, both in her speech and her actions. And at the same time, we want to teach her to STAND FIRM. To be unwavering and unmoved by the ways of this world, but firm in the knowledge of our God. A graceful pillar. Like the son who flourishes like a well-nurtured plant, we are striving to teach her what it looks like to be such a graceful pillar; she must be shown how to stand firm and not tossed by the waves. Like a pillar carved to beautify a palace, so we are teaching our girl. We are praying for her heart that she would be like the fragrance of Christ and that just by looking at her, people would pause to stop and think about how great our God is! (Selah!)
All that to say, once I stumbled upon this scripture, I knew I wanted it up in the new rental home we were moving into the next month. And once we were here, Brian and I embarked on making this sign together!
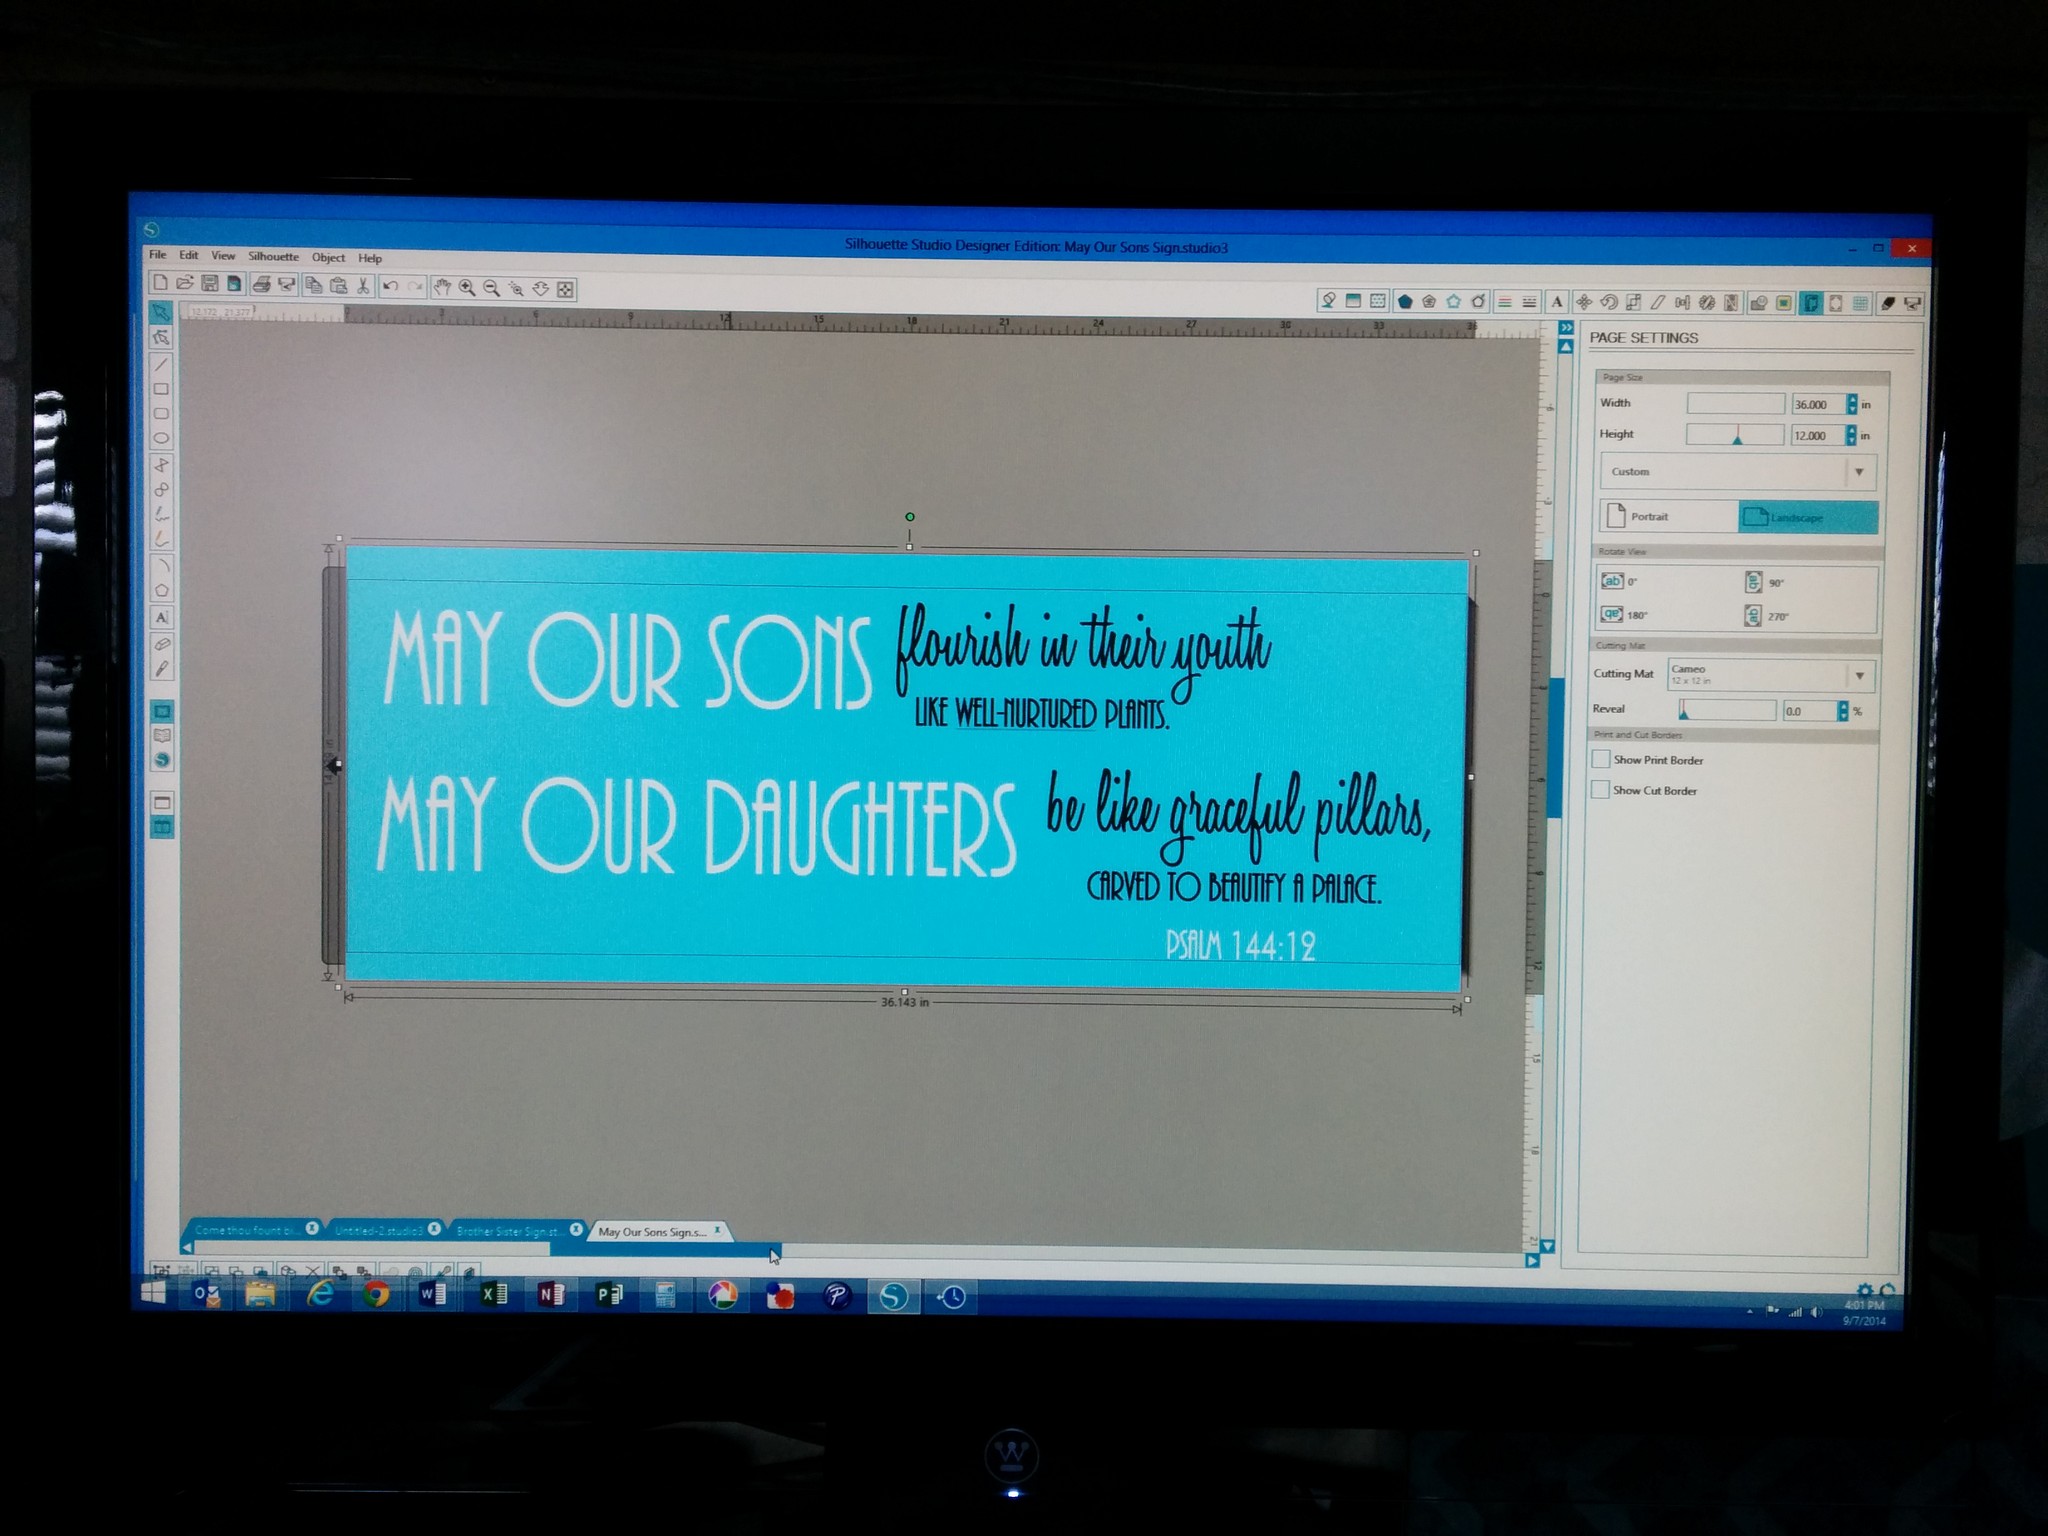
First, I spent a bit of time designing it through my Silhouette software. Though I’ve always wanted to be good at graphic design, this isn’t necessarily my strength (yet). So I spent a while, playing with the colors and the fonts and learning about the program. After a while, I settled upon this:
Brian went out and got a wood board from Home Depot and cut it down to the size we wanted: 14″x 36″
I spray painted it white, and decided to use a stronger vinyl for the letters than the regular vinyl I have used for other basic projects since I wanted to make sure it would stick to a painted surface. (During my last project, I couldn’t get the vinyl to stick to the medium I was using and my Silhouette support group came to the rescue and taught me about Oracal 651…an outdoor vinyl that’s much stronger.) I loaded the vinyl into my Silhouette, pushed the little button on my computer and my awesome machine cut out all these letters for me!!
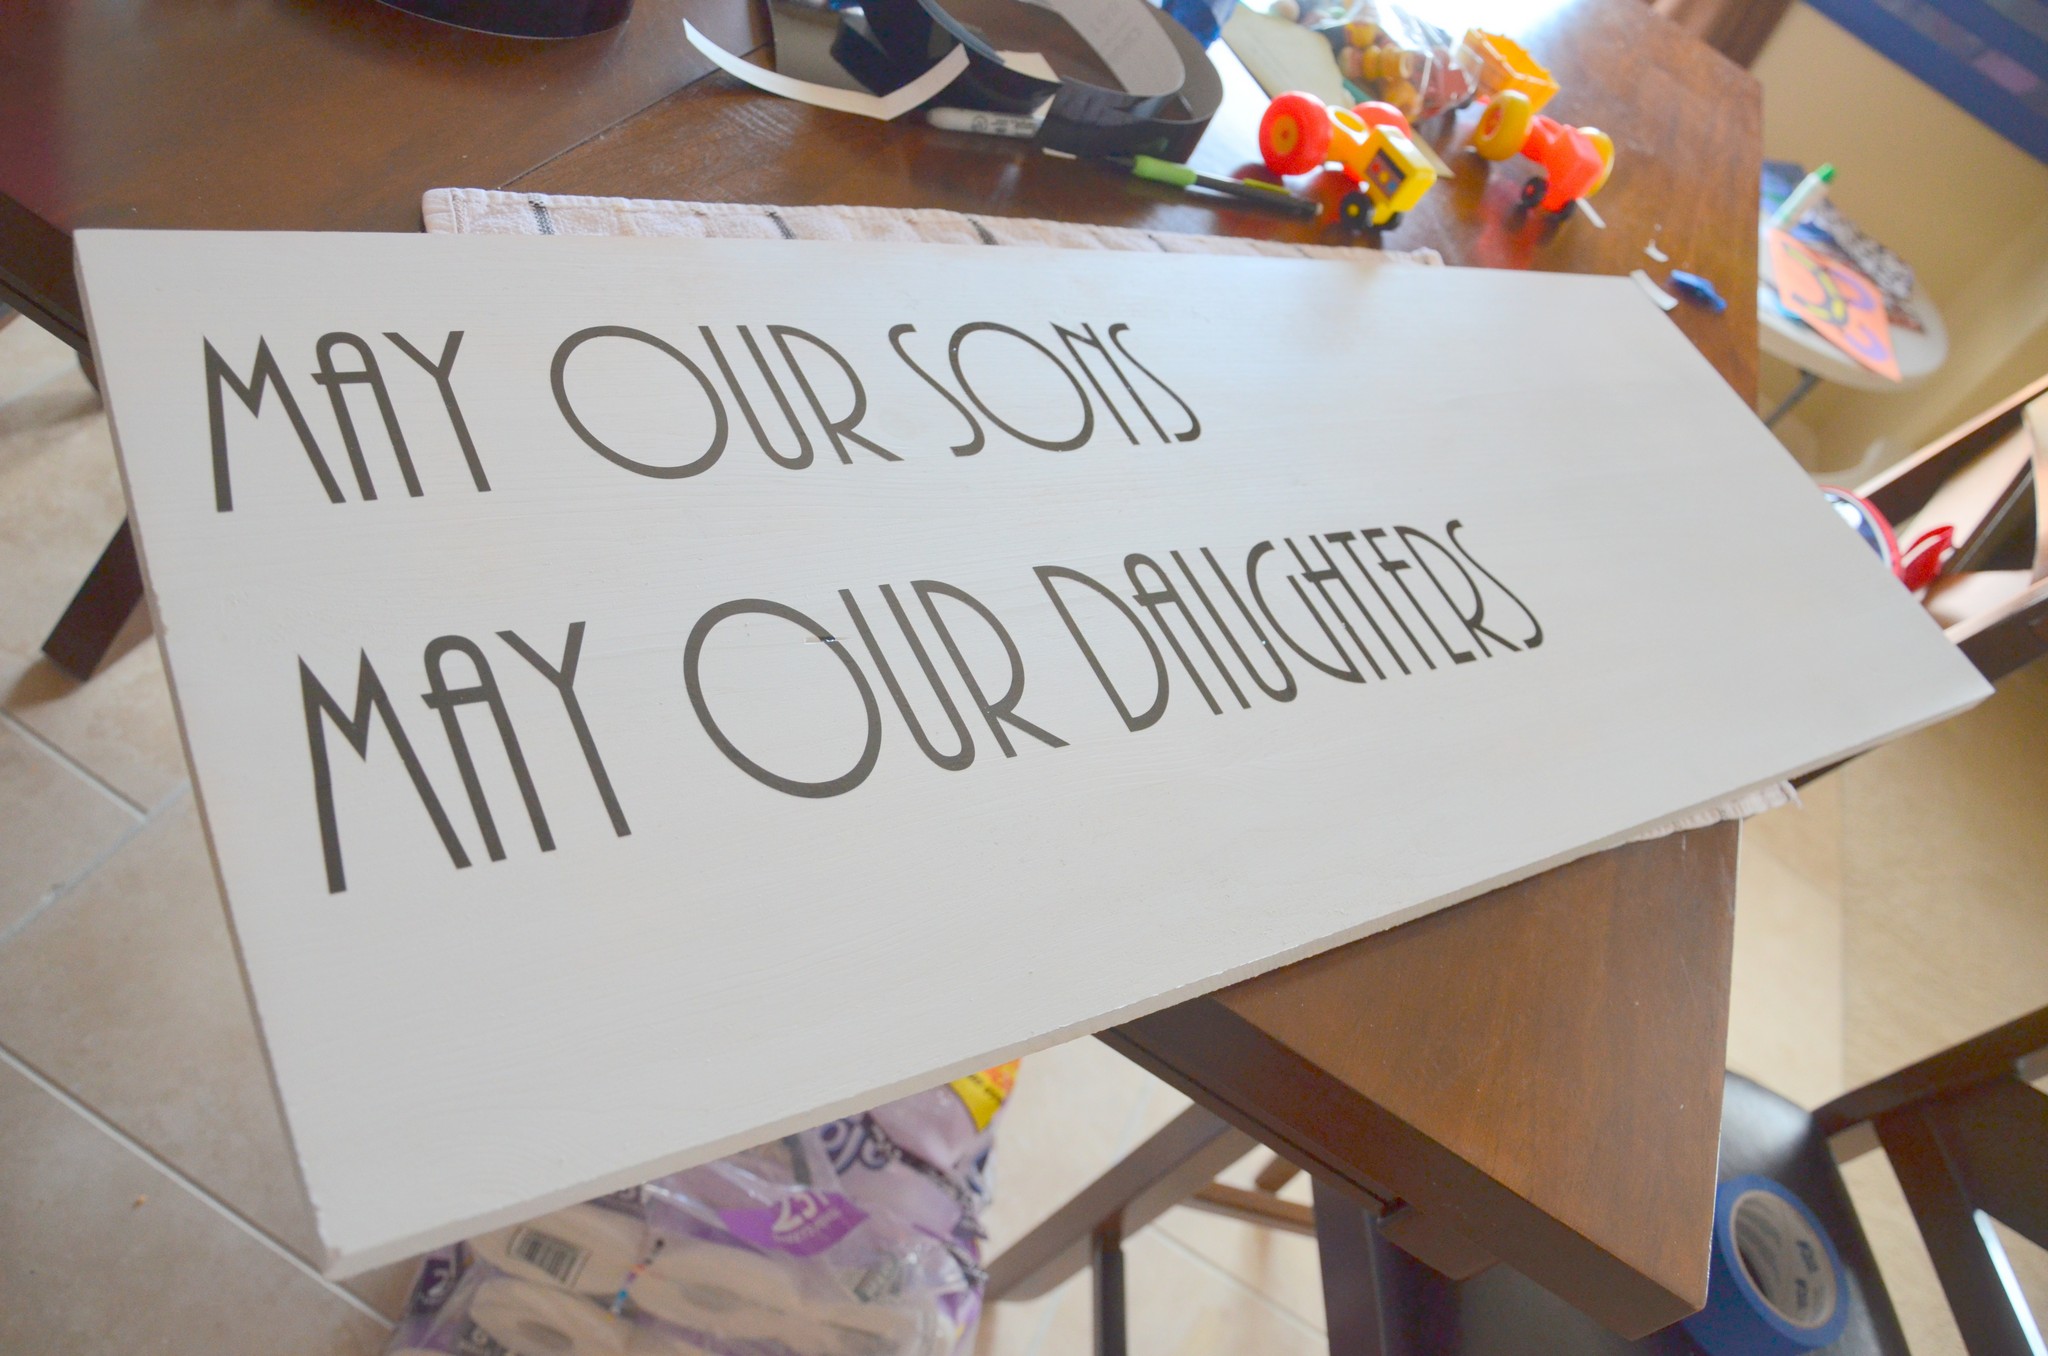
Using painter’s tape, I transferred the letters that I wanted to remain in white to the sign.
**Mistake #1: I FORGOT to lay down the verse reference, which I wanted in white as well. I didn’t realize I had forgotten this until the END, so it was definitely frustrating to have to go back and fix that. Lesson learned!
Then, Brian spray painted the whole thing turquoise. We let it dry, I peeled off the letters, and then I applied the rest of the scripture that was to remain in black. (It was at this point that I realized I had forgotten to put the reference down two steps earlier, so we ended up having to tape off the corner, spray the bottom corner white again, put on the letters, spray paint it turquoise, and then remove the lettering. Thus, as you can probably see below, there are lines around the reference which totally bother me, but, honestly, it’s a good reminder that perfection is not required to be a good parent :)).
Using a sandpaper block, I distressed the edges of the sign a little bit.
**Mistake #2: It wasn’t until we got the sign all hung up that I realized the tiny hyphen that should be present between “well” and “nurtured” didn’t survive the transfer. Gah! So…I had to go back and re-cut that little piece and attach it to the sign. I learned so much through this project!
We put the sign up on the wall in our playroom with several of my favorite recent pictures of the kiddos…pictures that show them flourishing and filled with joy.


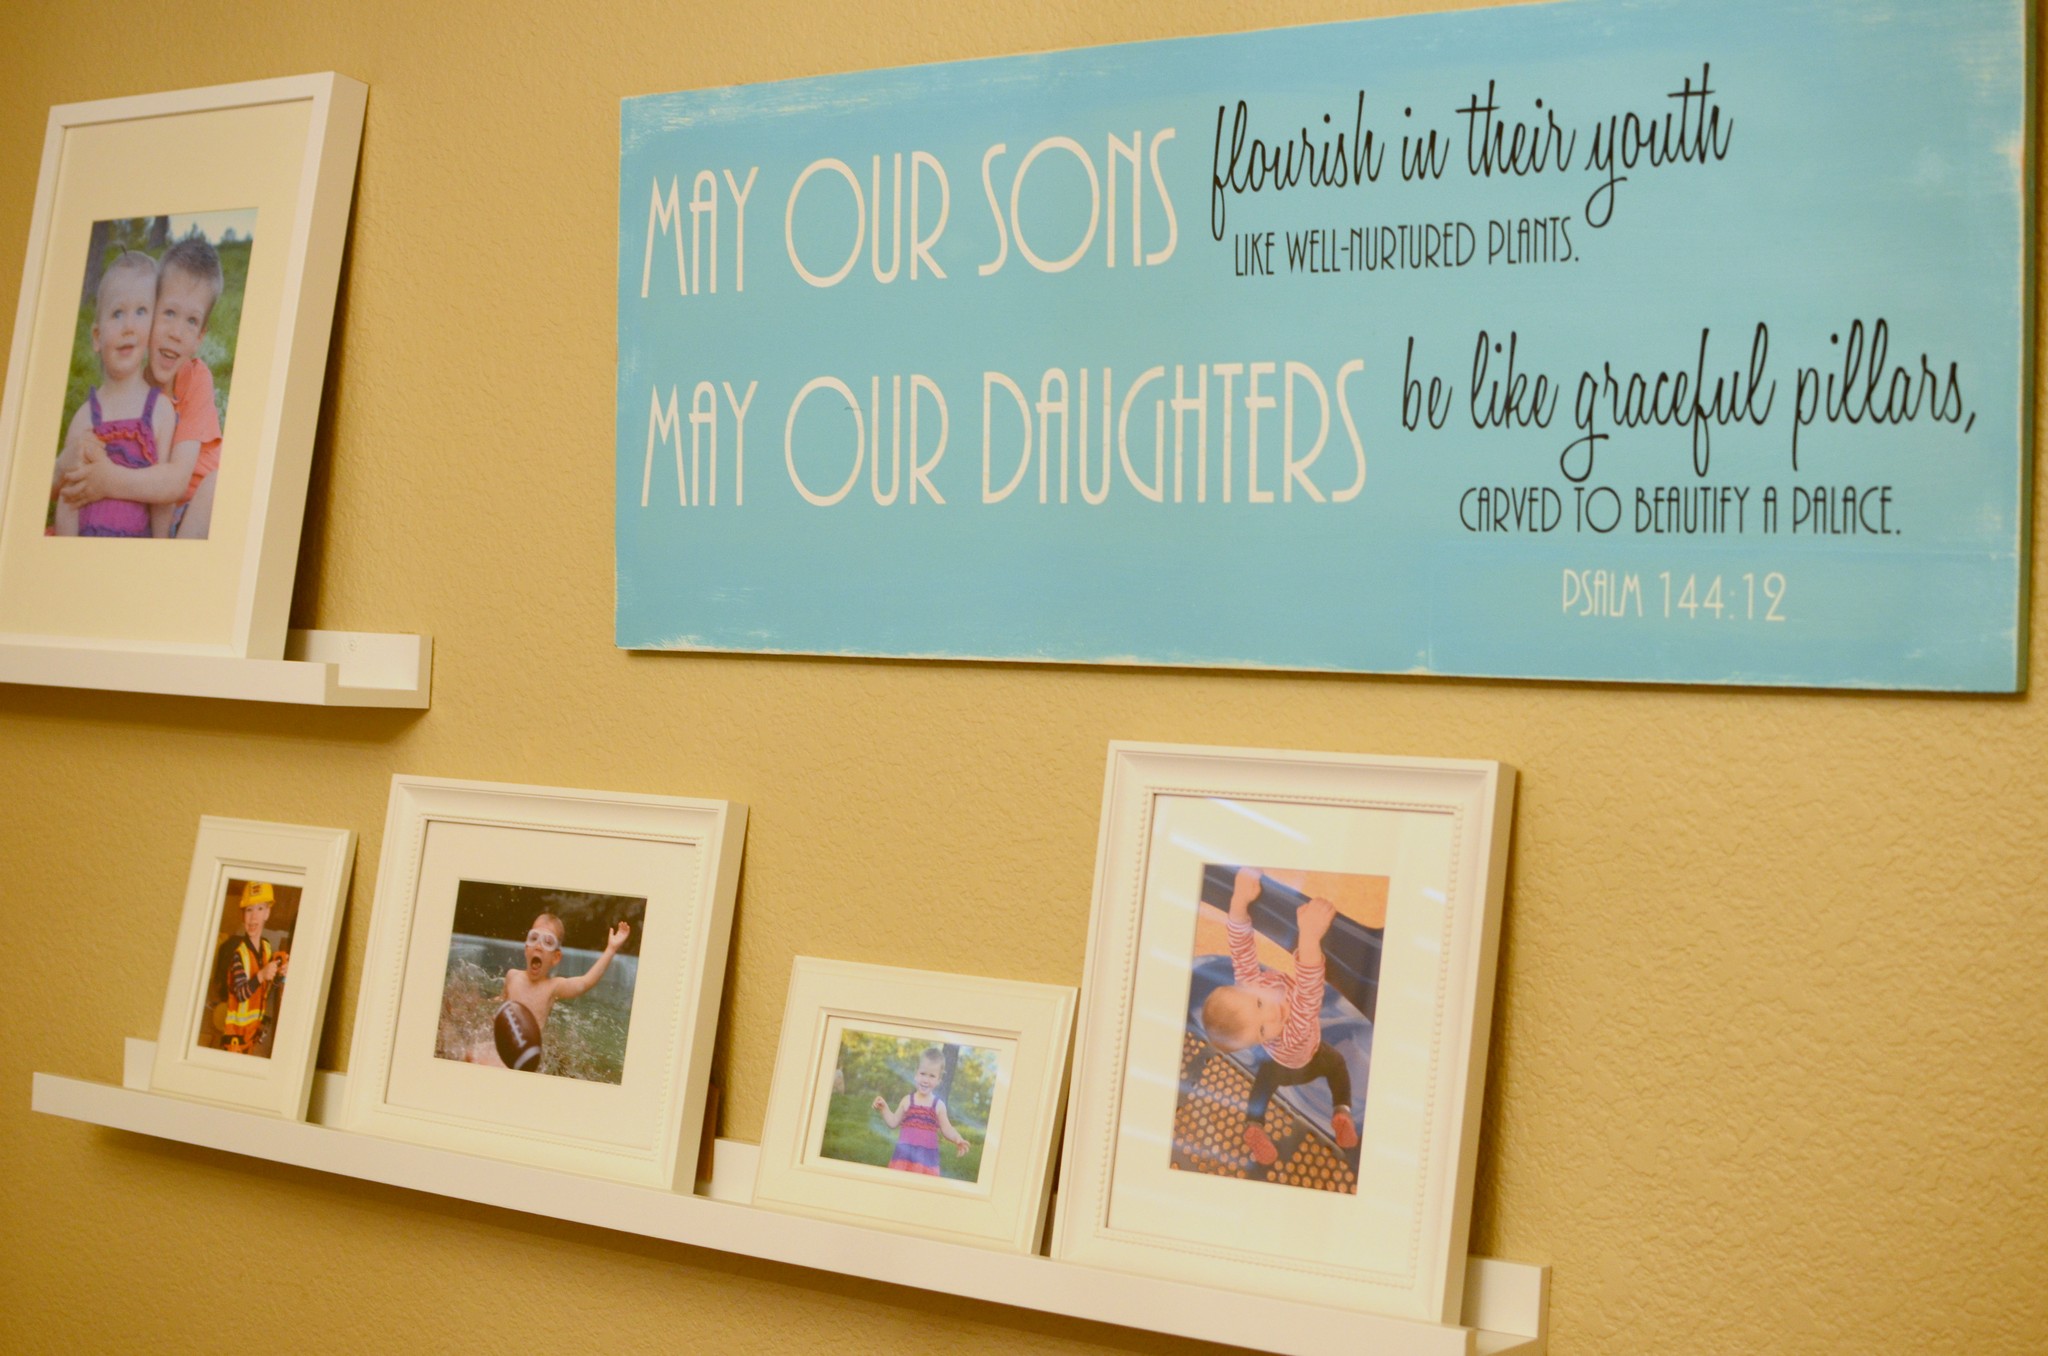
I love how it turned out, mistakes and all, and I love the reminder that it serves on the wall of our playroom!!
I hope you enjoyed learning about one of my very first home decor Silhouette projects :).
Now…do you love crafts and home decor as much as I do?? And do you…
Want to Check Out More Silhouette Projects?
My Silhouette Challenge buddies and I are all sharing projects on our blogs today, so peruse the projects below for a wealth of Silhouette inspiration!
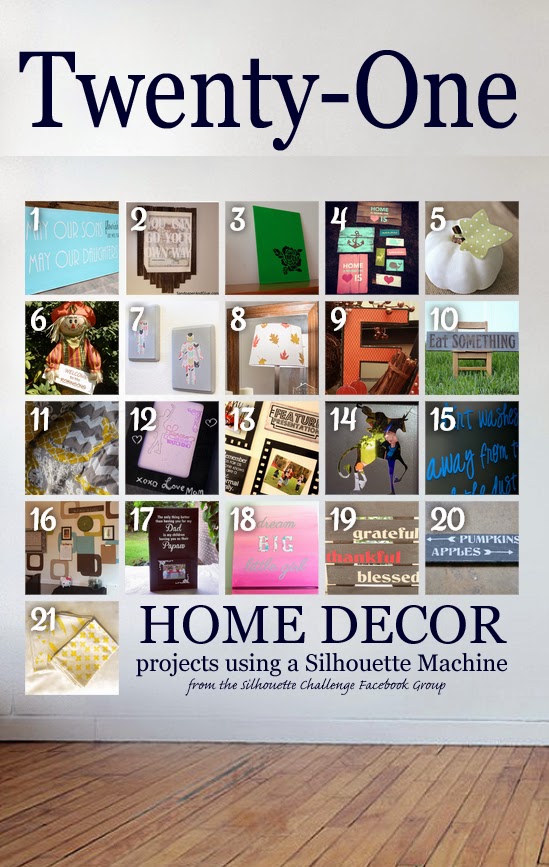
1. The Moberg Family // 2. Sandpaper and Glue // 3. American Honey // 4. Weekend Craft // 5. Grey Luster Girl // 6. From Wine to Whine // 7. Cutesy Crafts // 8. Practically Functional // 9. Home At Eight // 10. McCall Manor // 11. Dragonfly & Lily Pads // 12. Adventures in All Things Food // 13. Create it. Go! // 14. Please Excuse My Craftermath… // 15. The Outlandish Momma // 16. The Sensory Emporium // 17. My Paper Craze // 18. unOriginal Mom // 19. My Favorite Finds // 20. Architecture of a Mom // 21. Black and White Obsession //
Leave a Reply to Kristy gd Cancel reply