Well, like last year, we had another super fun advent this year! I added a couple of details to our Advent season this year which made it even more special.
Advent Wreath:
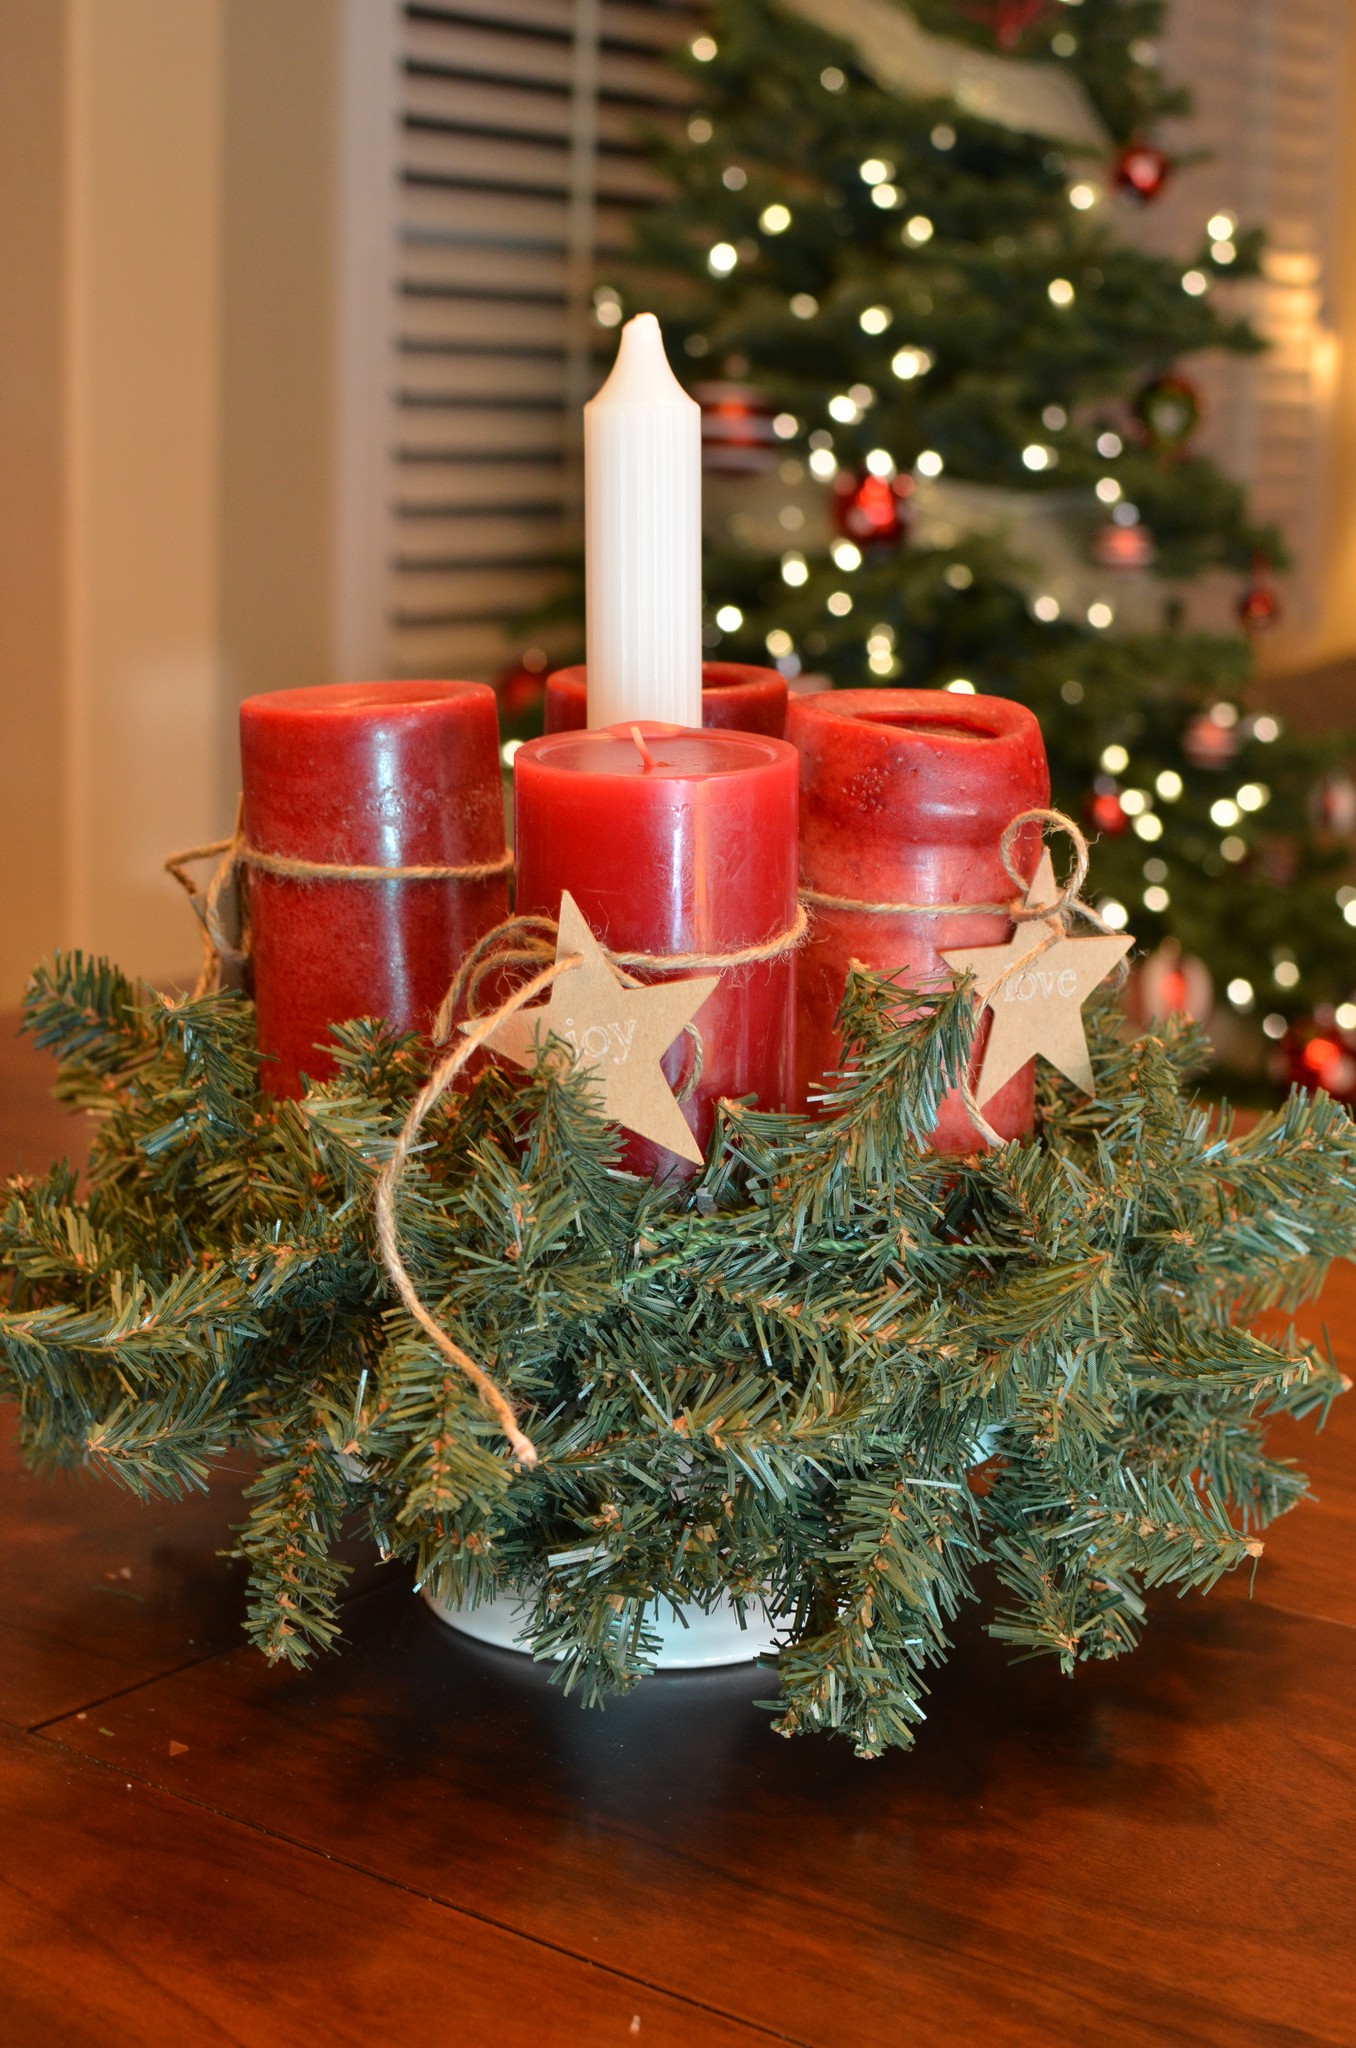
I had wanted to do this last year, but ran out of time. The night before Advent officially started I remembered I wanted to do it and stumbled across a picture of an advent wreath done on a cake plate. I found our cake plate, four red candles leftover from our wedding (!) and then we wrapped a garland around the base. Voila! An advent wreath! My silhouette helped me make the stars to label each candle. The kids were learning about the meanings of each advent candle at church, and it was really good to light the appropriate candle at dinner (most) nights and talk with the kids about what we were focusing on that particular week as we awaited the celebration of Christ’s coming. Our kids are obviously still really young, but it was very good for my heart, and in the coming years I am hoping that the truths go deeper and deeper into our children’s hearts as well.
The Jesse Tree:
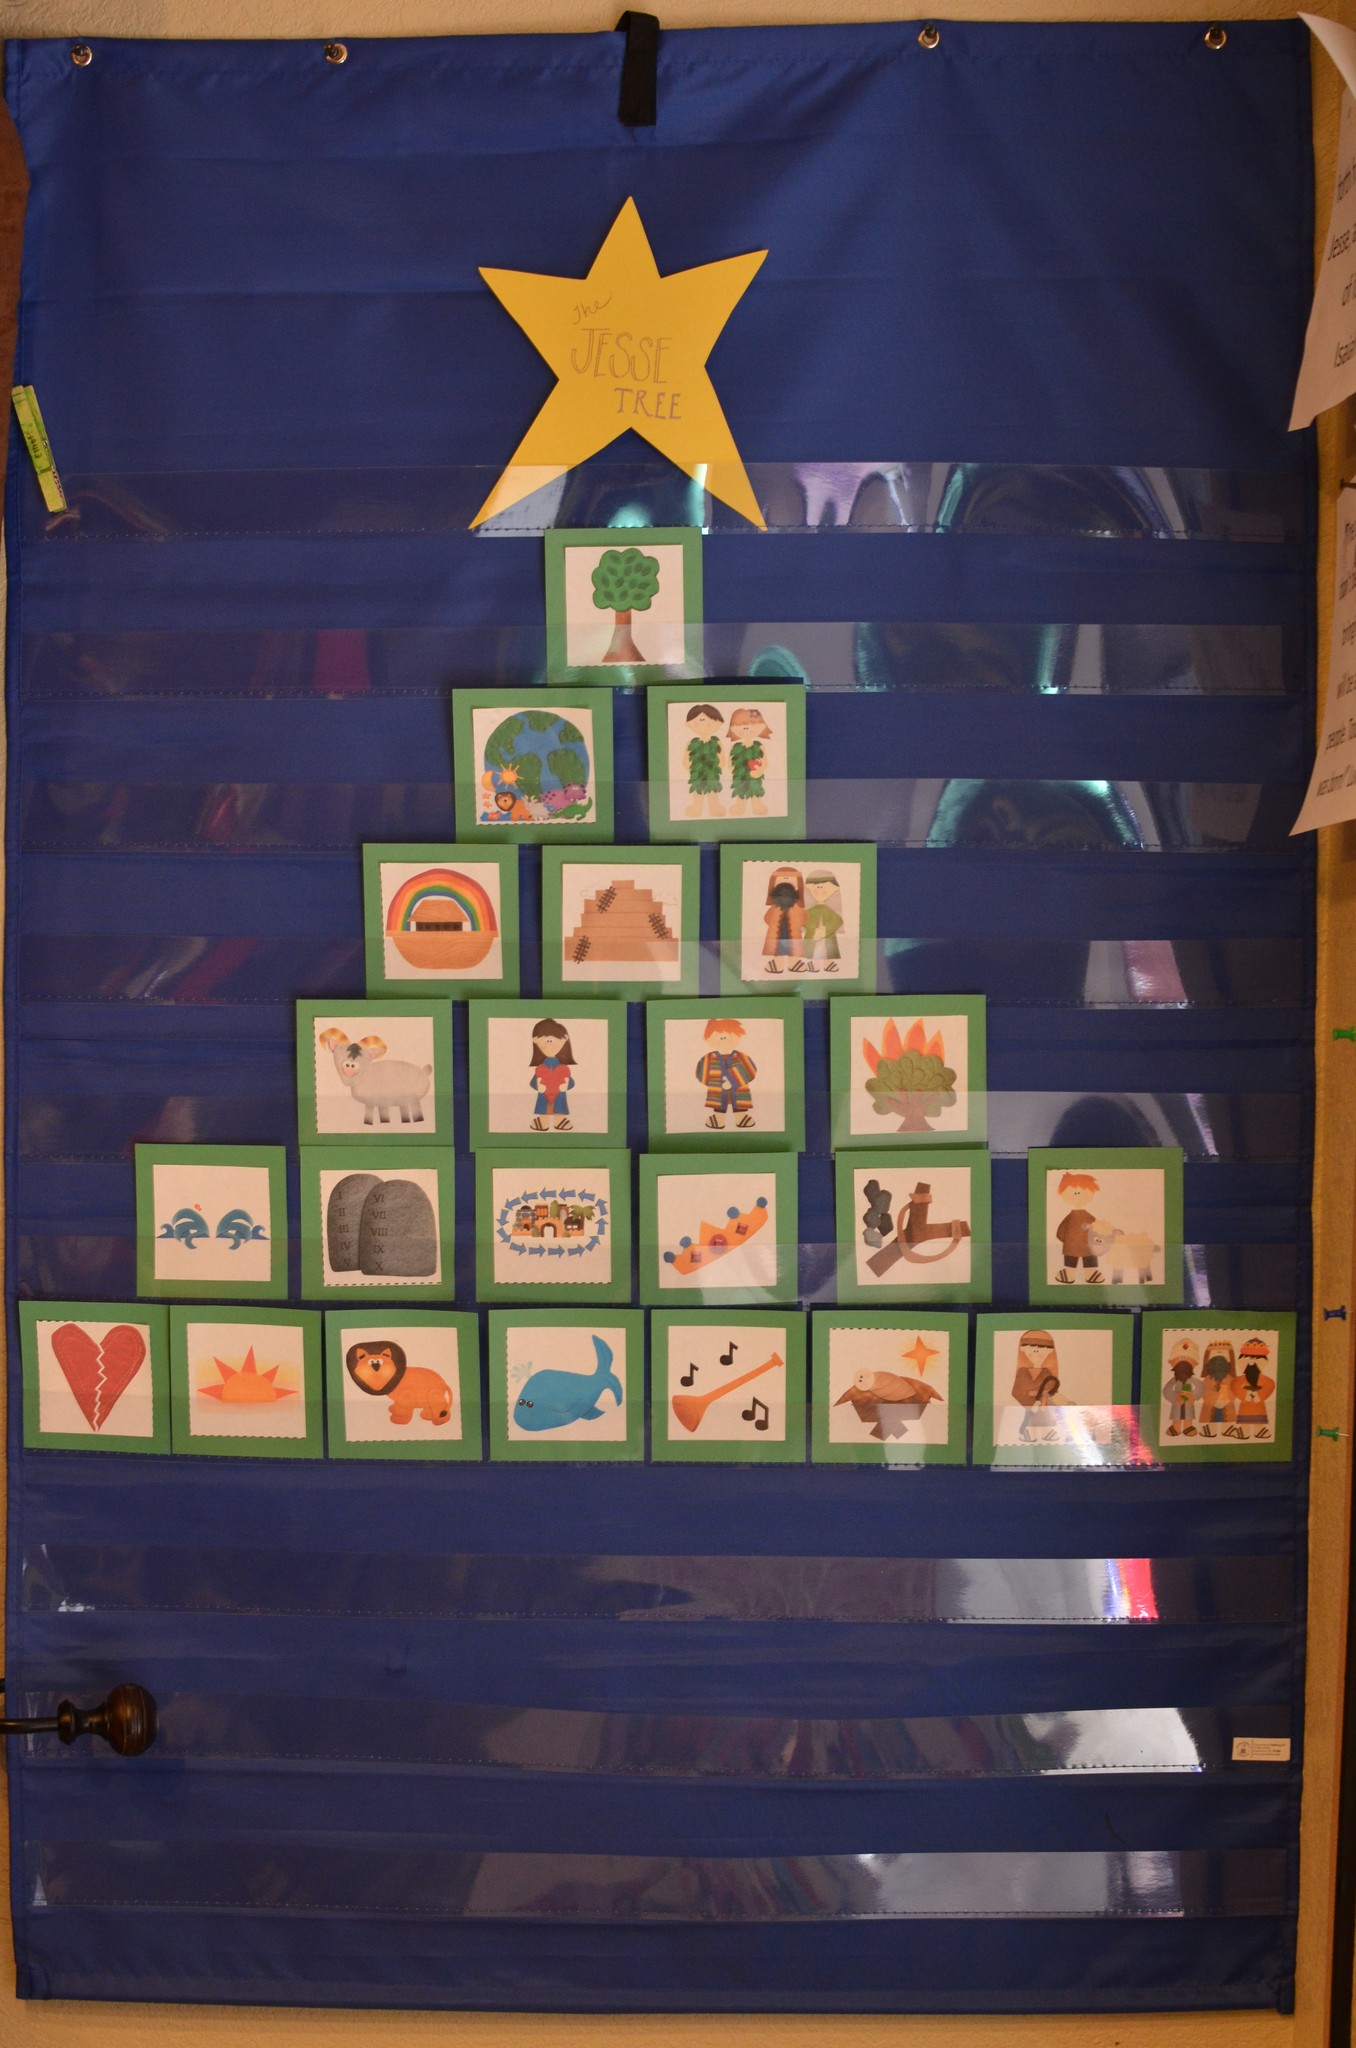
If you haven’t heard of the Jesse Tree, it’s a concept based off of the Isaiah 11:1, a prophecy about Jesus that he would come from Jesse’s line. We already read the various stories from The Jesus Storybook Bible that show the kids how the entire Old Testament points to Jesus’ coming, but I thought it would be great to have some visuals to reinforce each story. I found these printable pictures here (for purchase–$6) and the Jesus Storybook Bible free additions here. (If you are a mom or teacher who loves to teach and do crafty things with your kids, the website Teachers Pay Teachers is a great one!) I had big dreams of turning them into ornaments and putting them on the kid tree in the playroom but, alas, the pocket chart was all I could handle this year :). I actually ended up really liking it there because then we would talk about the pictures throughout the day and while the kids were eating and crafting. Next year, it’ll be fun to see if Elliott can scramble them and then put the pictures in order.
Verse memory:
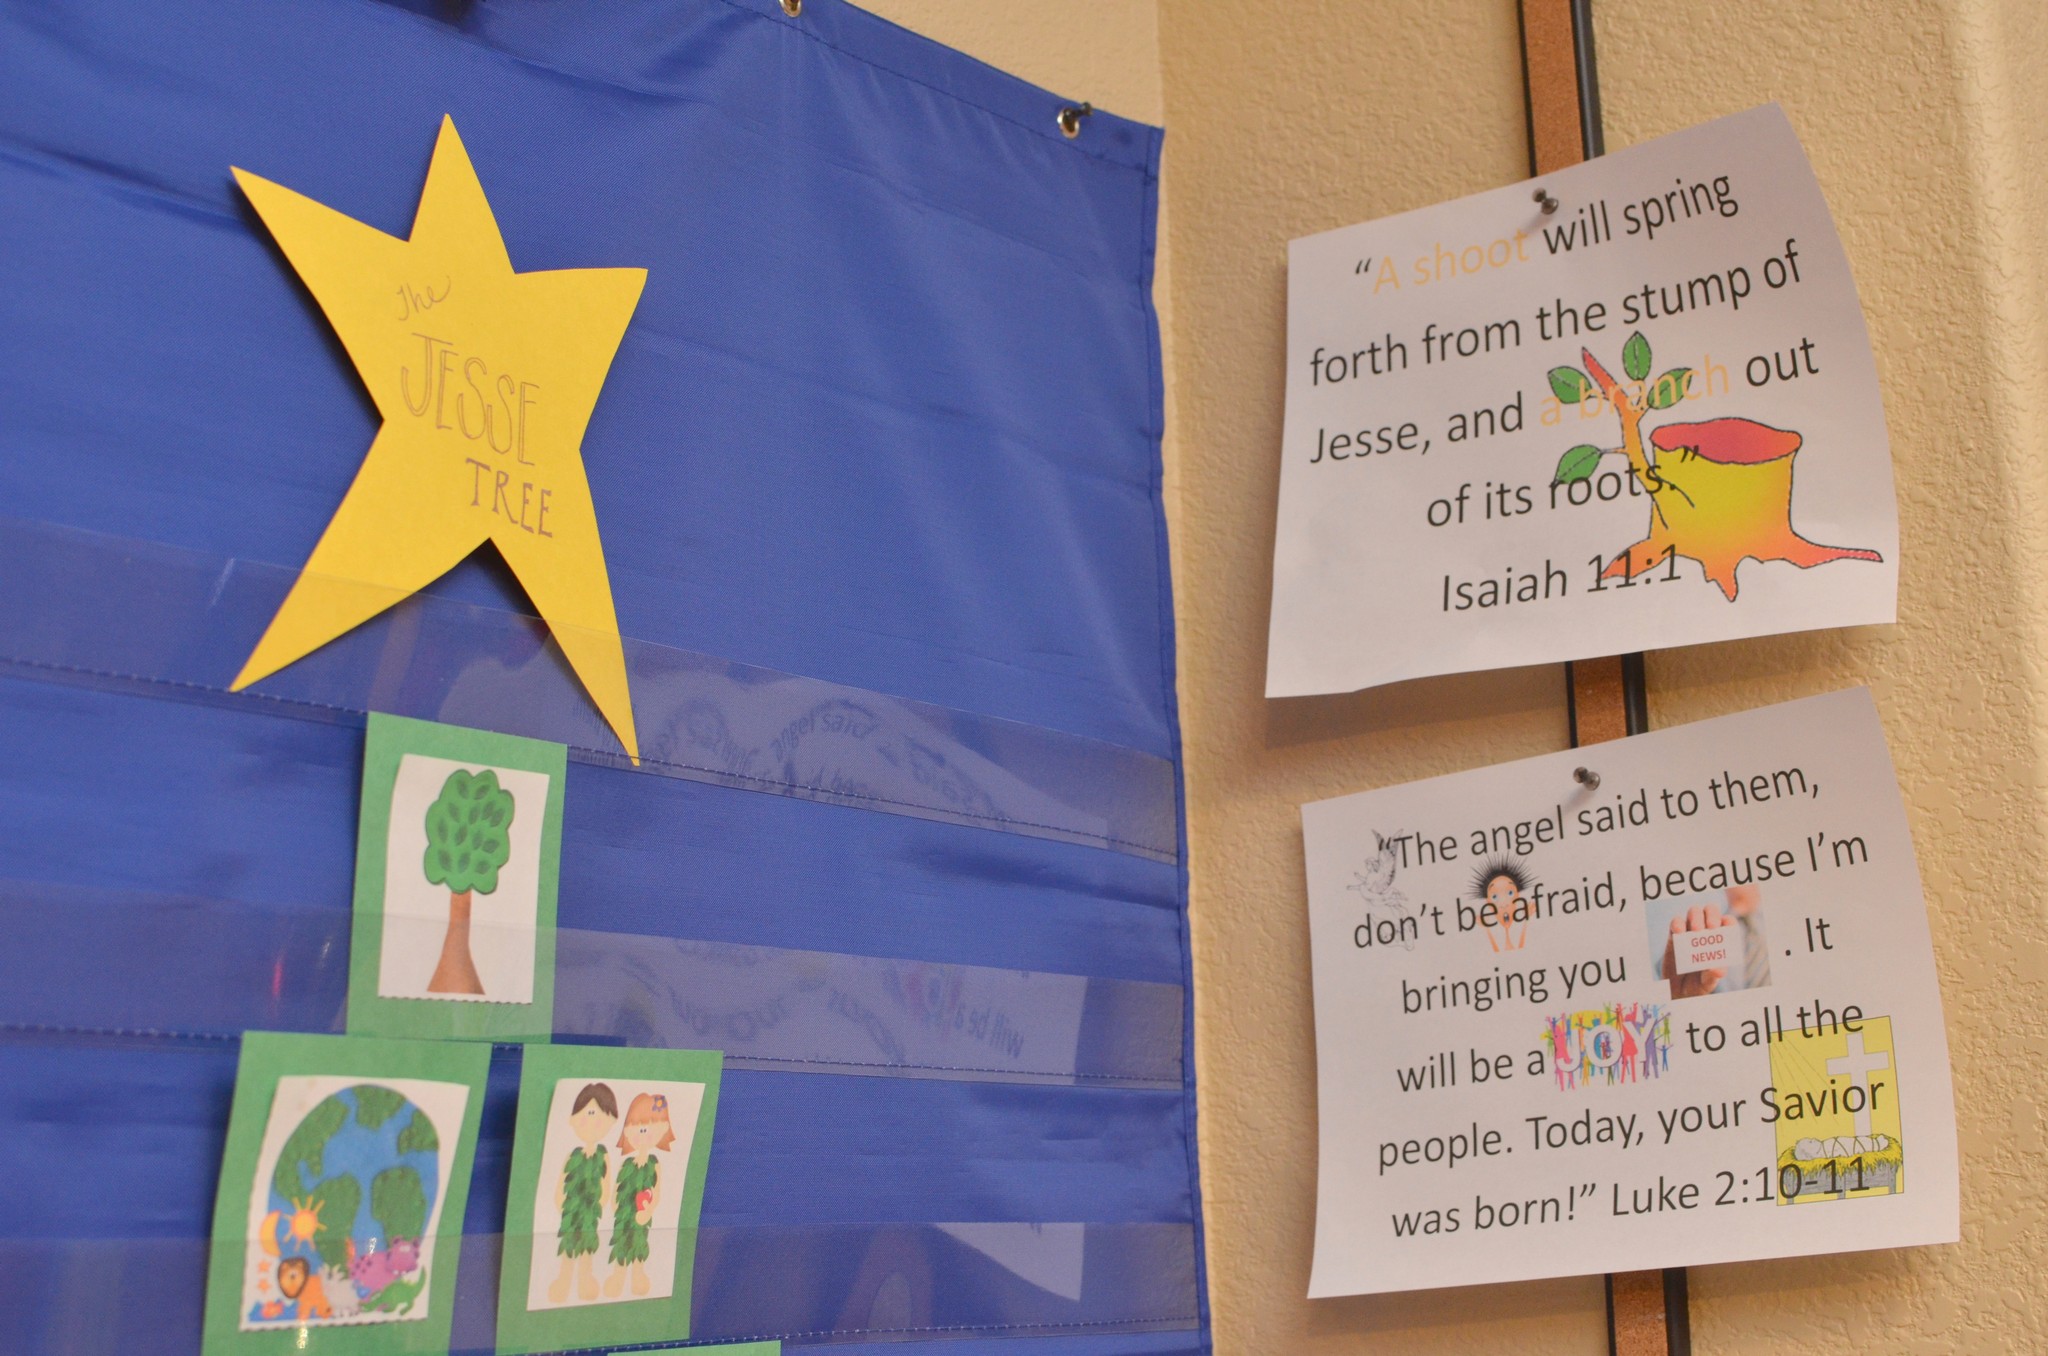
We didn’t work on these as regularly as I thought we would, but it was still great to go over them with the kids and have them up as a reminder. We would say them together every once in a while and act them out, etc., etc. If you’d like to download the verse cards I made for visuals to use with your own children, click here!
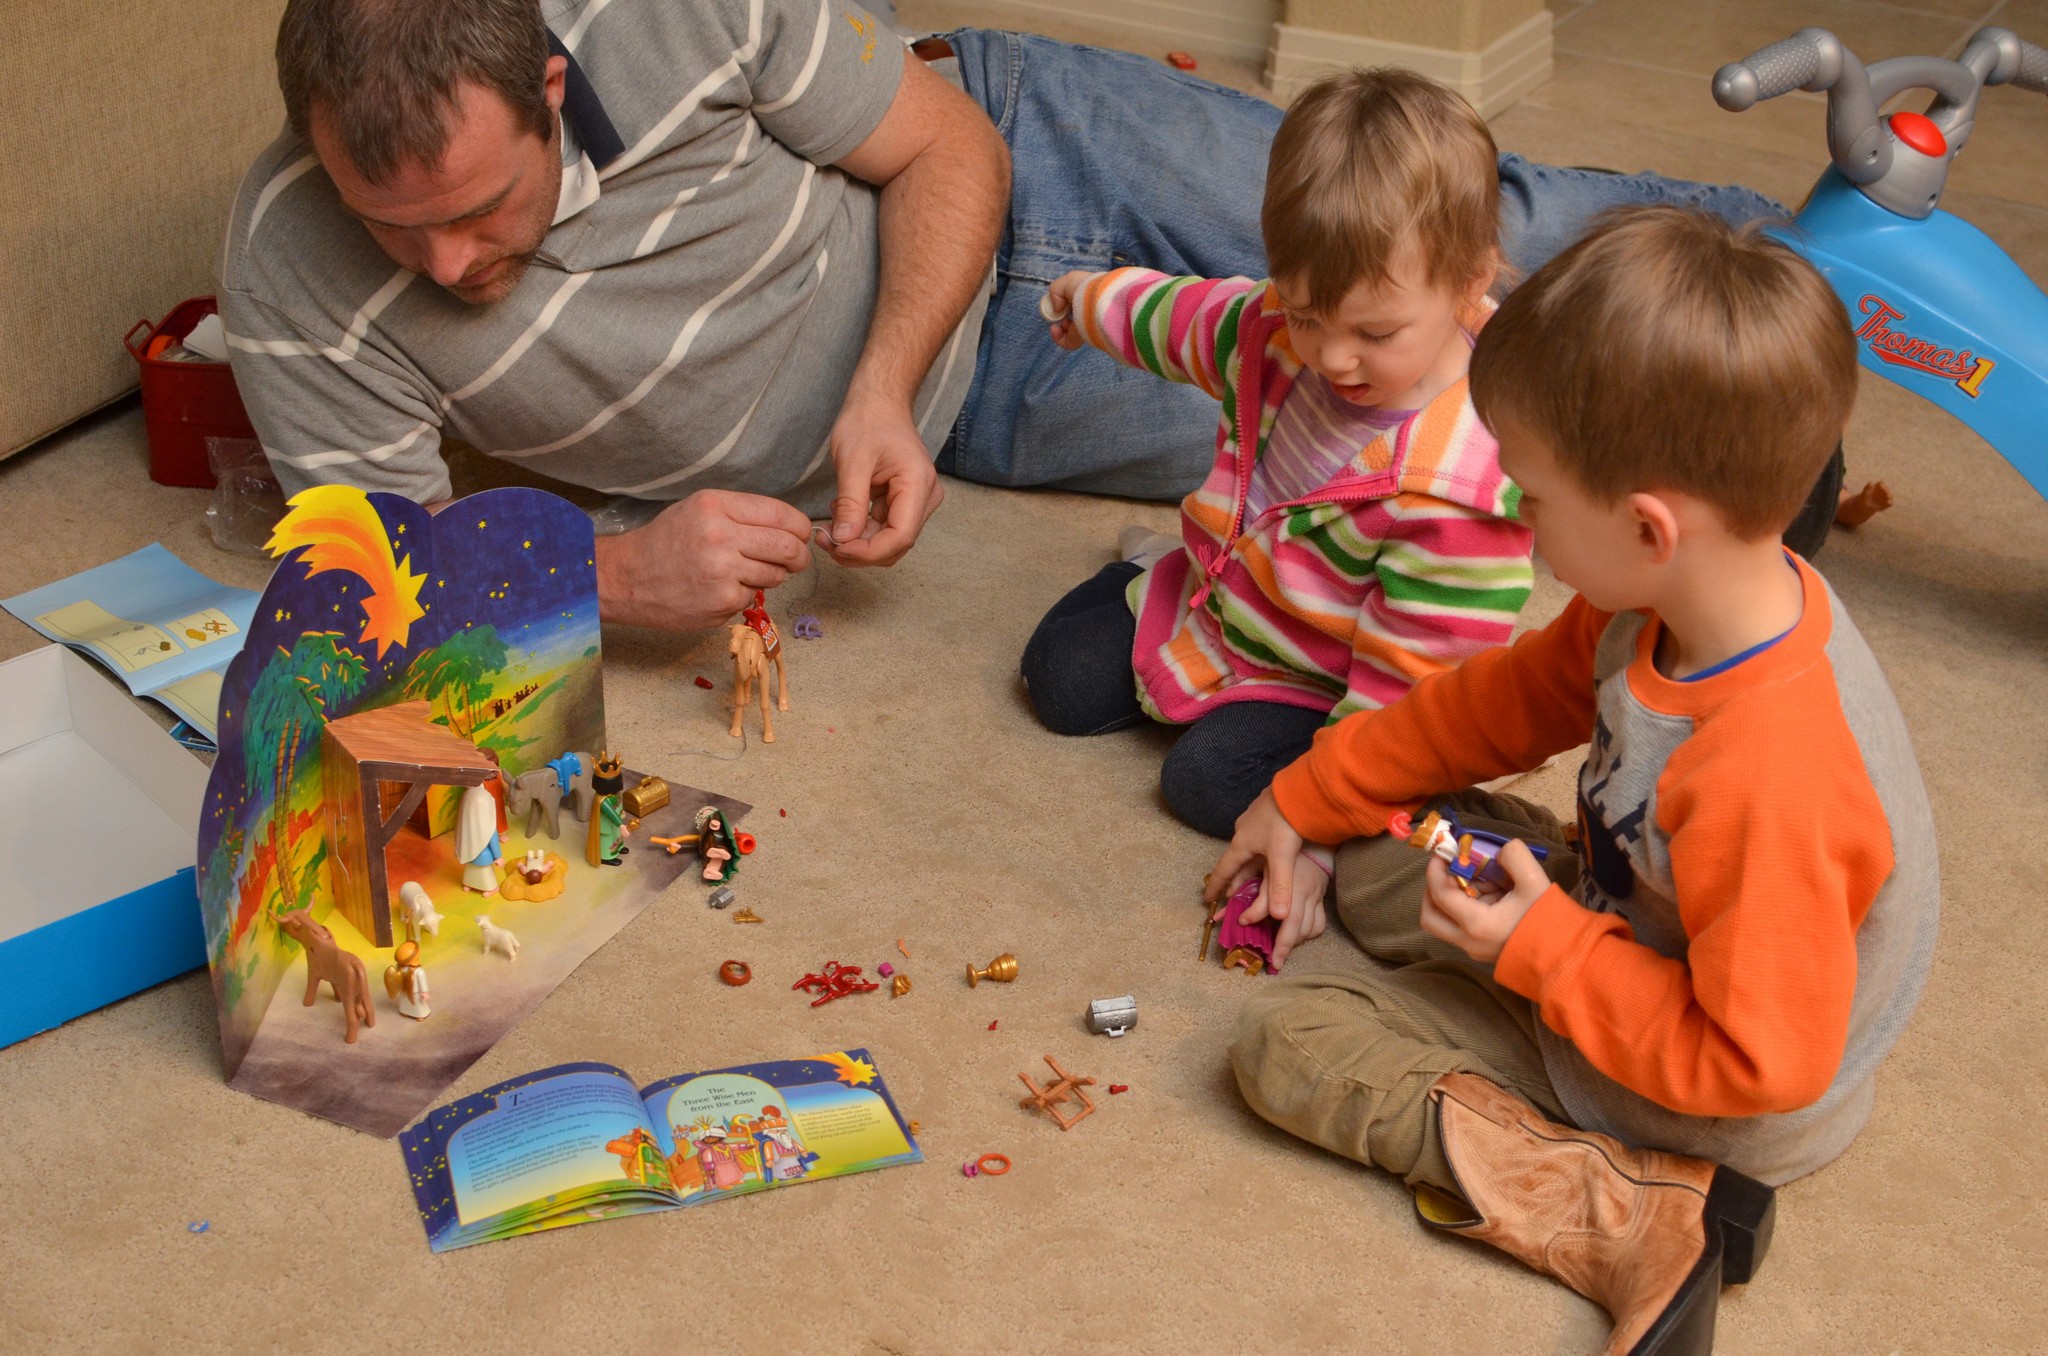
Nativity Sets:
Brian’s parents got Elliott the Fisher Price Nativity set for his first Christmas, and it is SUCH an awesome set. It literally gets played with every day for the month of December. This year, they sent the kids another surprise–the Playmobil Nativity Set! It was, obviously, a HUGE hit, and it was nice to have two sets to reduce the number of fights over who gets to hold baby Jesus :). We had a lot of fun putting it together as a family, reading the Playmobil nativity story, and playing with it tons!
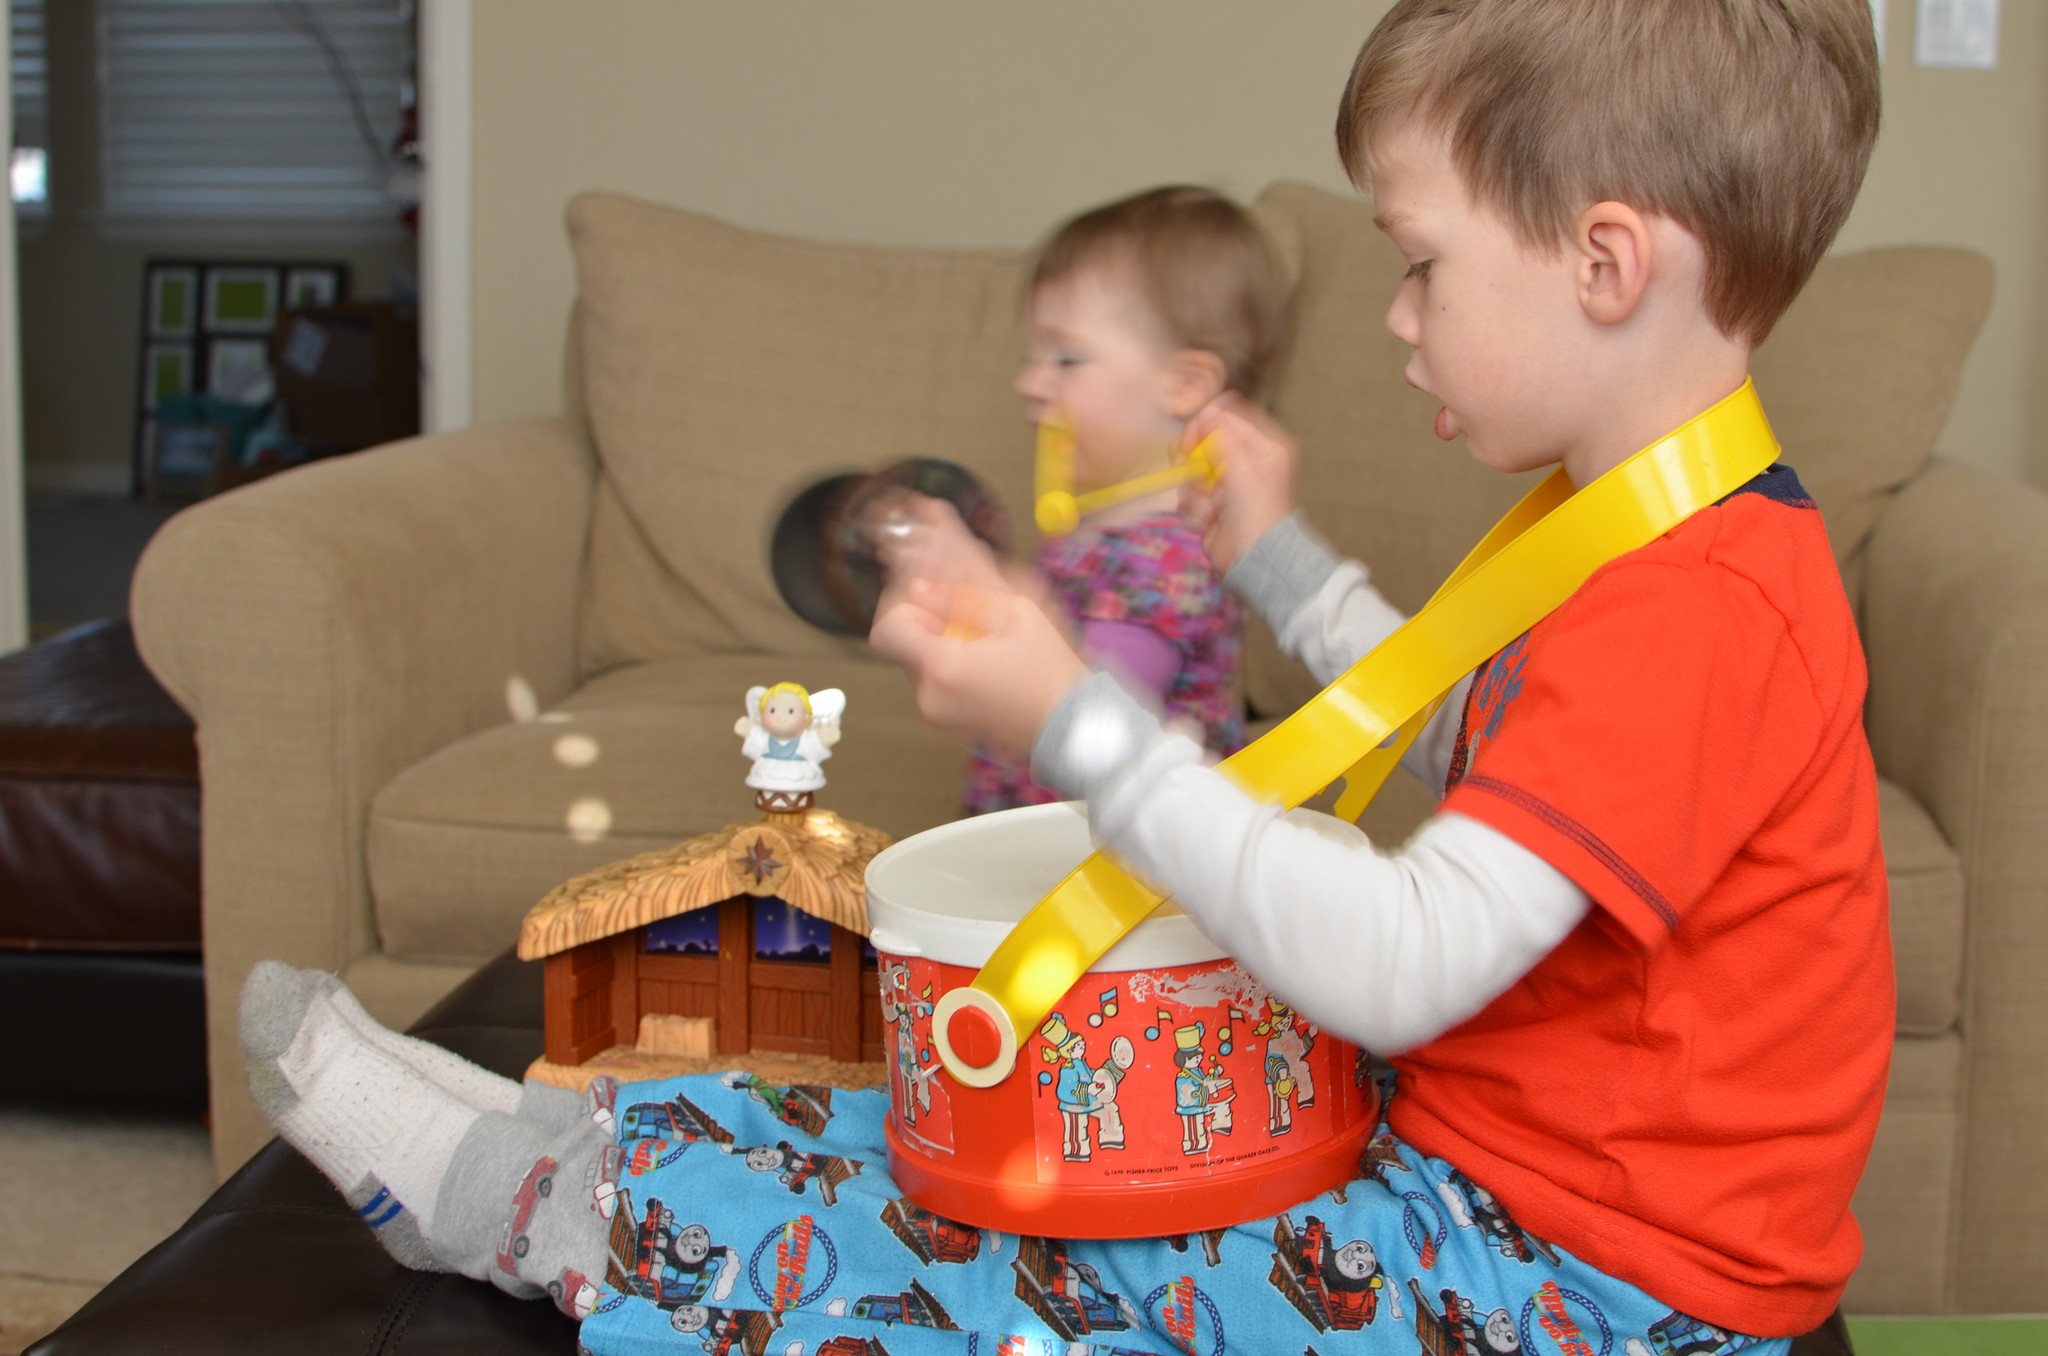
Christmas Worship:
Next year, I’m hoping to find a good kids Christmas album (anyone out there have a favorite?! Please comment below!!). This year, I just pulled up random songs on grooveshark, the kids would grab their instruments, and we would worship the newborn King!!
The Christmas Count Up Tree!
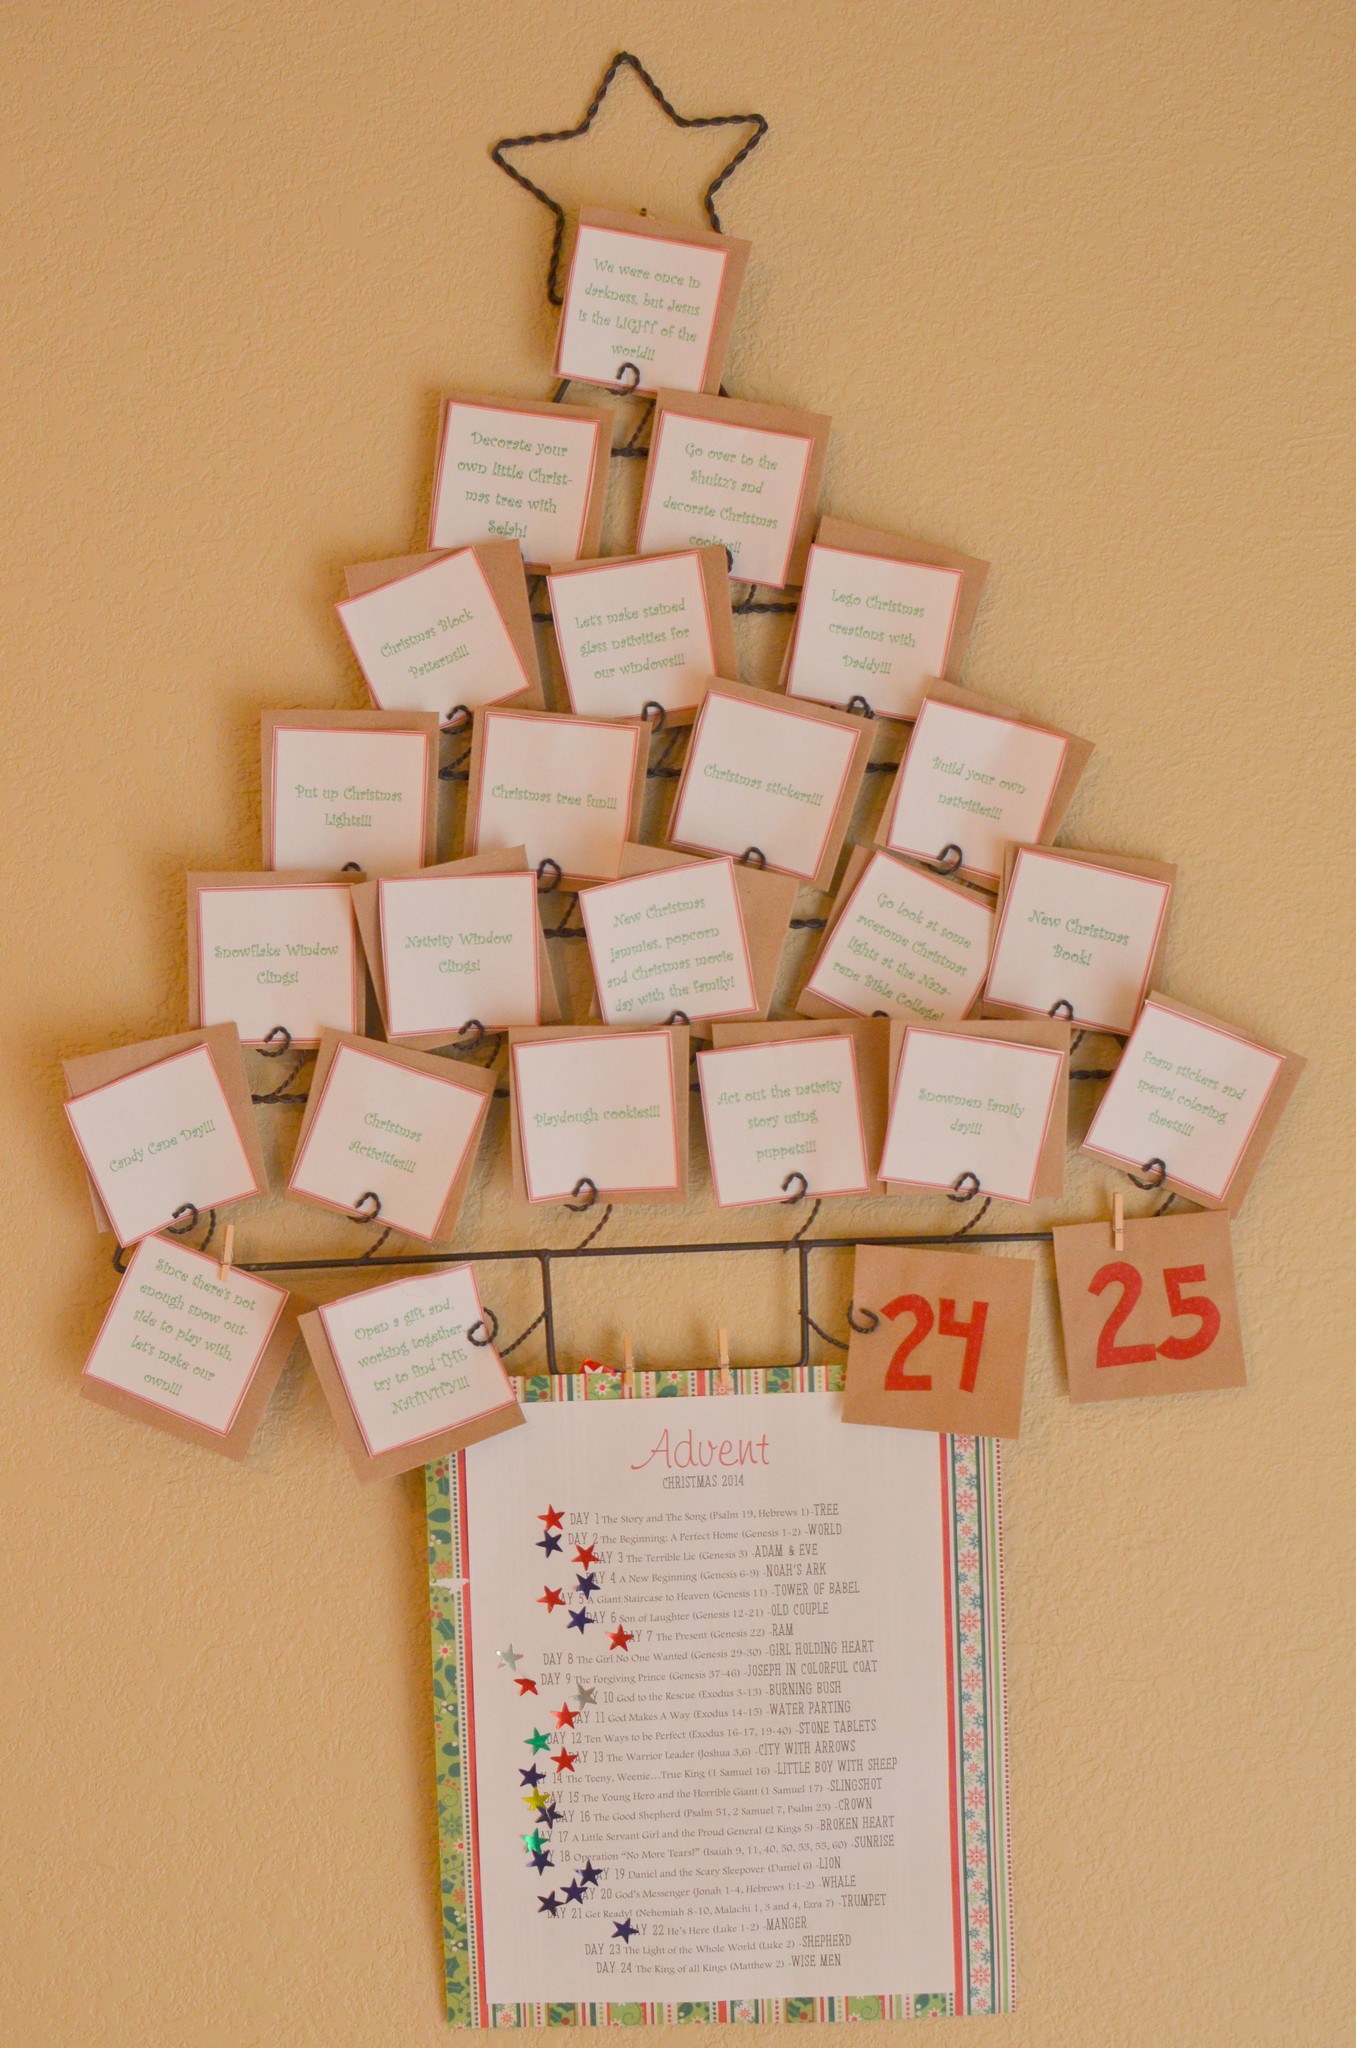
I used the same card holder from last year because it’s so simple to put each day’s envelope up there, along with our reading guide hanging from the bottom. The kids traded off putting stickers up once we had read that day’s story as a family. I don’t have any pictures of us all reading together, but it’s funny how not too much has changed since we did this last year. Elliott would sit curiously and attentively in Brian’s lap, studying each page and asking question after question. Selah could not stop moving during the entire chapter, often switching from Brian’s lap, to my lap, to the couch, to the floor, and would periodically look over at the book at shout something like, “baby Jesus!” or “look! sheep!!” It was such a sweet and special time each night together as a family.
Well, below is a snapshot of all the fun surprises inside each envelope!
Day 1: Jesus is the Light of the world
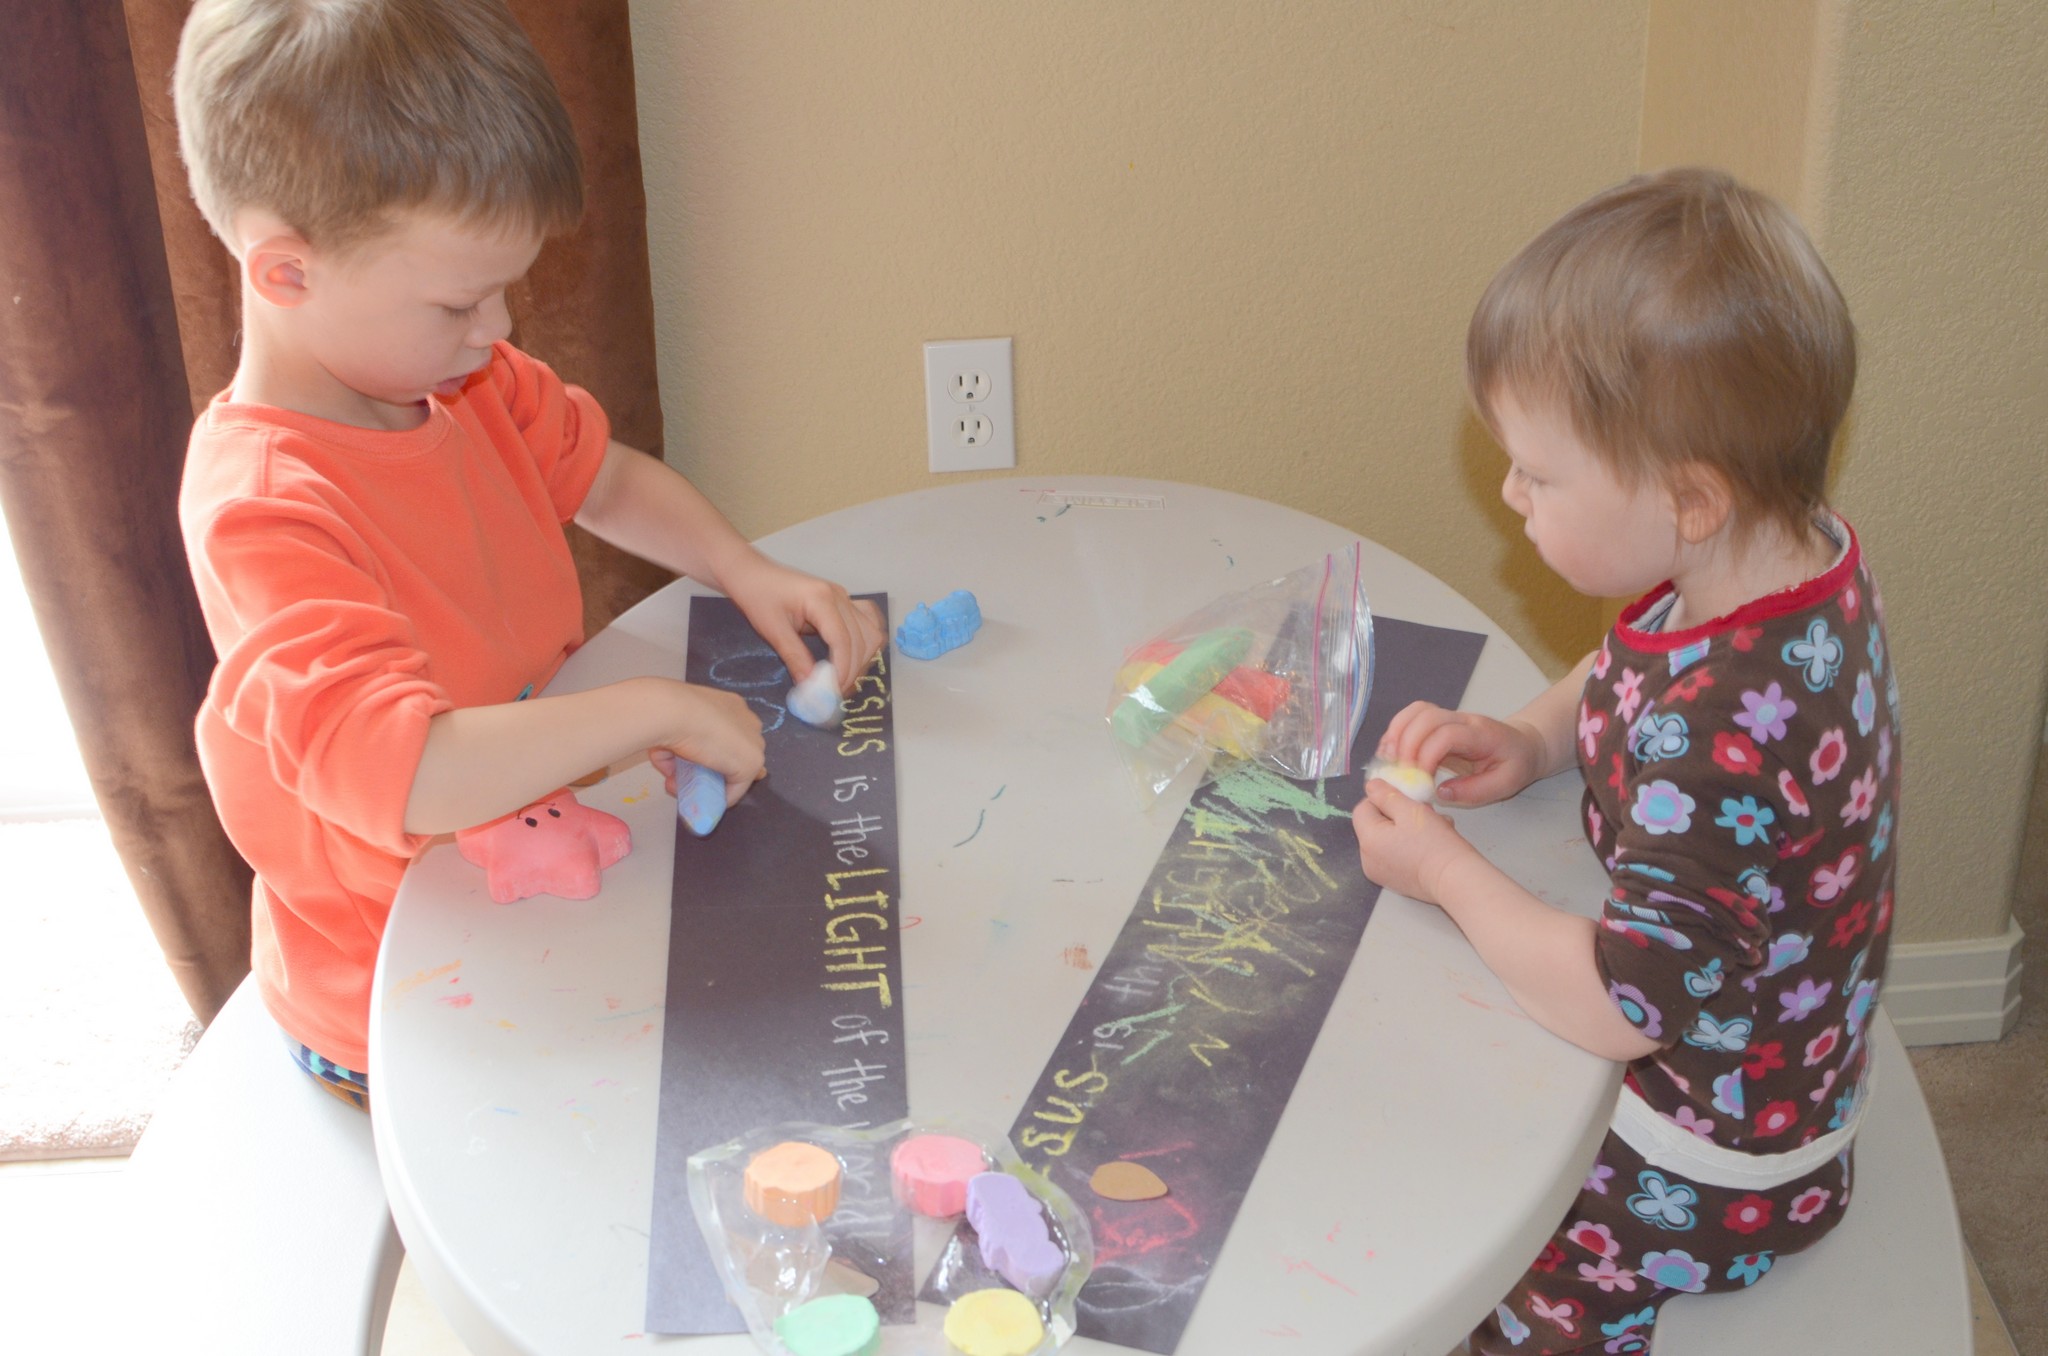
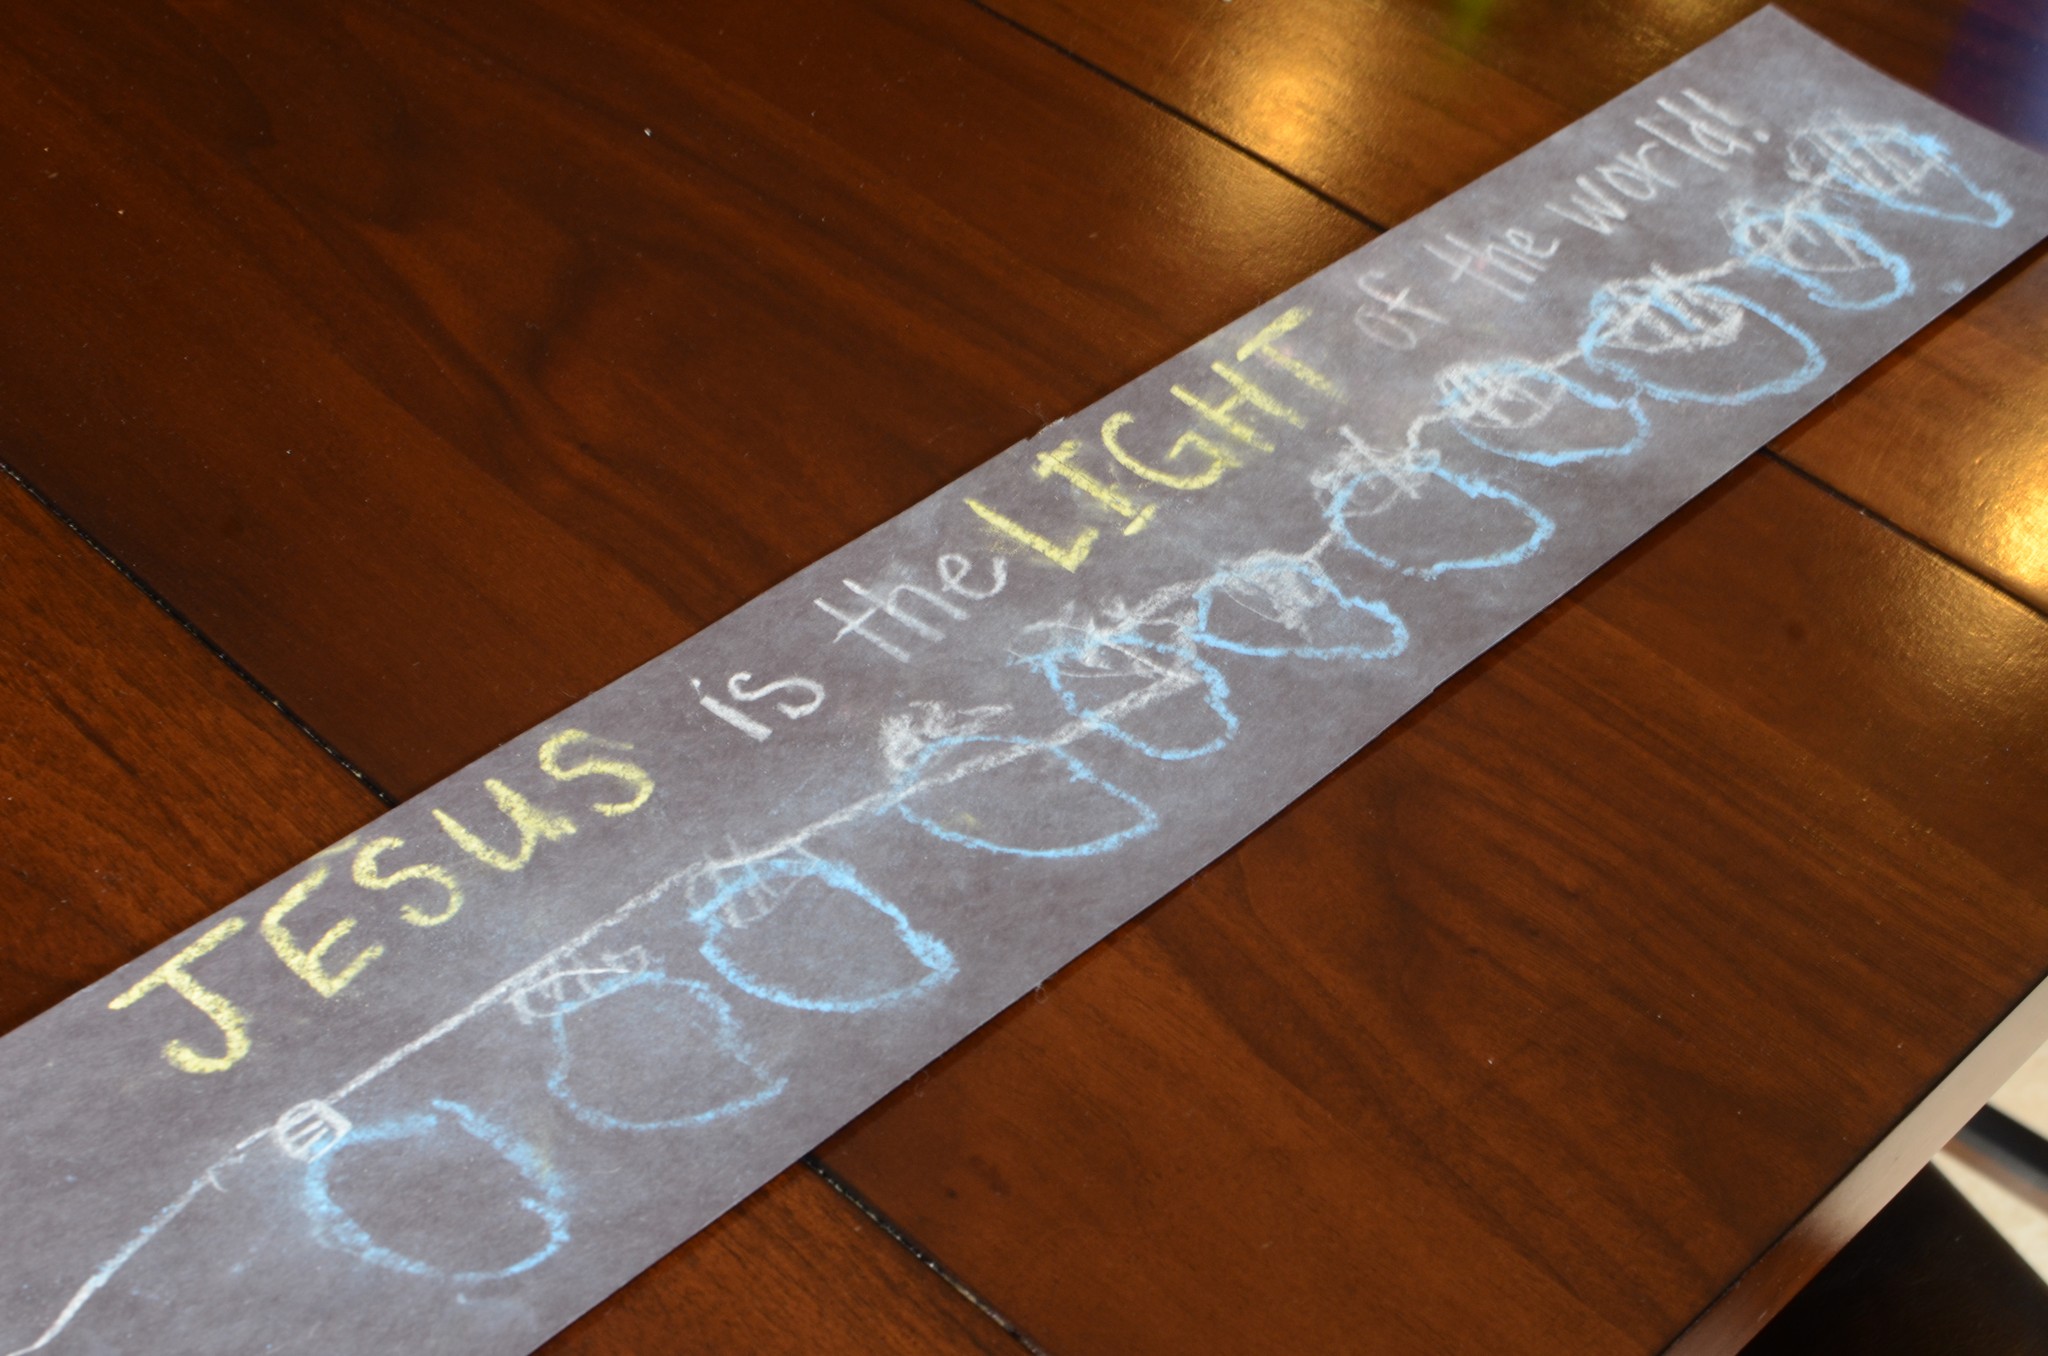
I checked out a curriculum that I may do next year with the kids, and they had a sample lesson about Jesus being the light of the world. I thought this was a great way to kick off Advent and our Christmas count up. We went into my closet and shut the door and talked about how dark it was. I told them this is what the world was like without Jesus. I turned on a flashlight and showed what a big difference just one light made, and how Jesus IS the light of the world. We did this craft that I had already pinned and put the picture up where we could see it all month, reminding us of the One who is the true Light of the world!
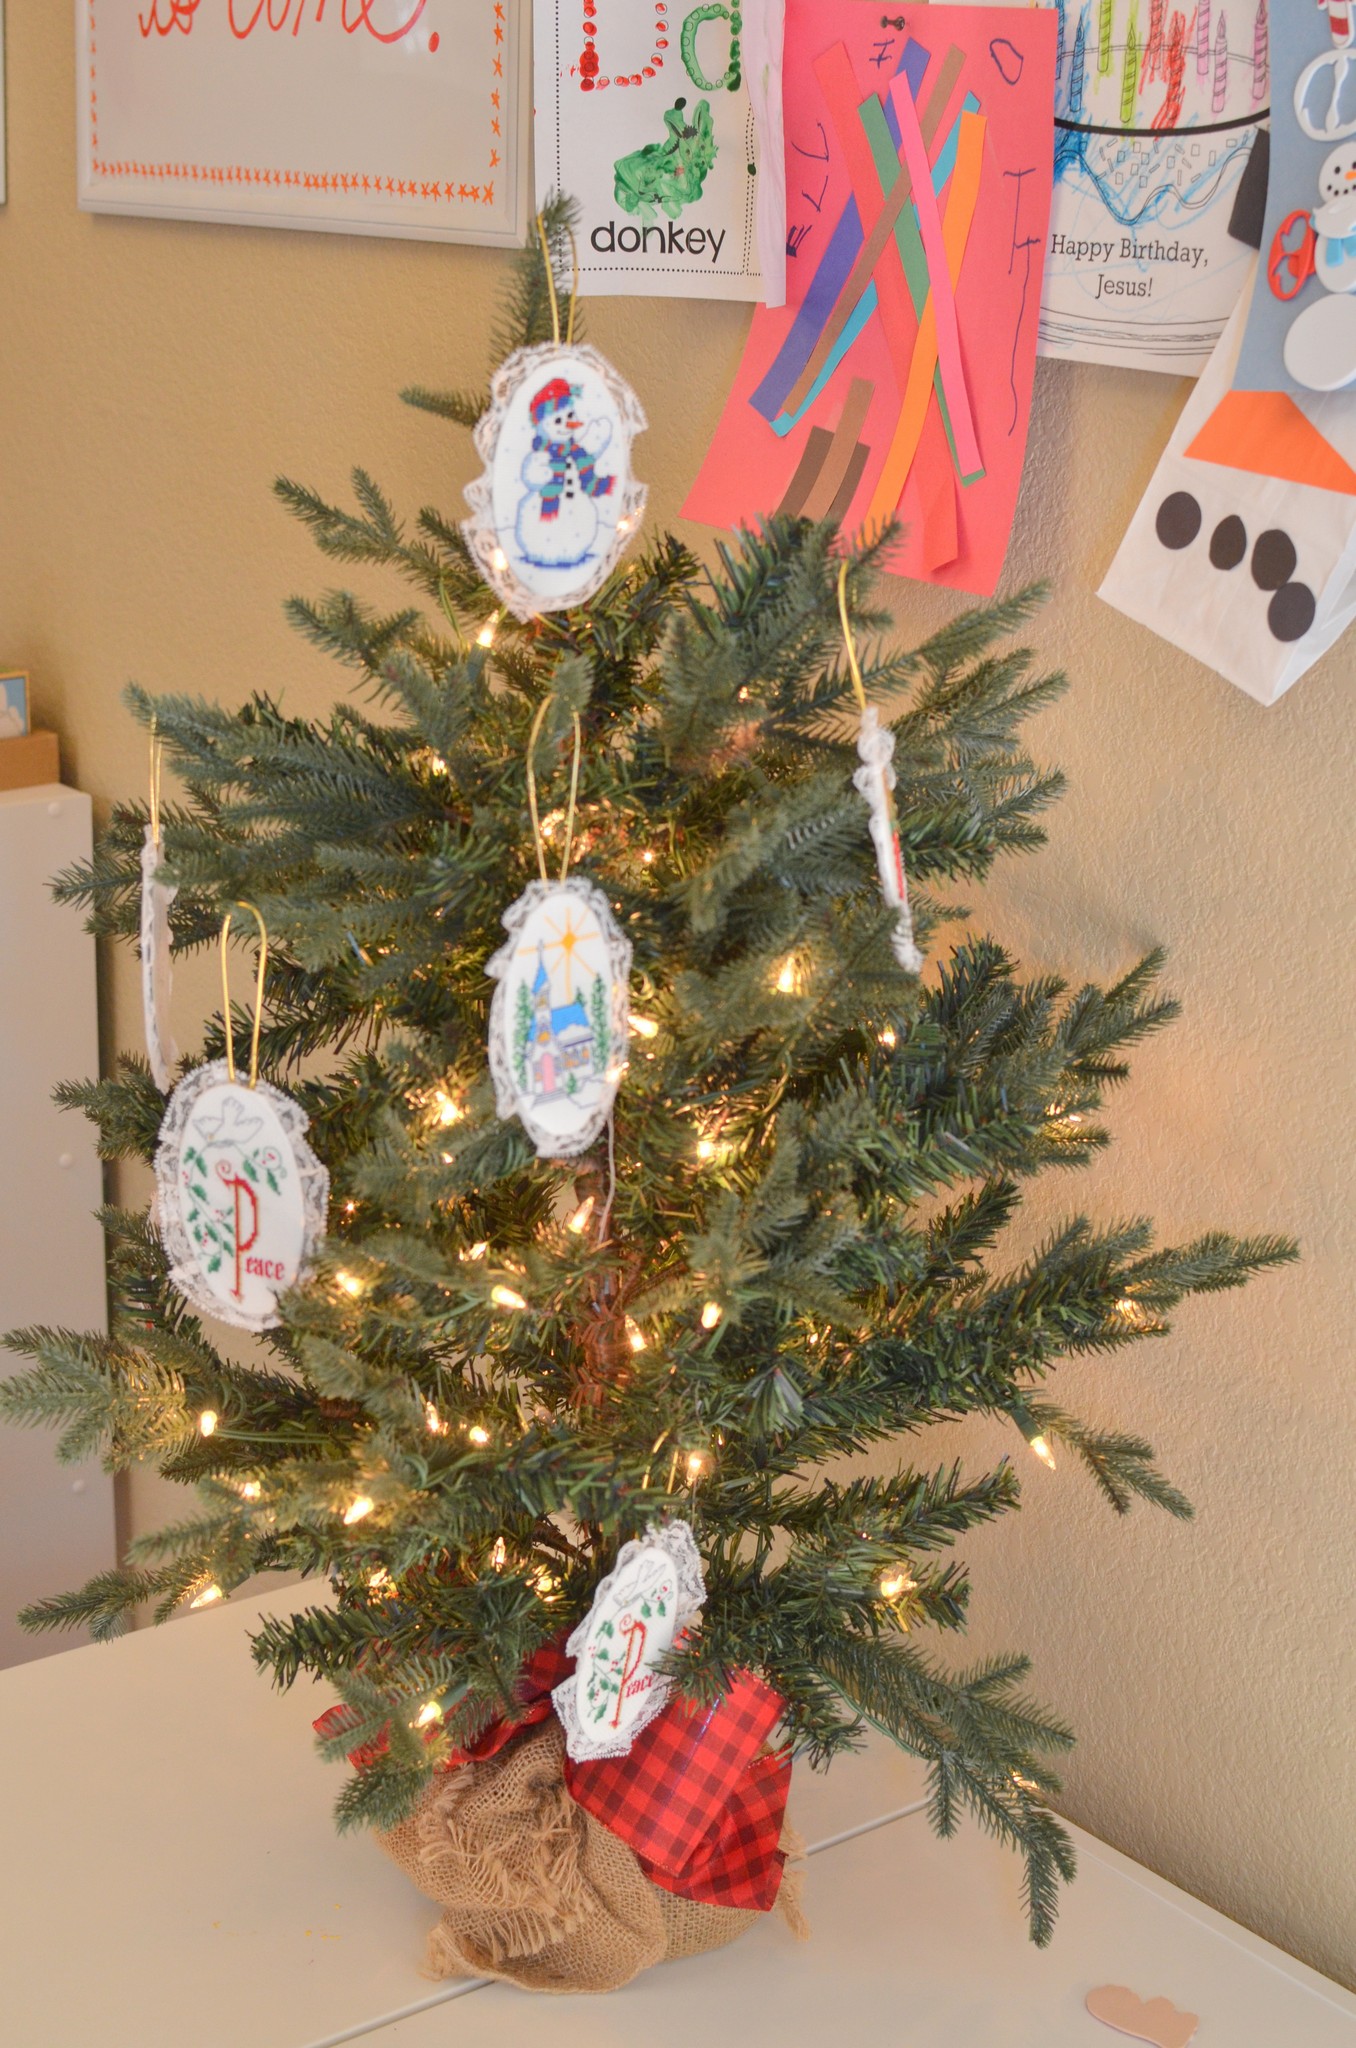
Day 2: Decorate your own Christmas trees!
I pulled out the felt tree from last year along with a new mini Christmas tree we bought for the kids’ playroom, and then let the kids put up their decorations (all from their Nonna).
Day 3: Decorate Christmas cookies with the Schultzes
I had “decorate cookies” on my list of things that I wanted to do, but then our dear friends invited us over for that very purpose! Hooray!! I wish I had taken a picture, but Elliott and Selah LOVE their new buddies and it was such a treat to have all the cookies and frosting providing! Thanks, Kellie!!!
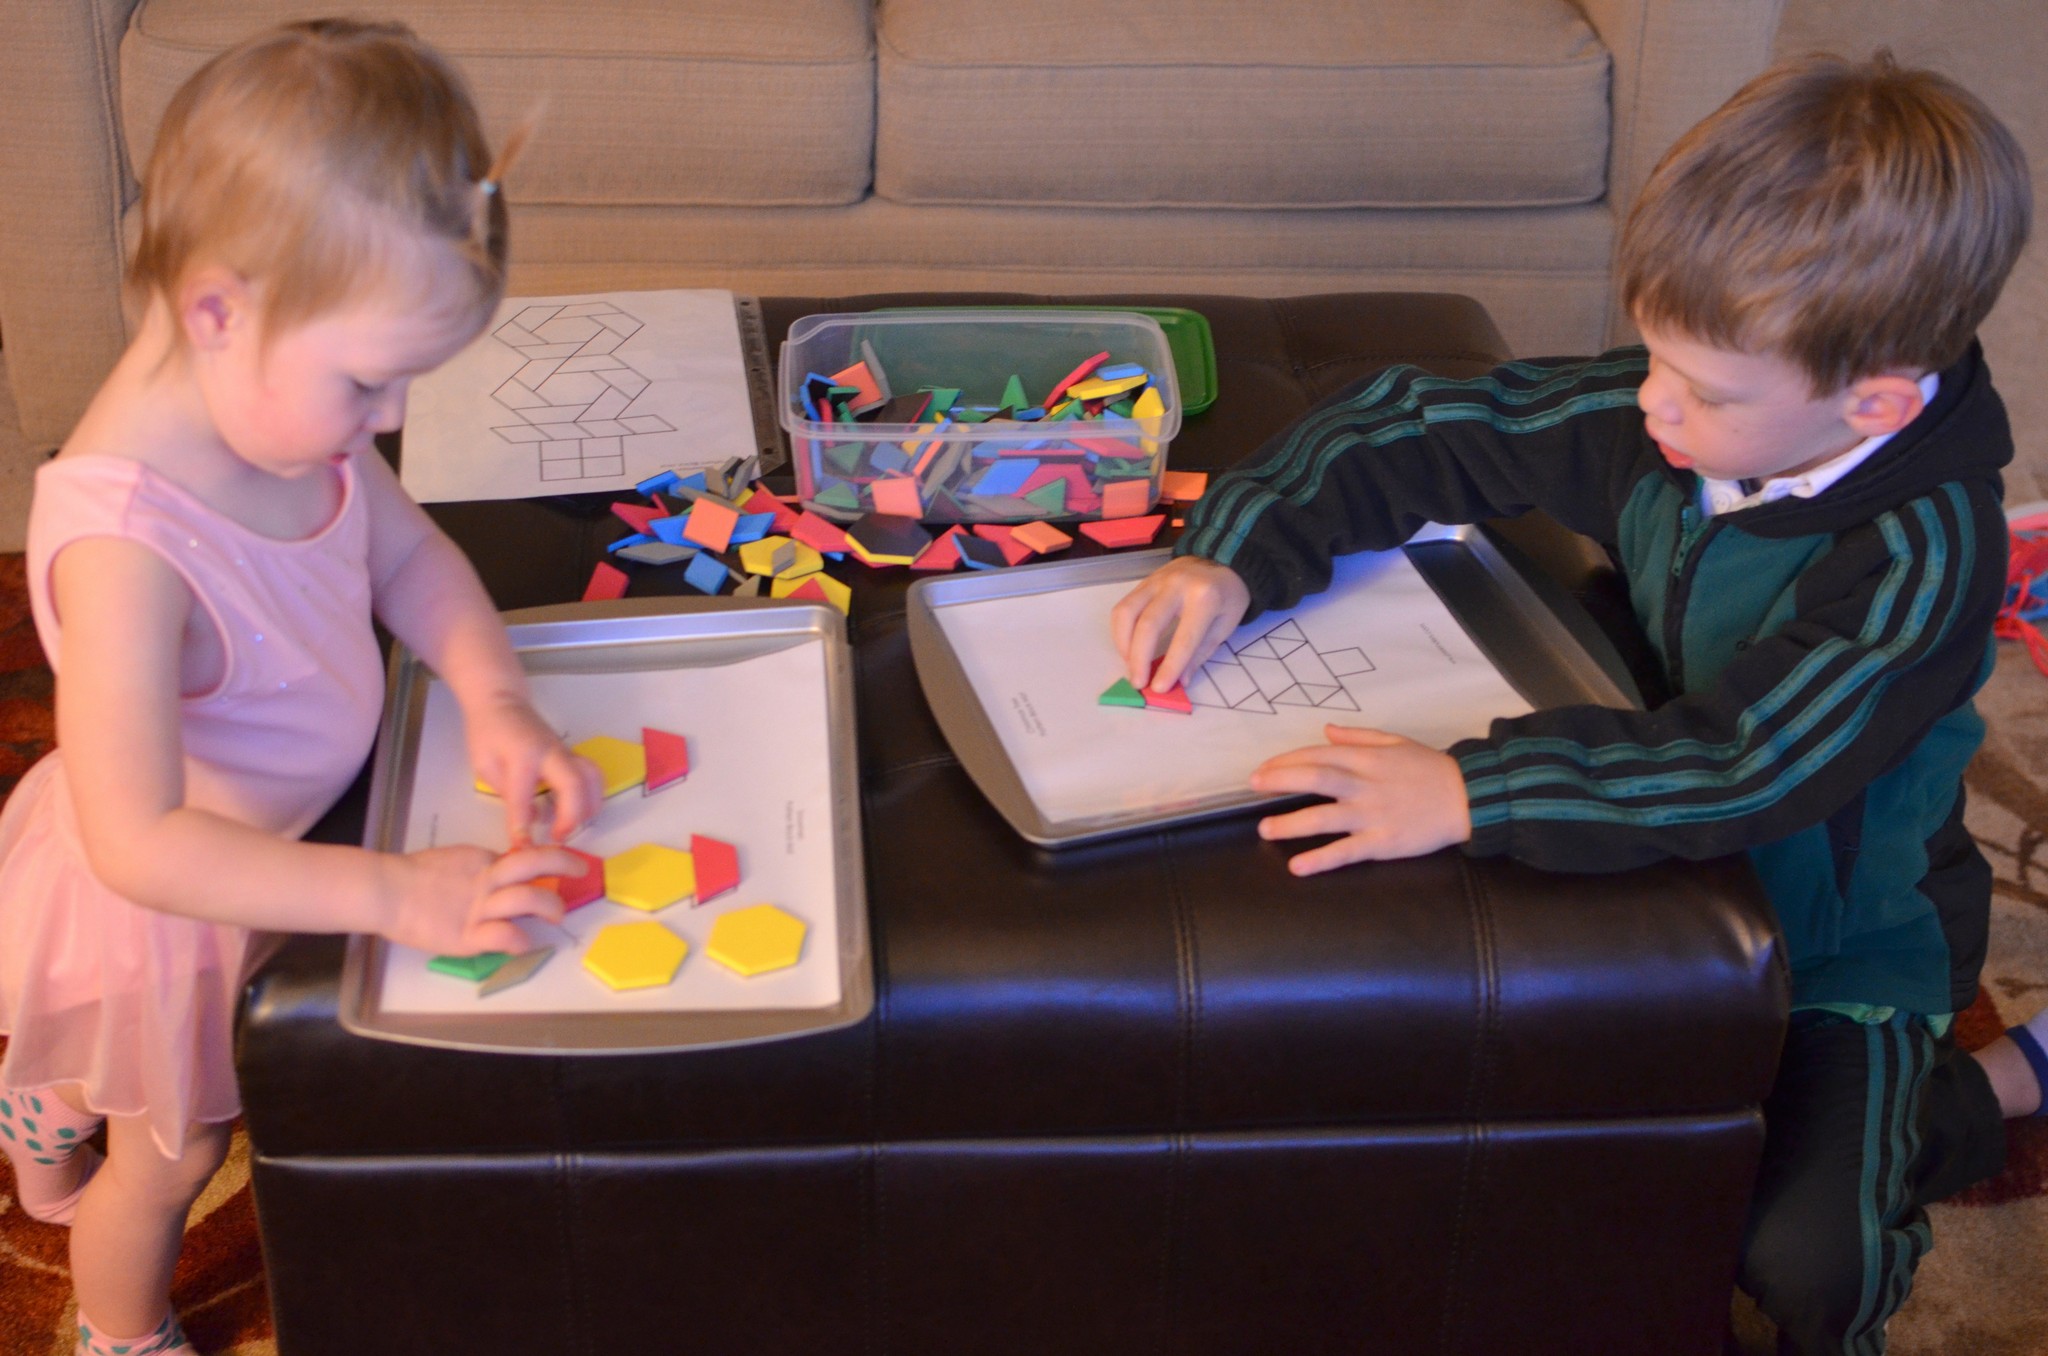
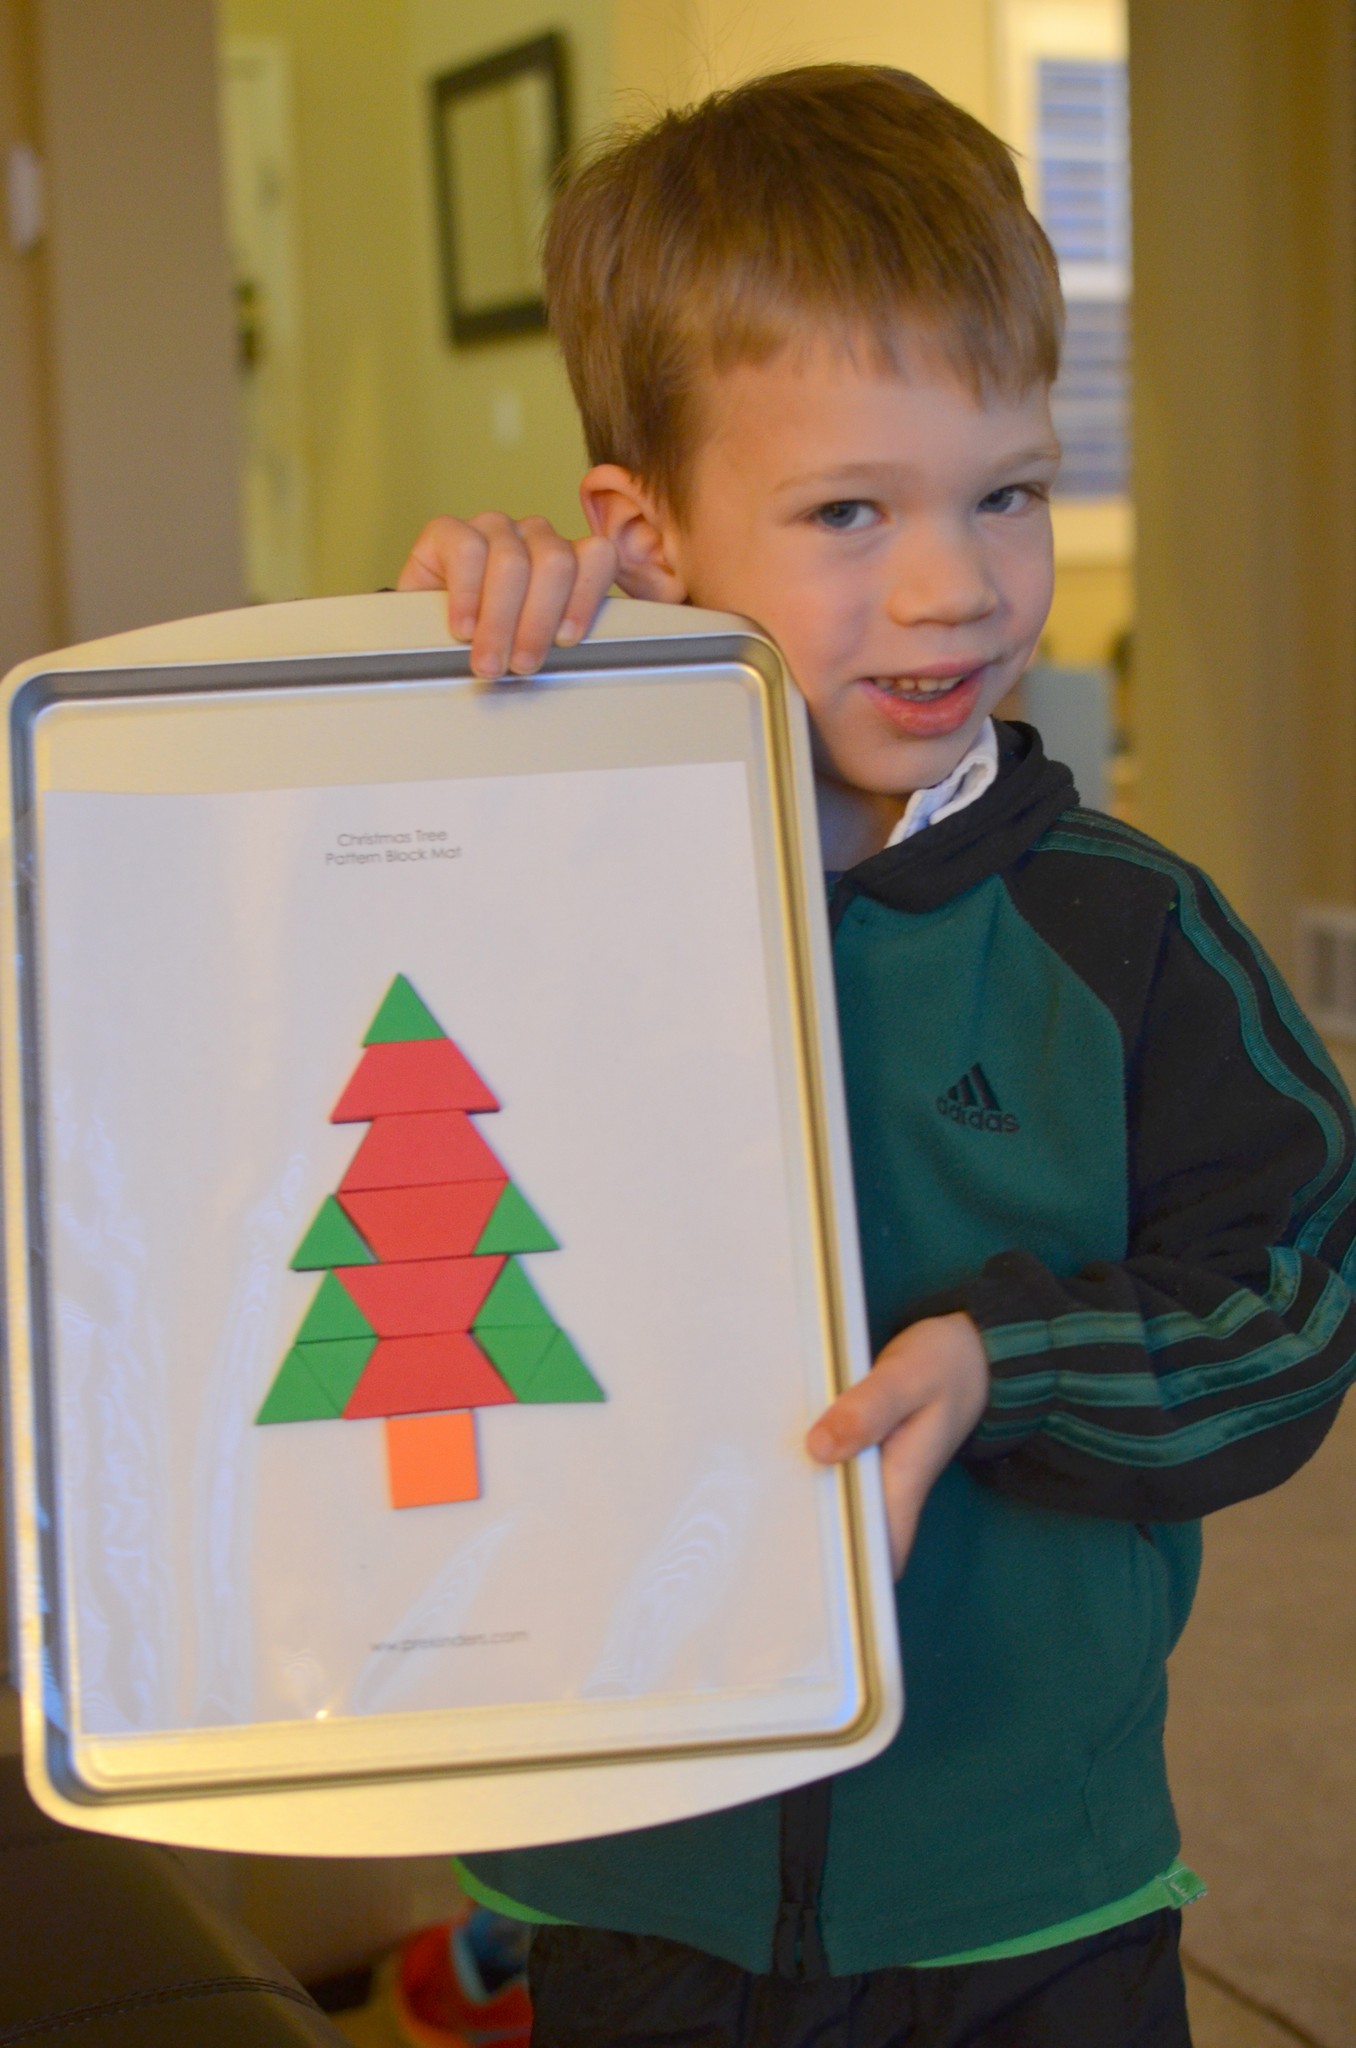
Day 4: Christmas Block Patterns
I had ordered these blocks and found block patterns for our Fall road trip, so it was easy to put together a binder with some Christmas patterns, thanks to the awesome blogger at this site who has worked so hard to put these patterns together!!
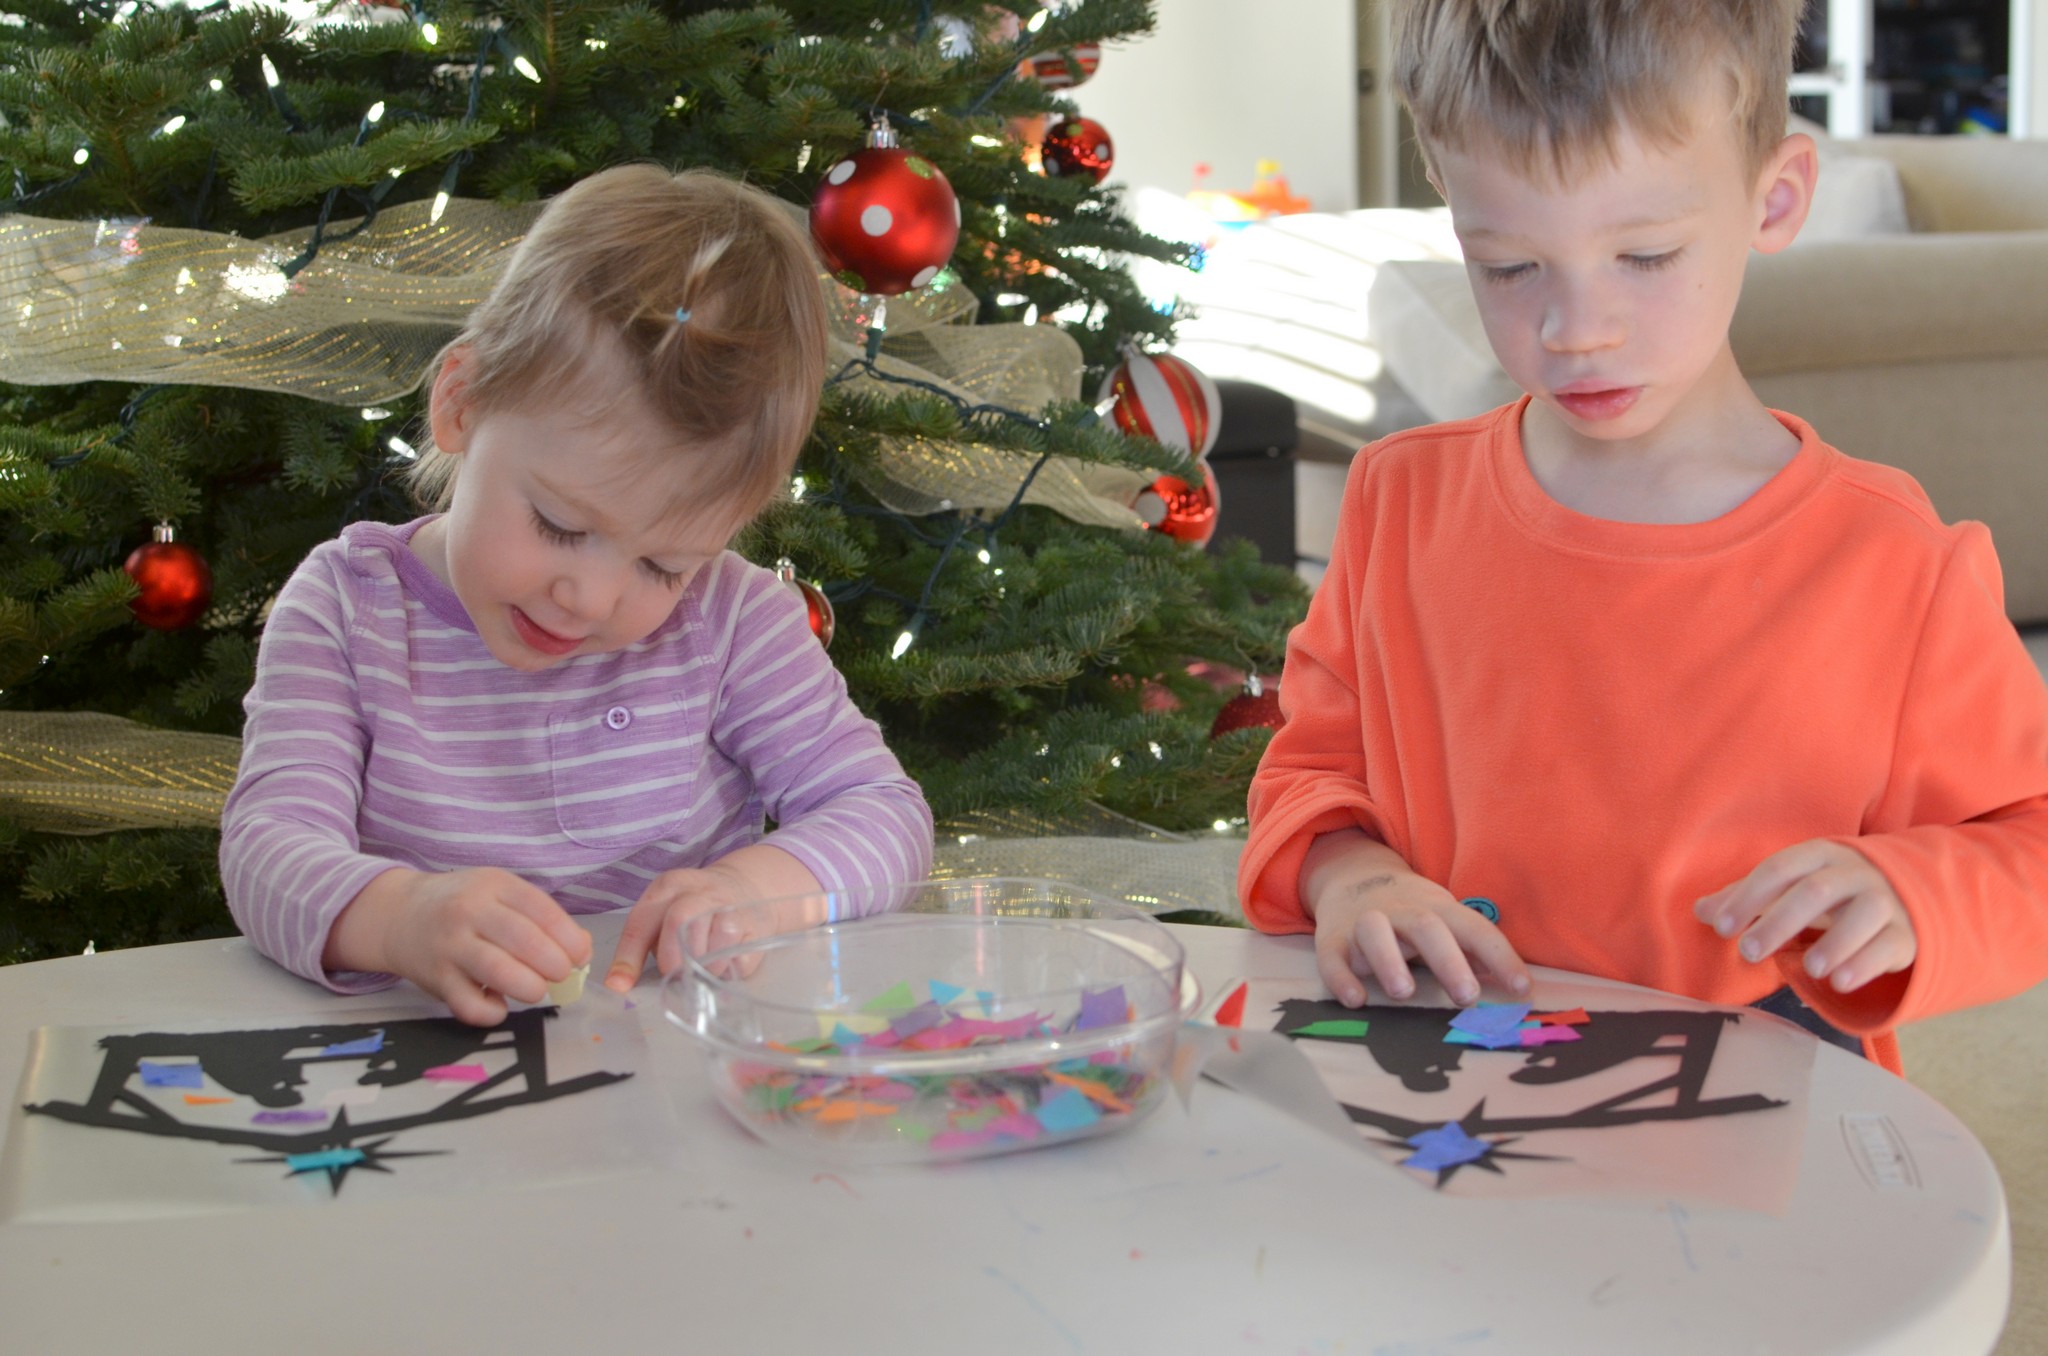
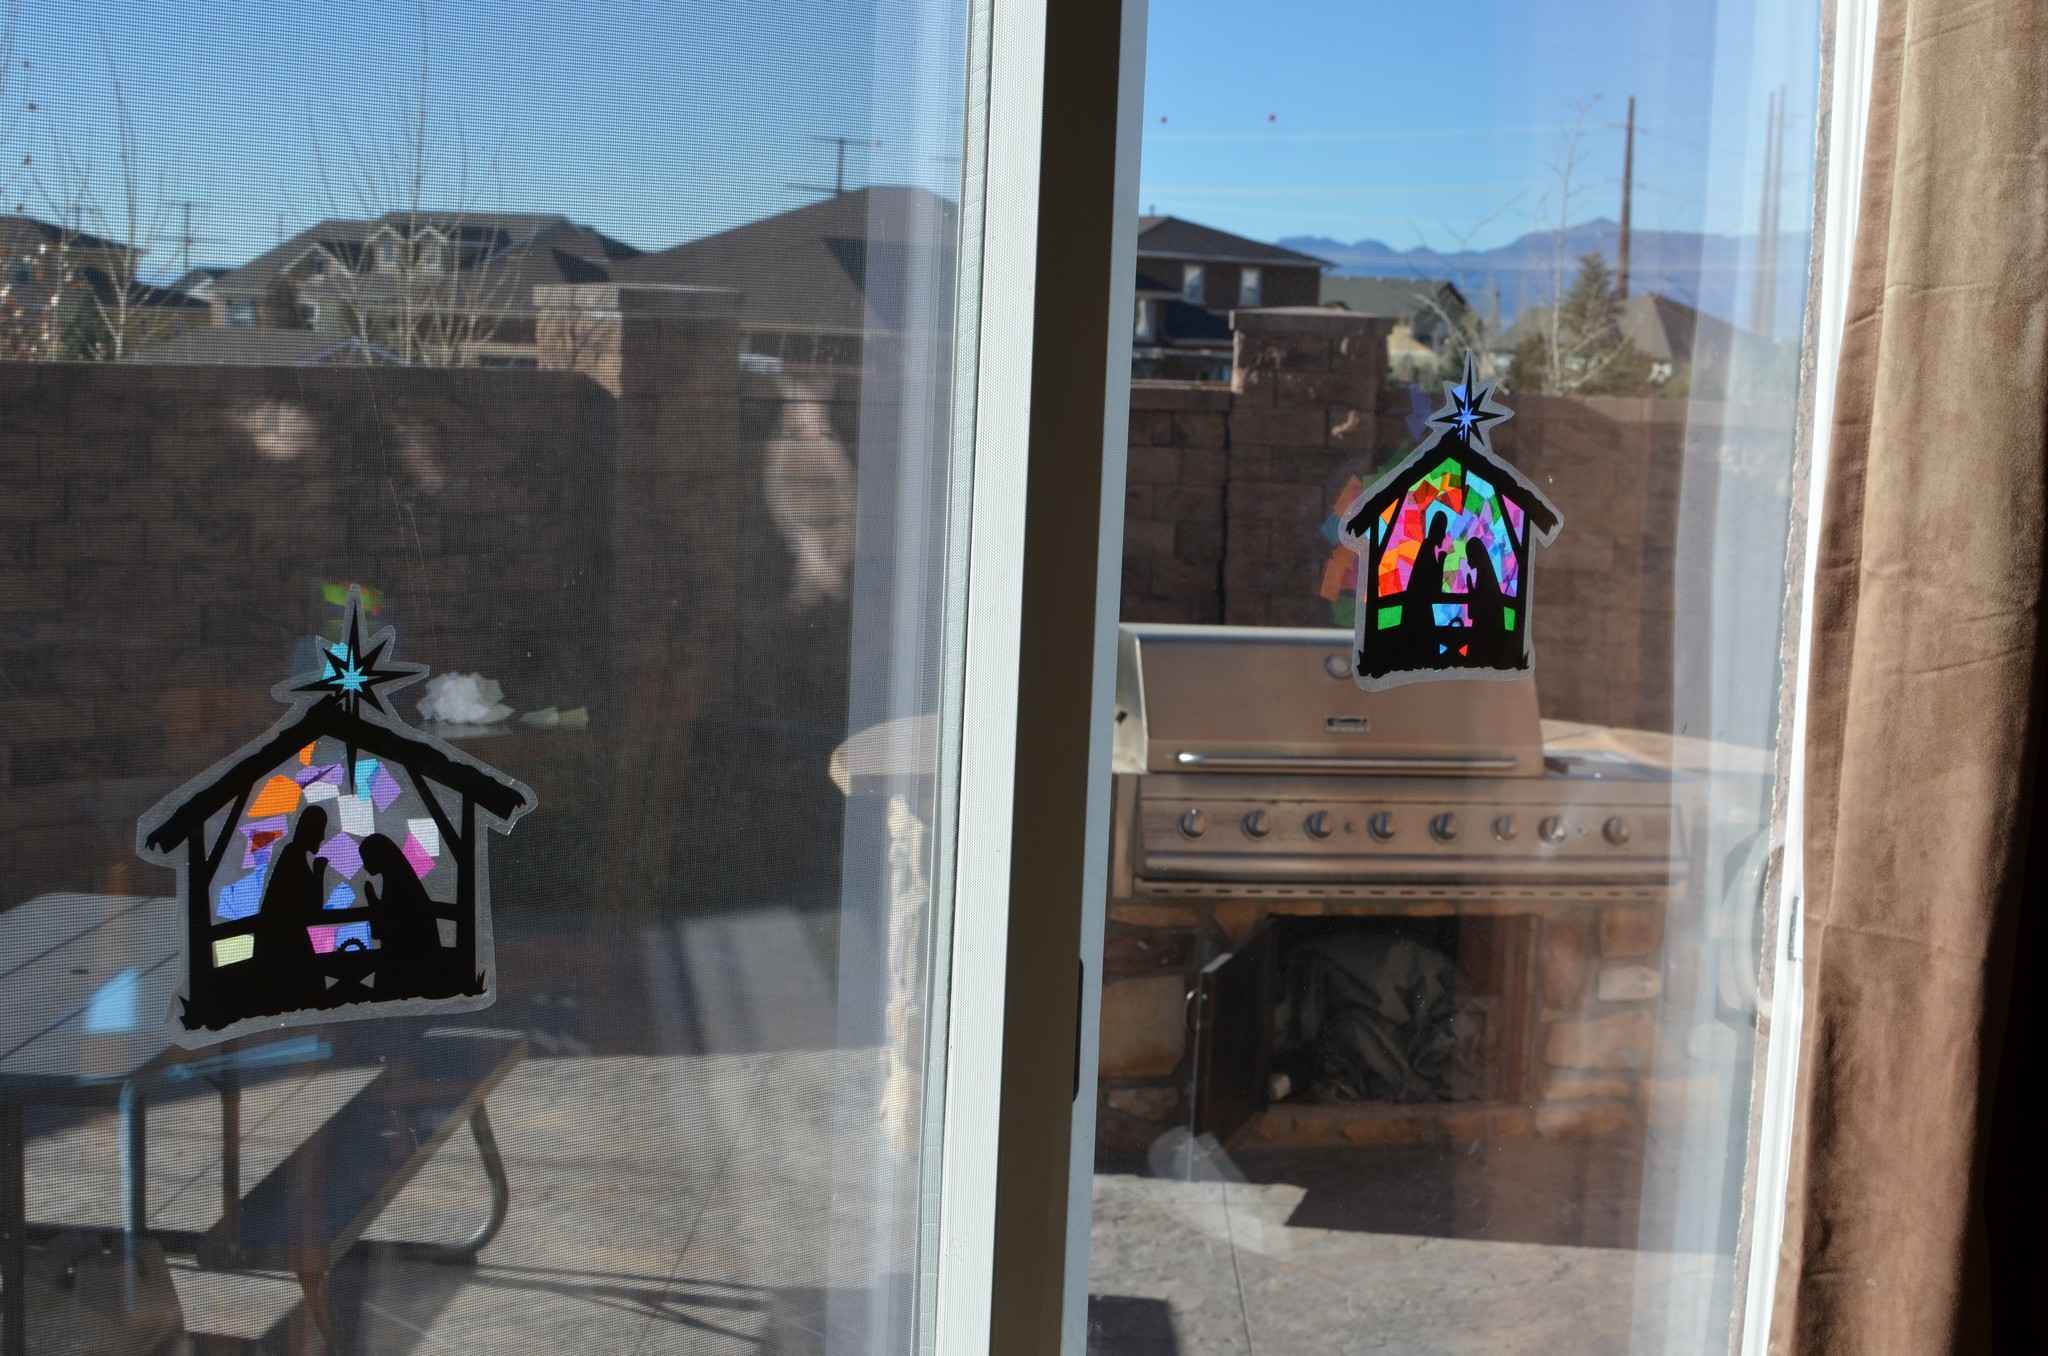
Day 5: Stained glass window nativity
Elliott had been asking me if we could do a nativity window cling for one of our crafts. I searched Pinterest and found this one and had all the supplies. So I pulled out my Silhouette, cut out the black part for each of the kids and had it ready for the kids the next day. The kids both loved the craft, although Selah liked her stained glass a little on the “uncluttered” side so she was done in a matter of minutes. Elliott worked meticulously to fill in every space and gap. I think they turned out beautifully!!
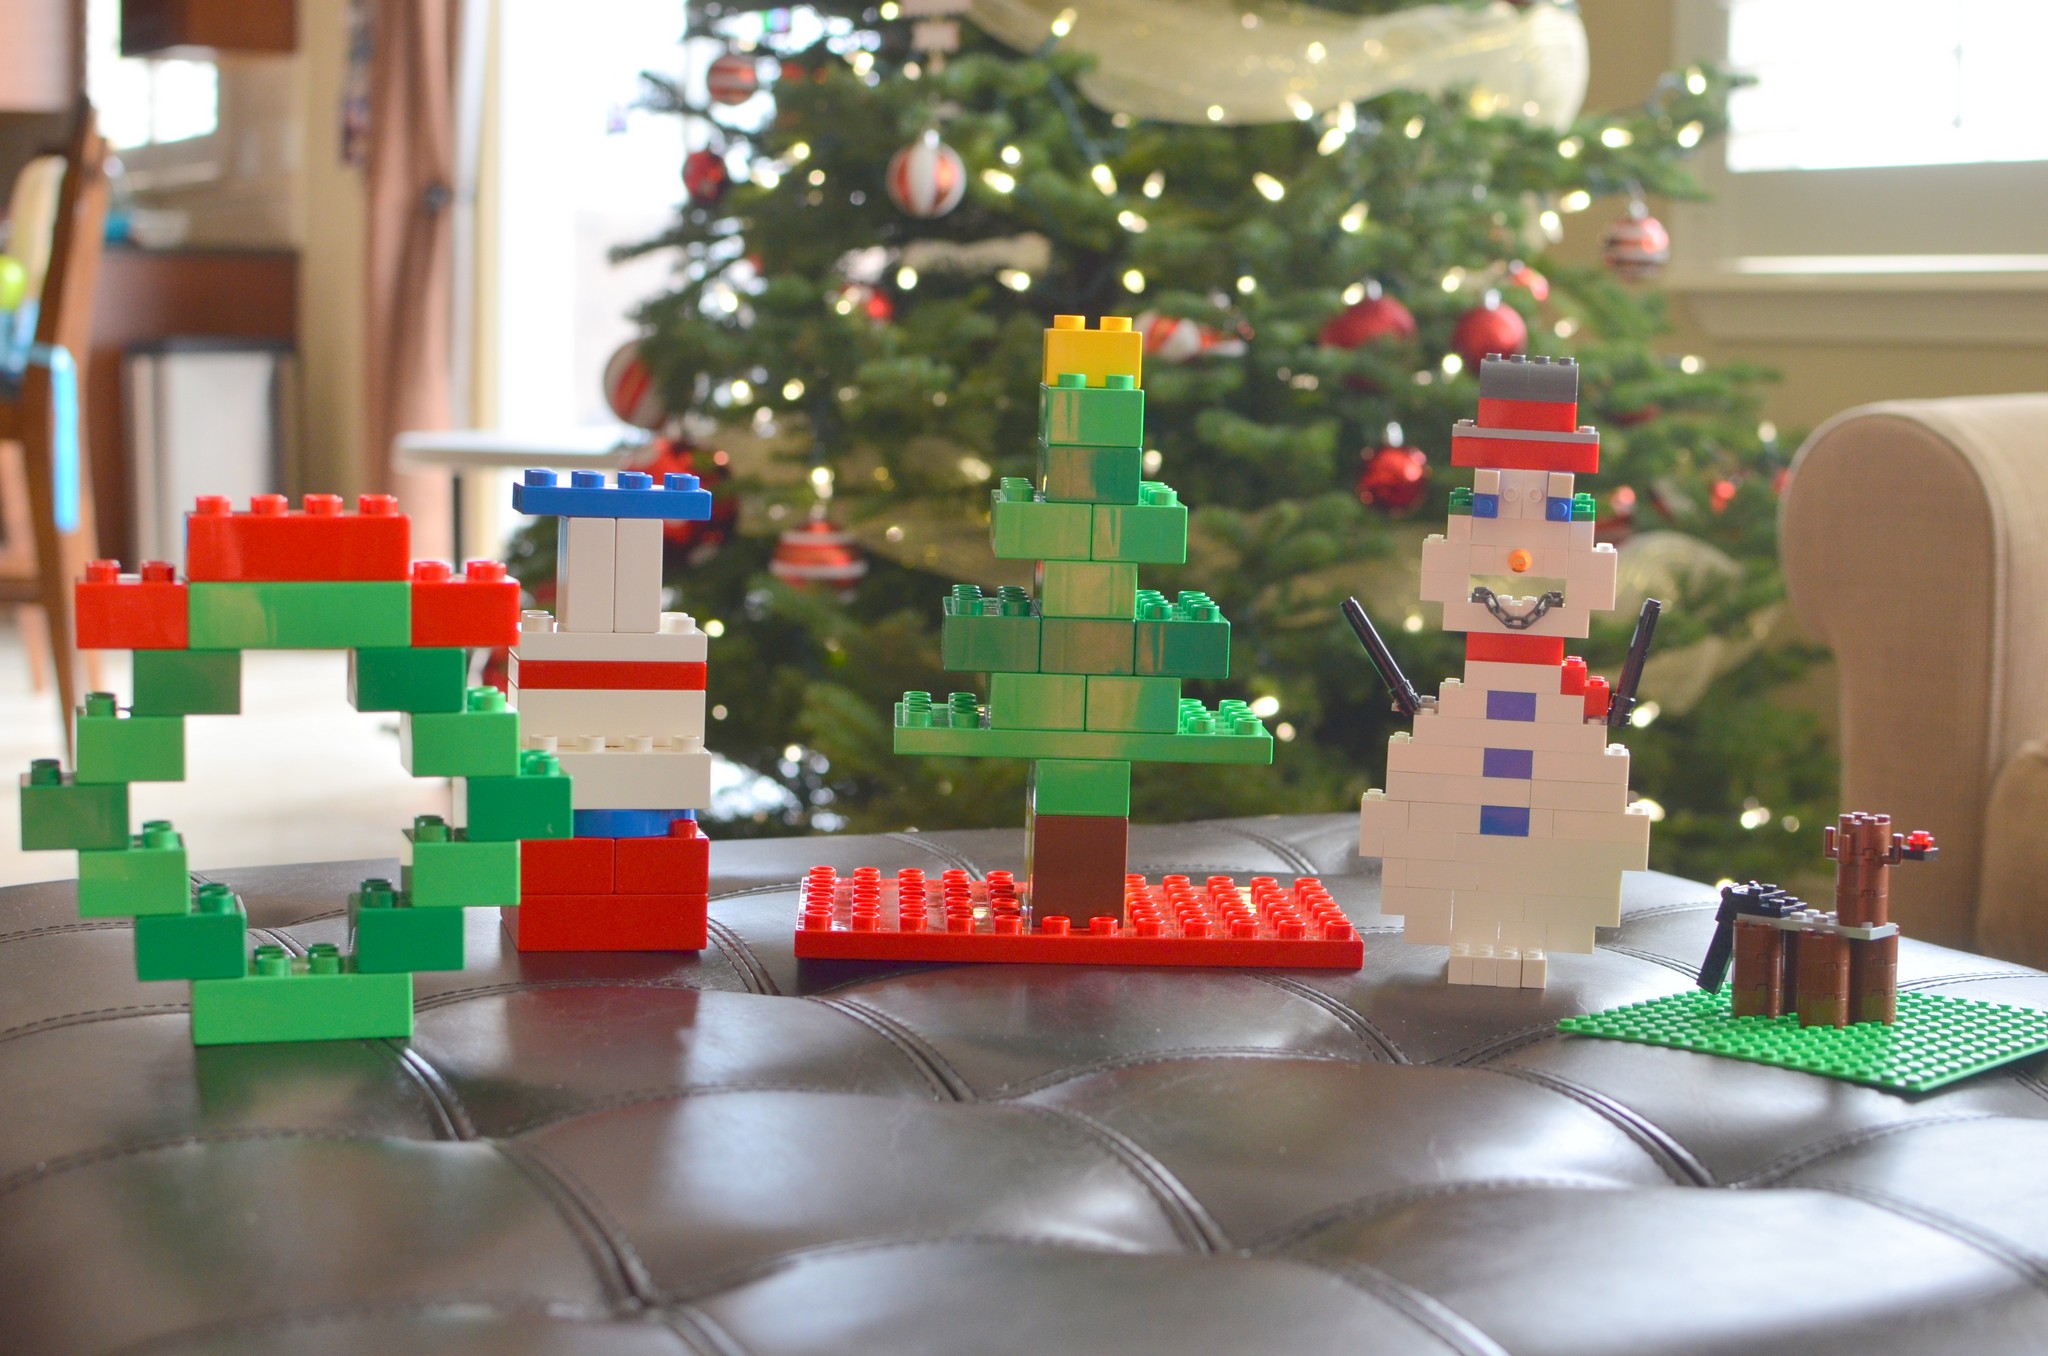
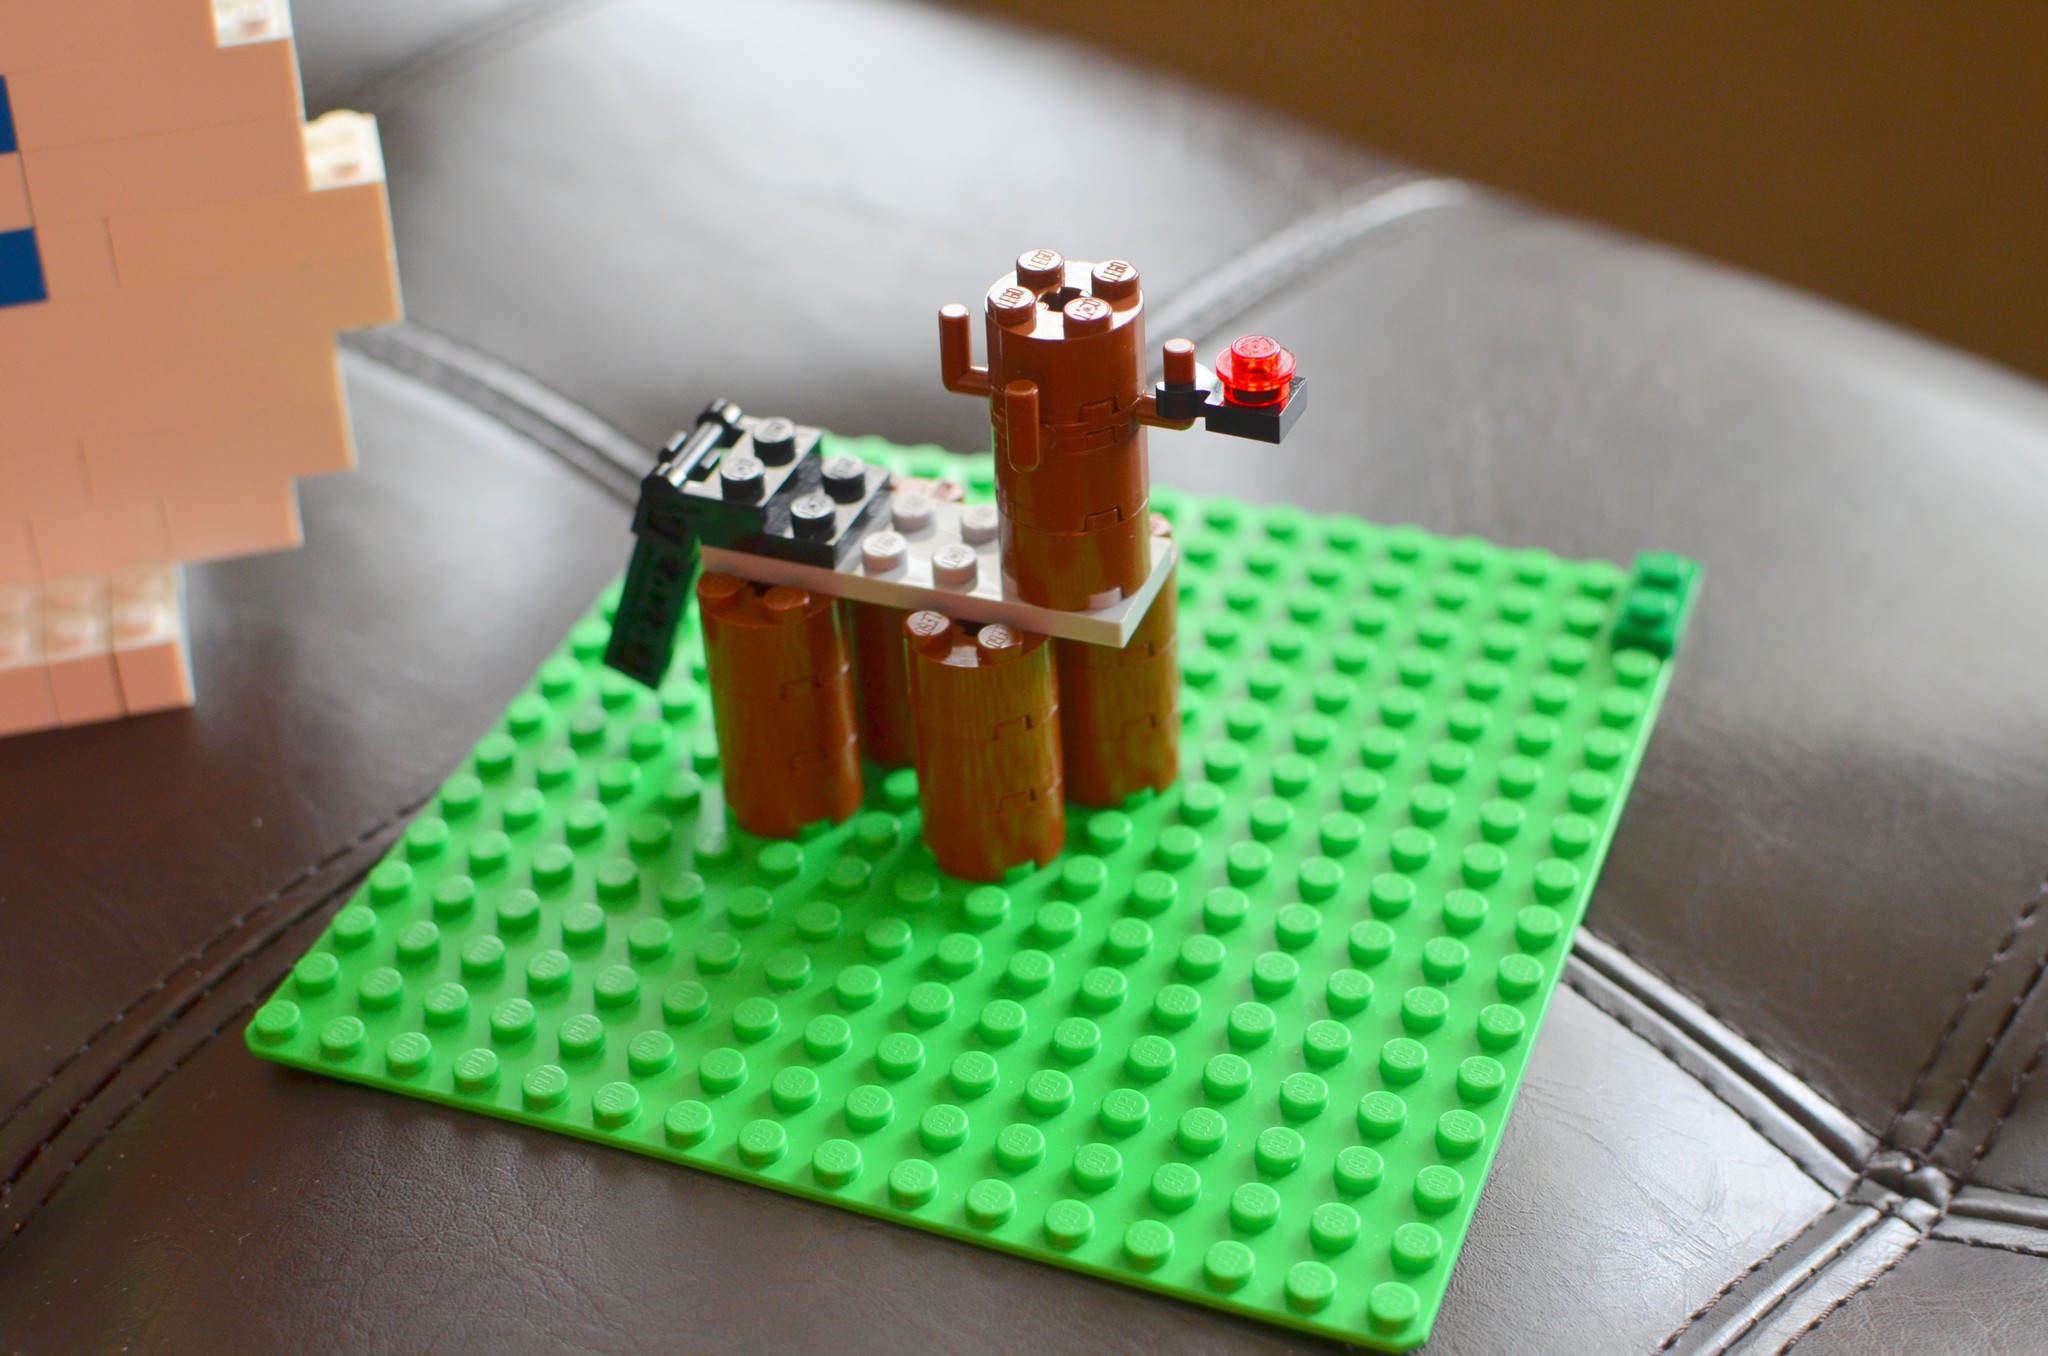
Day 6: Lego Christmas creations with Daddy!!
I had been wanting to do Lego creations with the kids but, I’ll be honest, I don’t do well when I don’t have instructions :). Brian’s been helping me learn how to let my inner Lego woman loose (ha!) and just BUILD, but I still need to spend a few minutes breathing into a paper bag when Elliott asks me to make a police car, for instance, without any instructions. I know, gasp!!!! So I only felt comfortable doing this activity when Brian was taking the lead…and with him by my side, I even built this Snowman (mostly) by myself without any instructions!! Ha!! 🙂 We all had a lot of fun constructing :).

Day 7: Put up Christmas lights outside
I’ll be honest, I had nothing planned or ready to do this day and Elliott had been ASKING and ASKING why we didn’t have lights up outside, so we finally did it :).
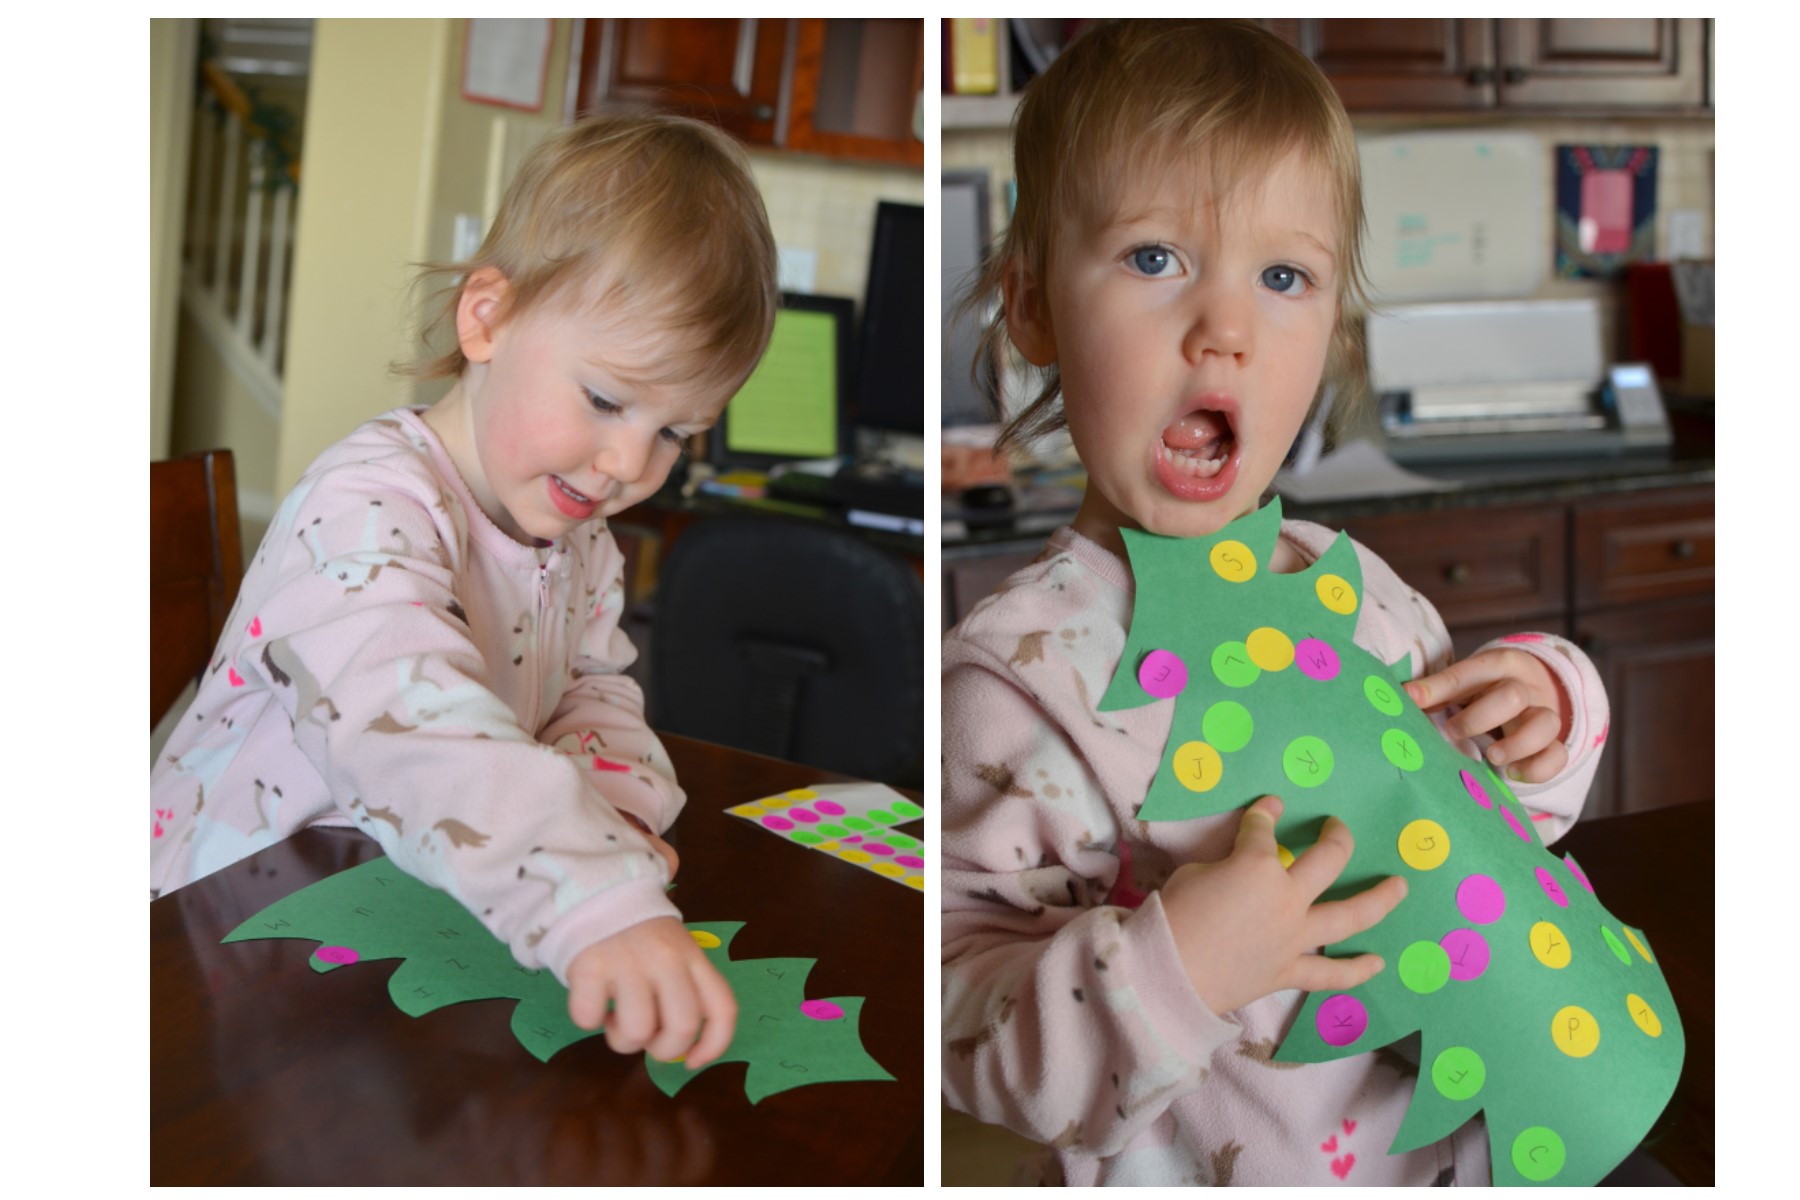
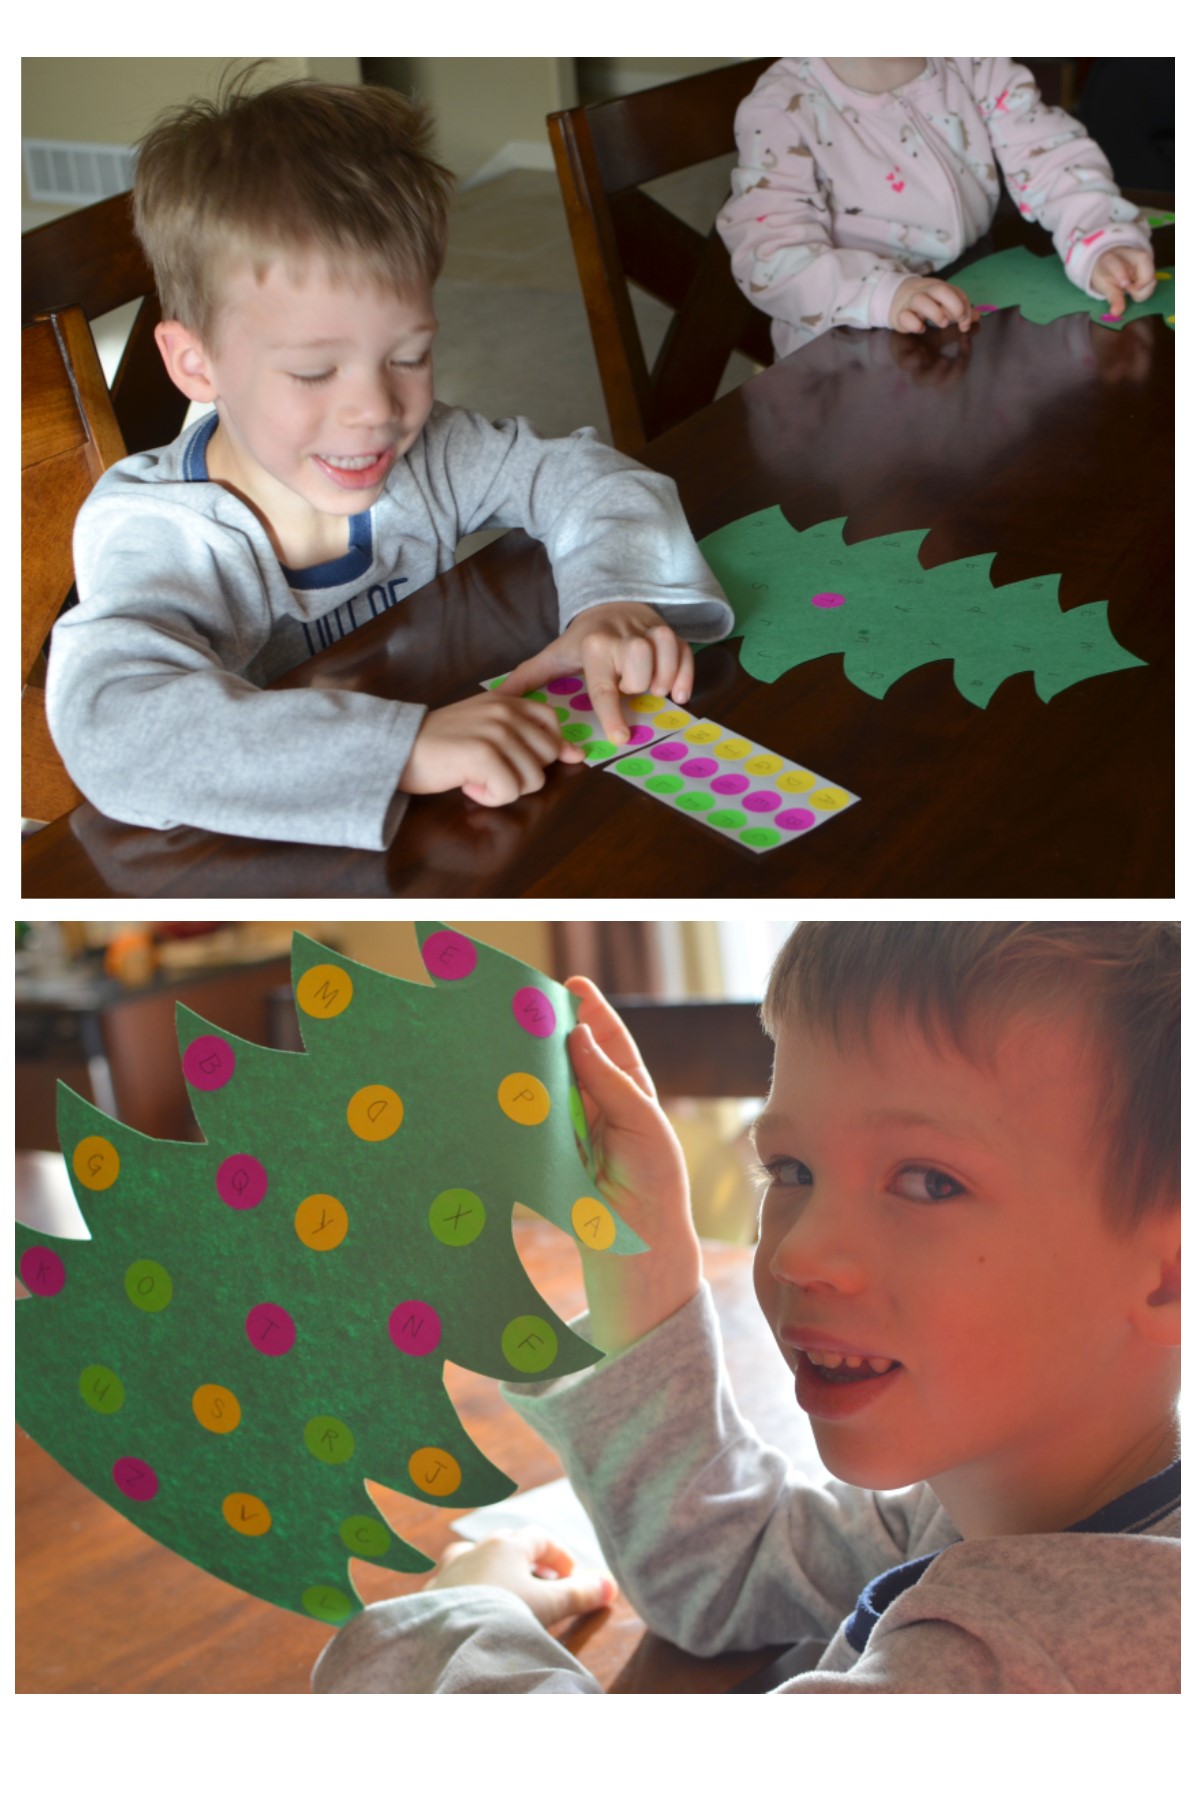
Day 8: Christmas tree fun!
I did two new crafts and used an old one from last year! The first–I cut out two green Christmas trees (one for each kid) and then randomely wrote A-Z throughout the tree. I also wrote the letters on some circle dots. The kids had to match the letters. This was PERFECT for Selah (26 months), and for Elliott (3 1/2), I did capital letters on the tree and lower case letters on the stickers and it made the activity a tiny bit more challenging for him.
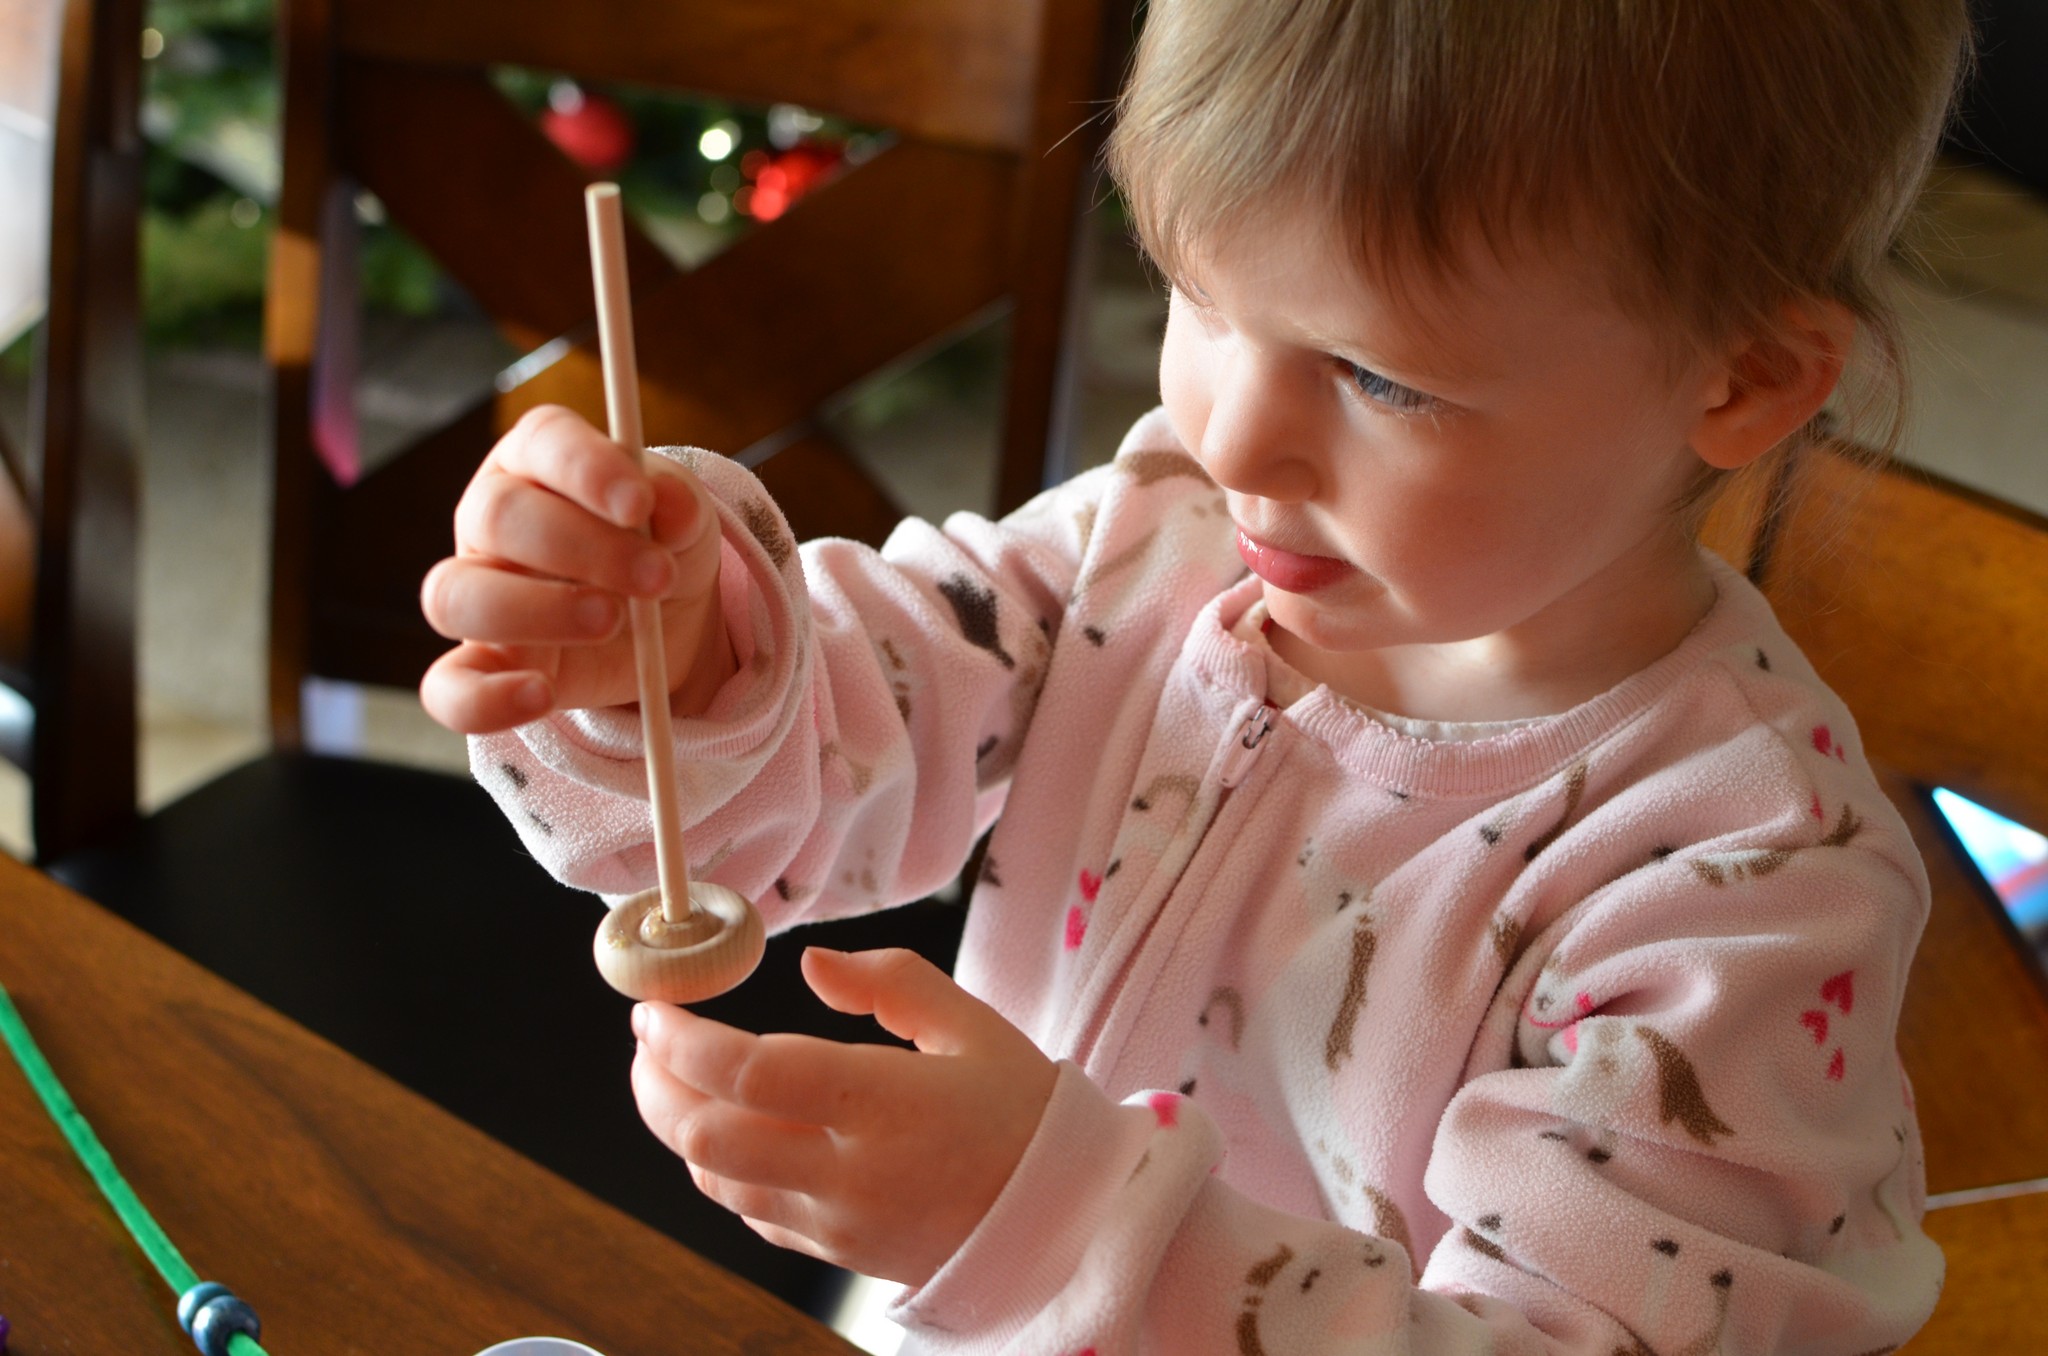
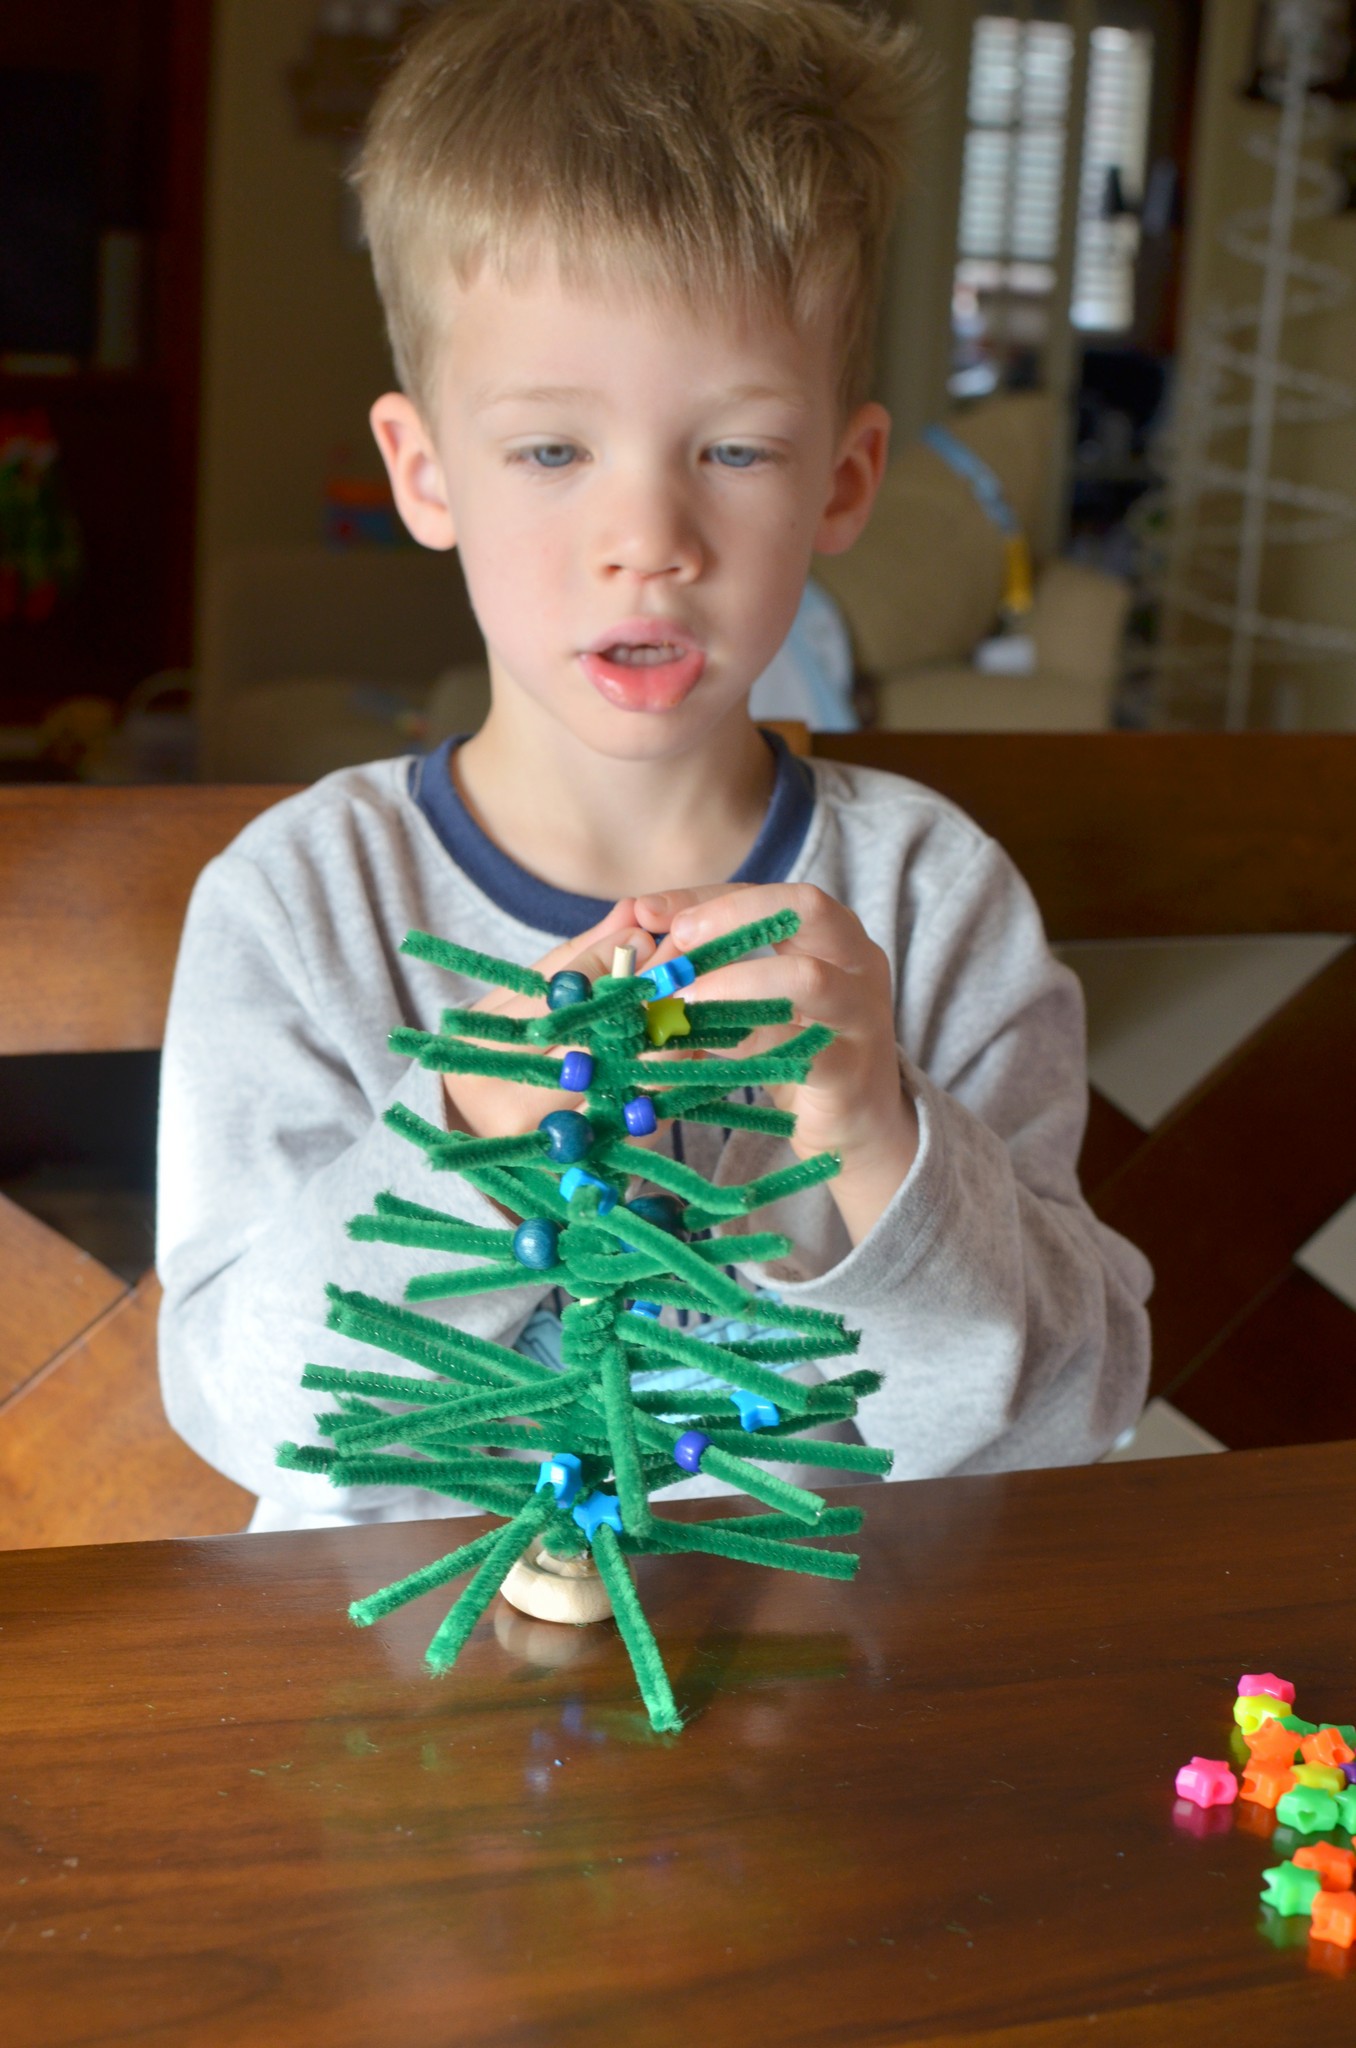
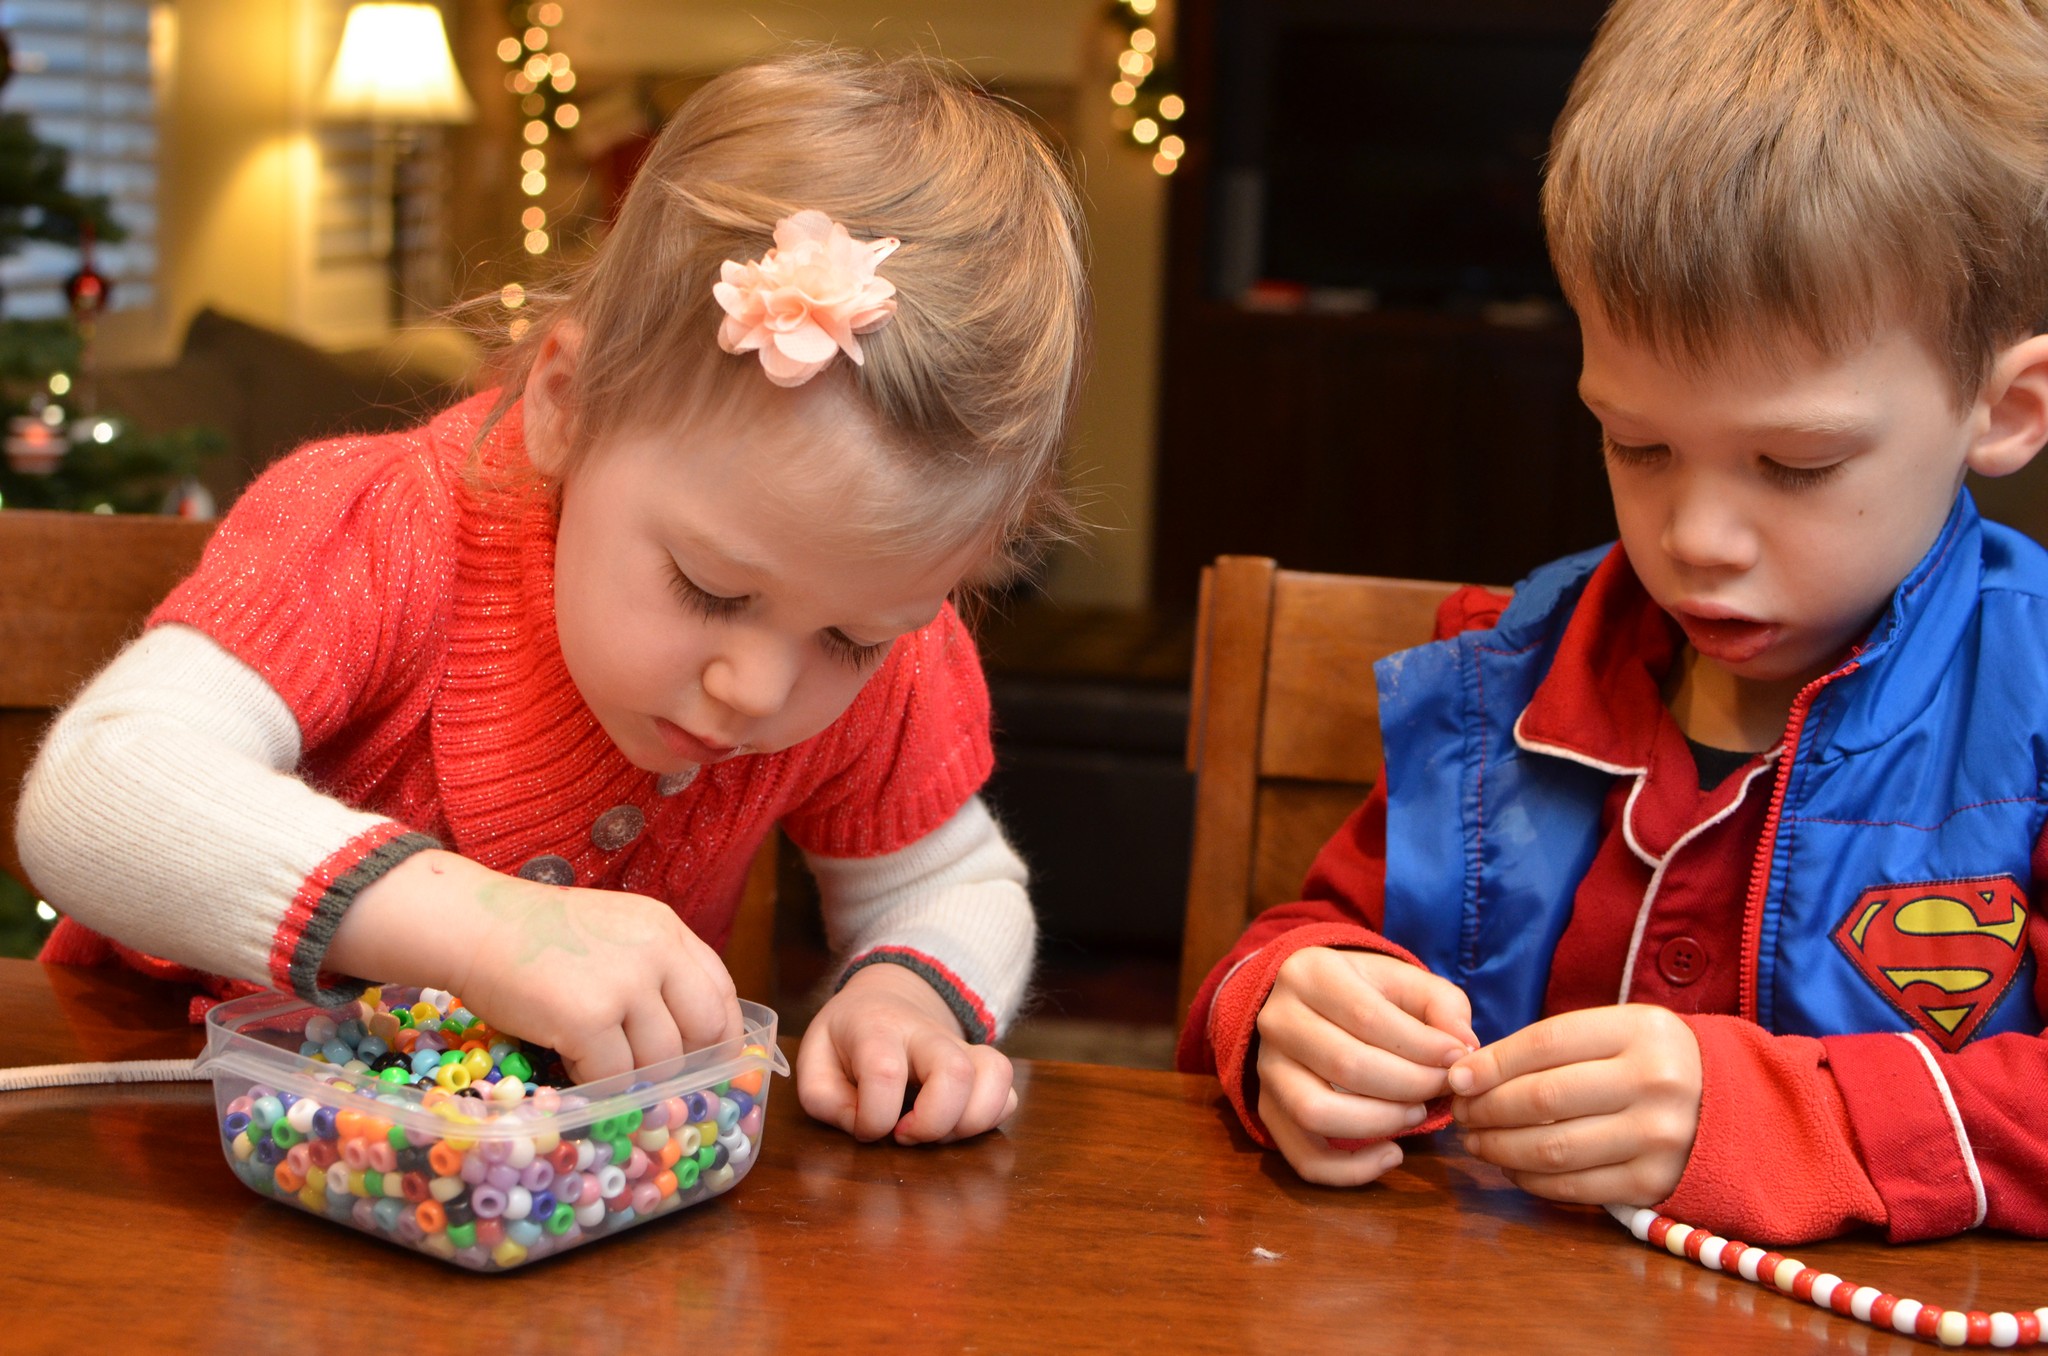
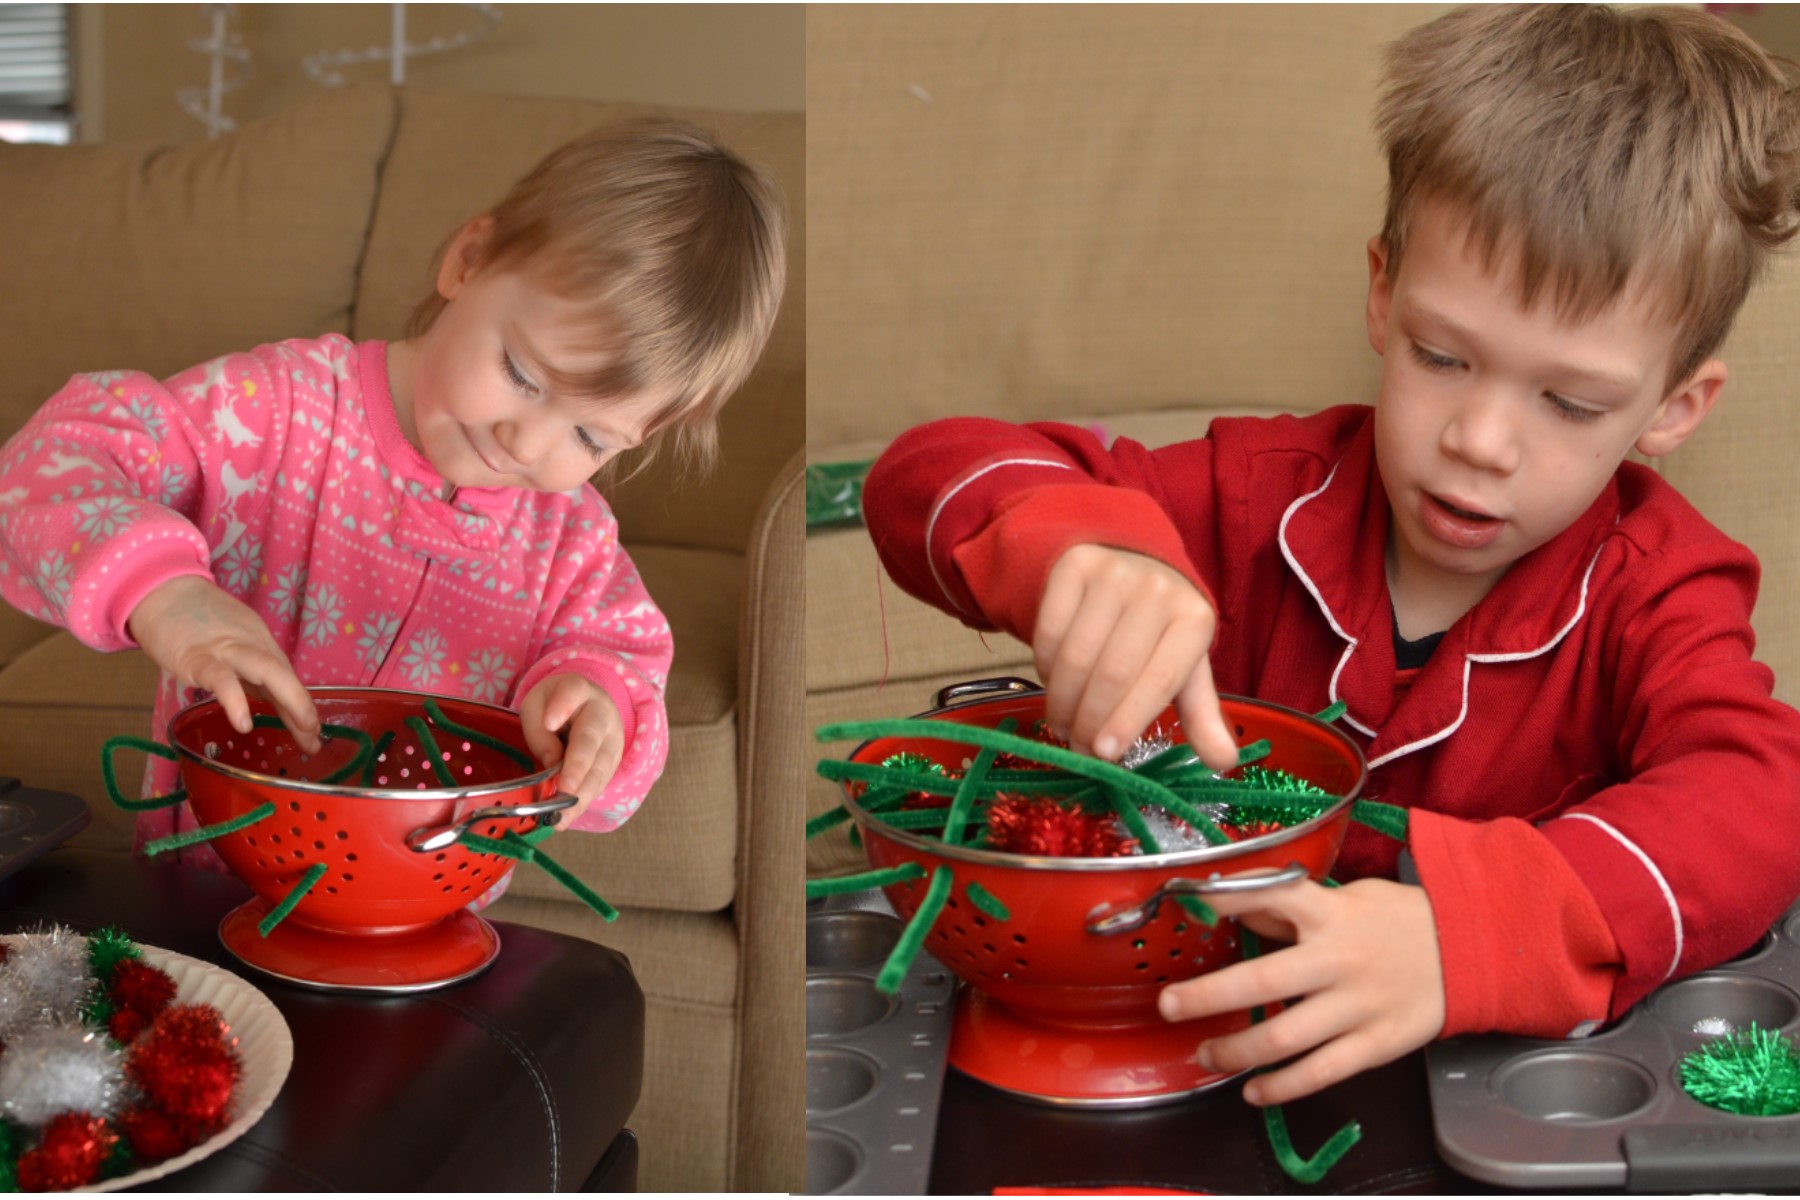
The next activity wasn’t nearly as big of a hit as I thought it’d be. My kids could sit and string pony beads onto pipe cleaners for HOURS upon HOURS, so I thought I had stumbled upon the perfect craft for them–pipe cleaner Christmas trees with pony bead ornaments! But, they really only spent about 10 minutes “decorating” it and then they were both done. Oh well! 🙂 (And if you’re thinking about doing this with your kids…be sure to build the entire tree ahead of time. I did it while they were watching and it took longer than I thought and they were a little bored…)
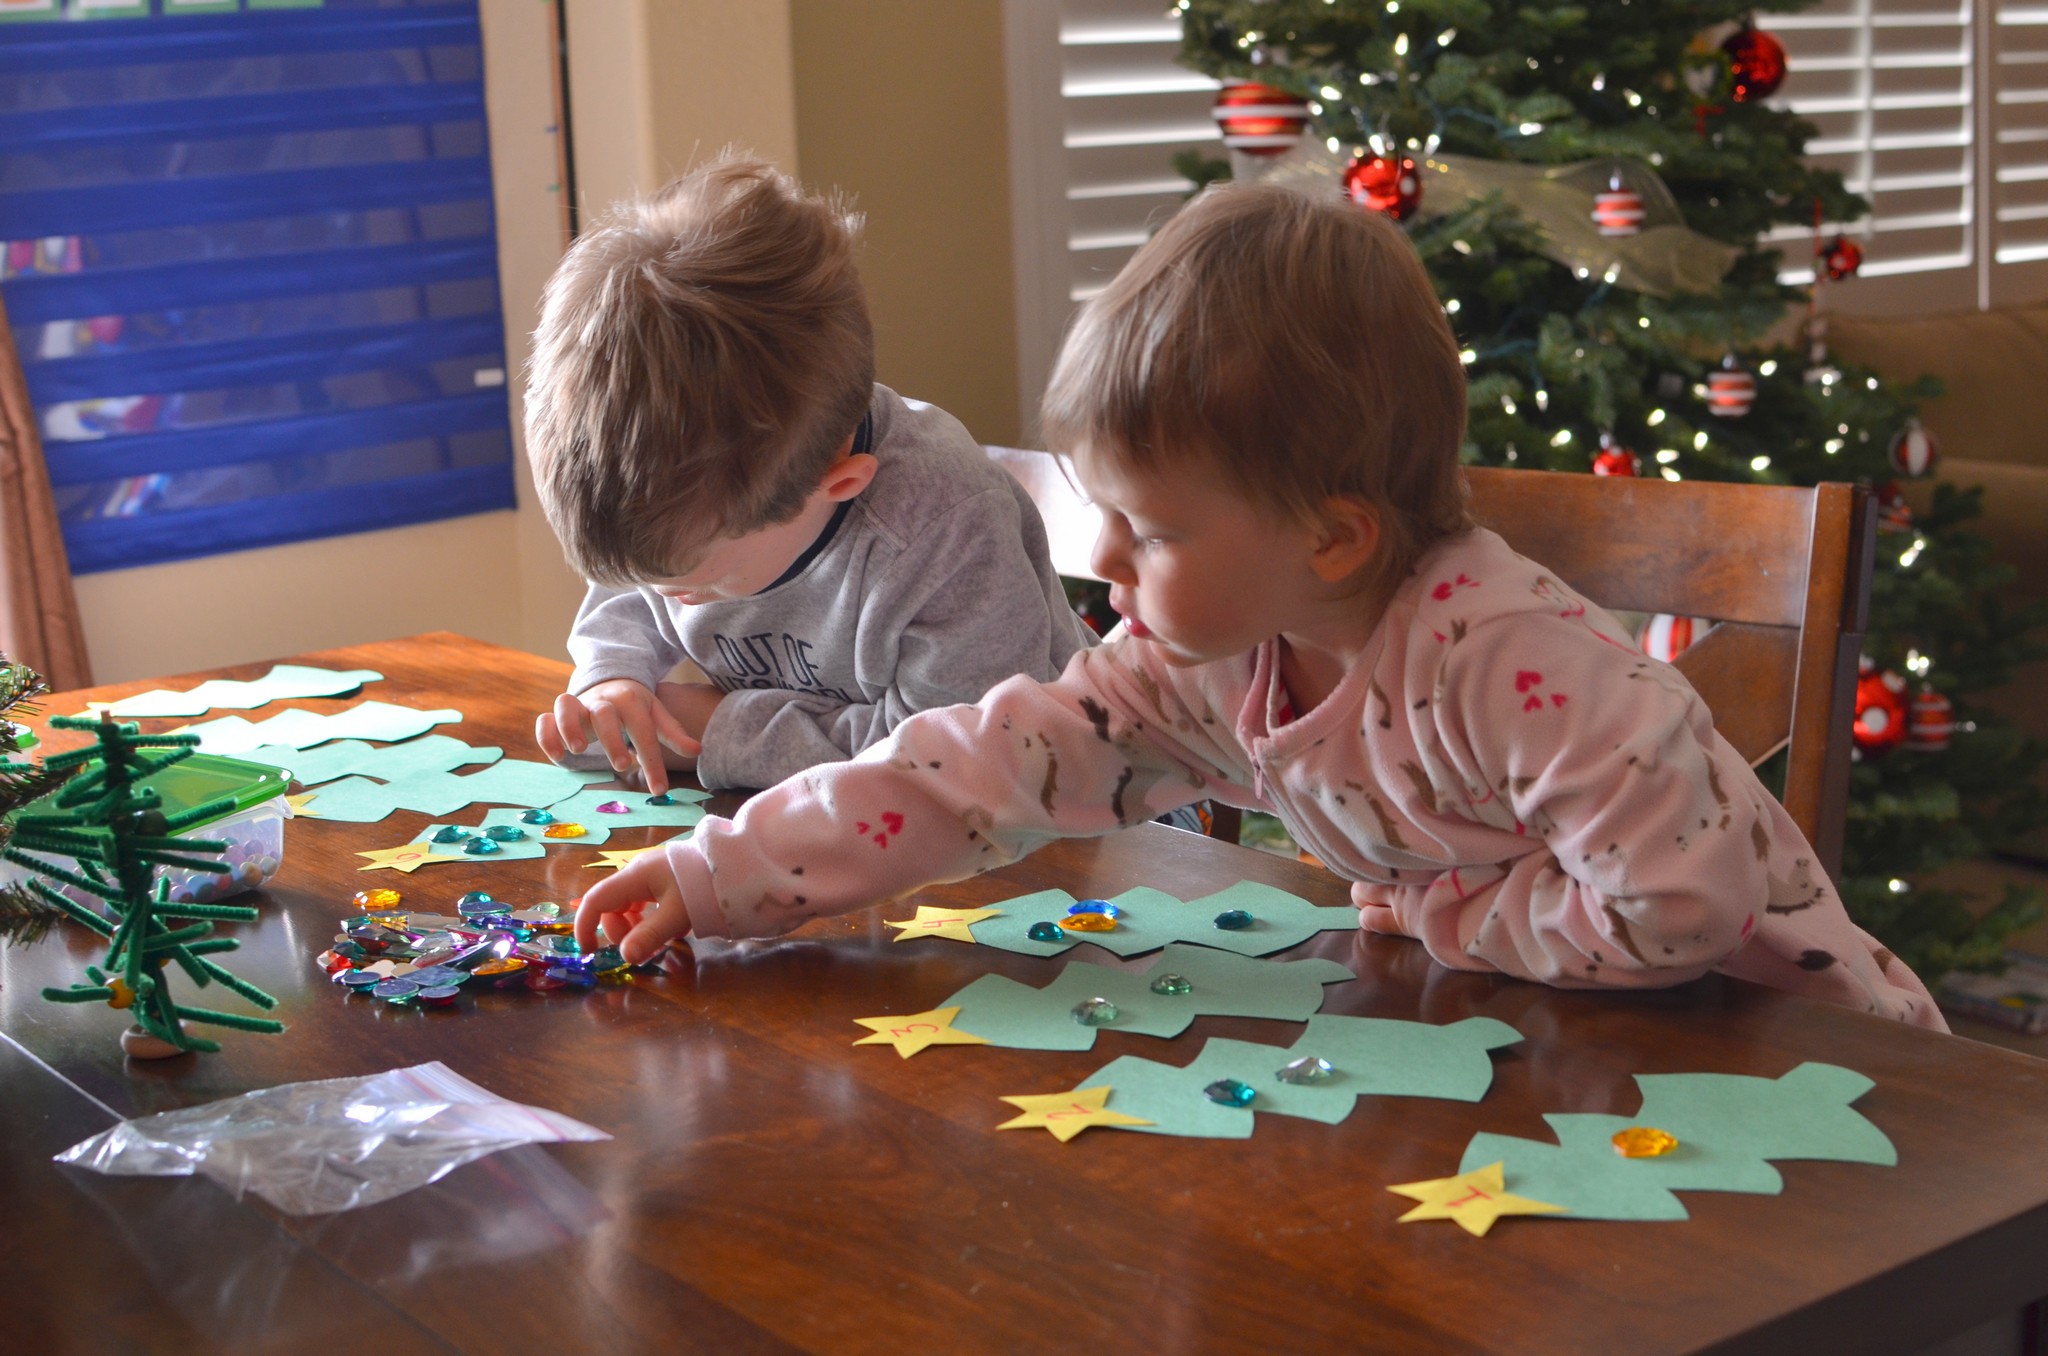
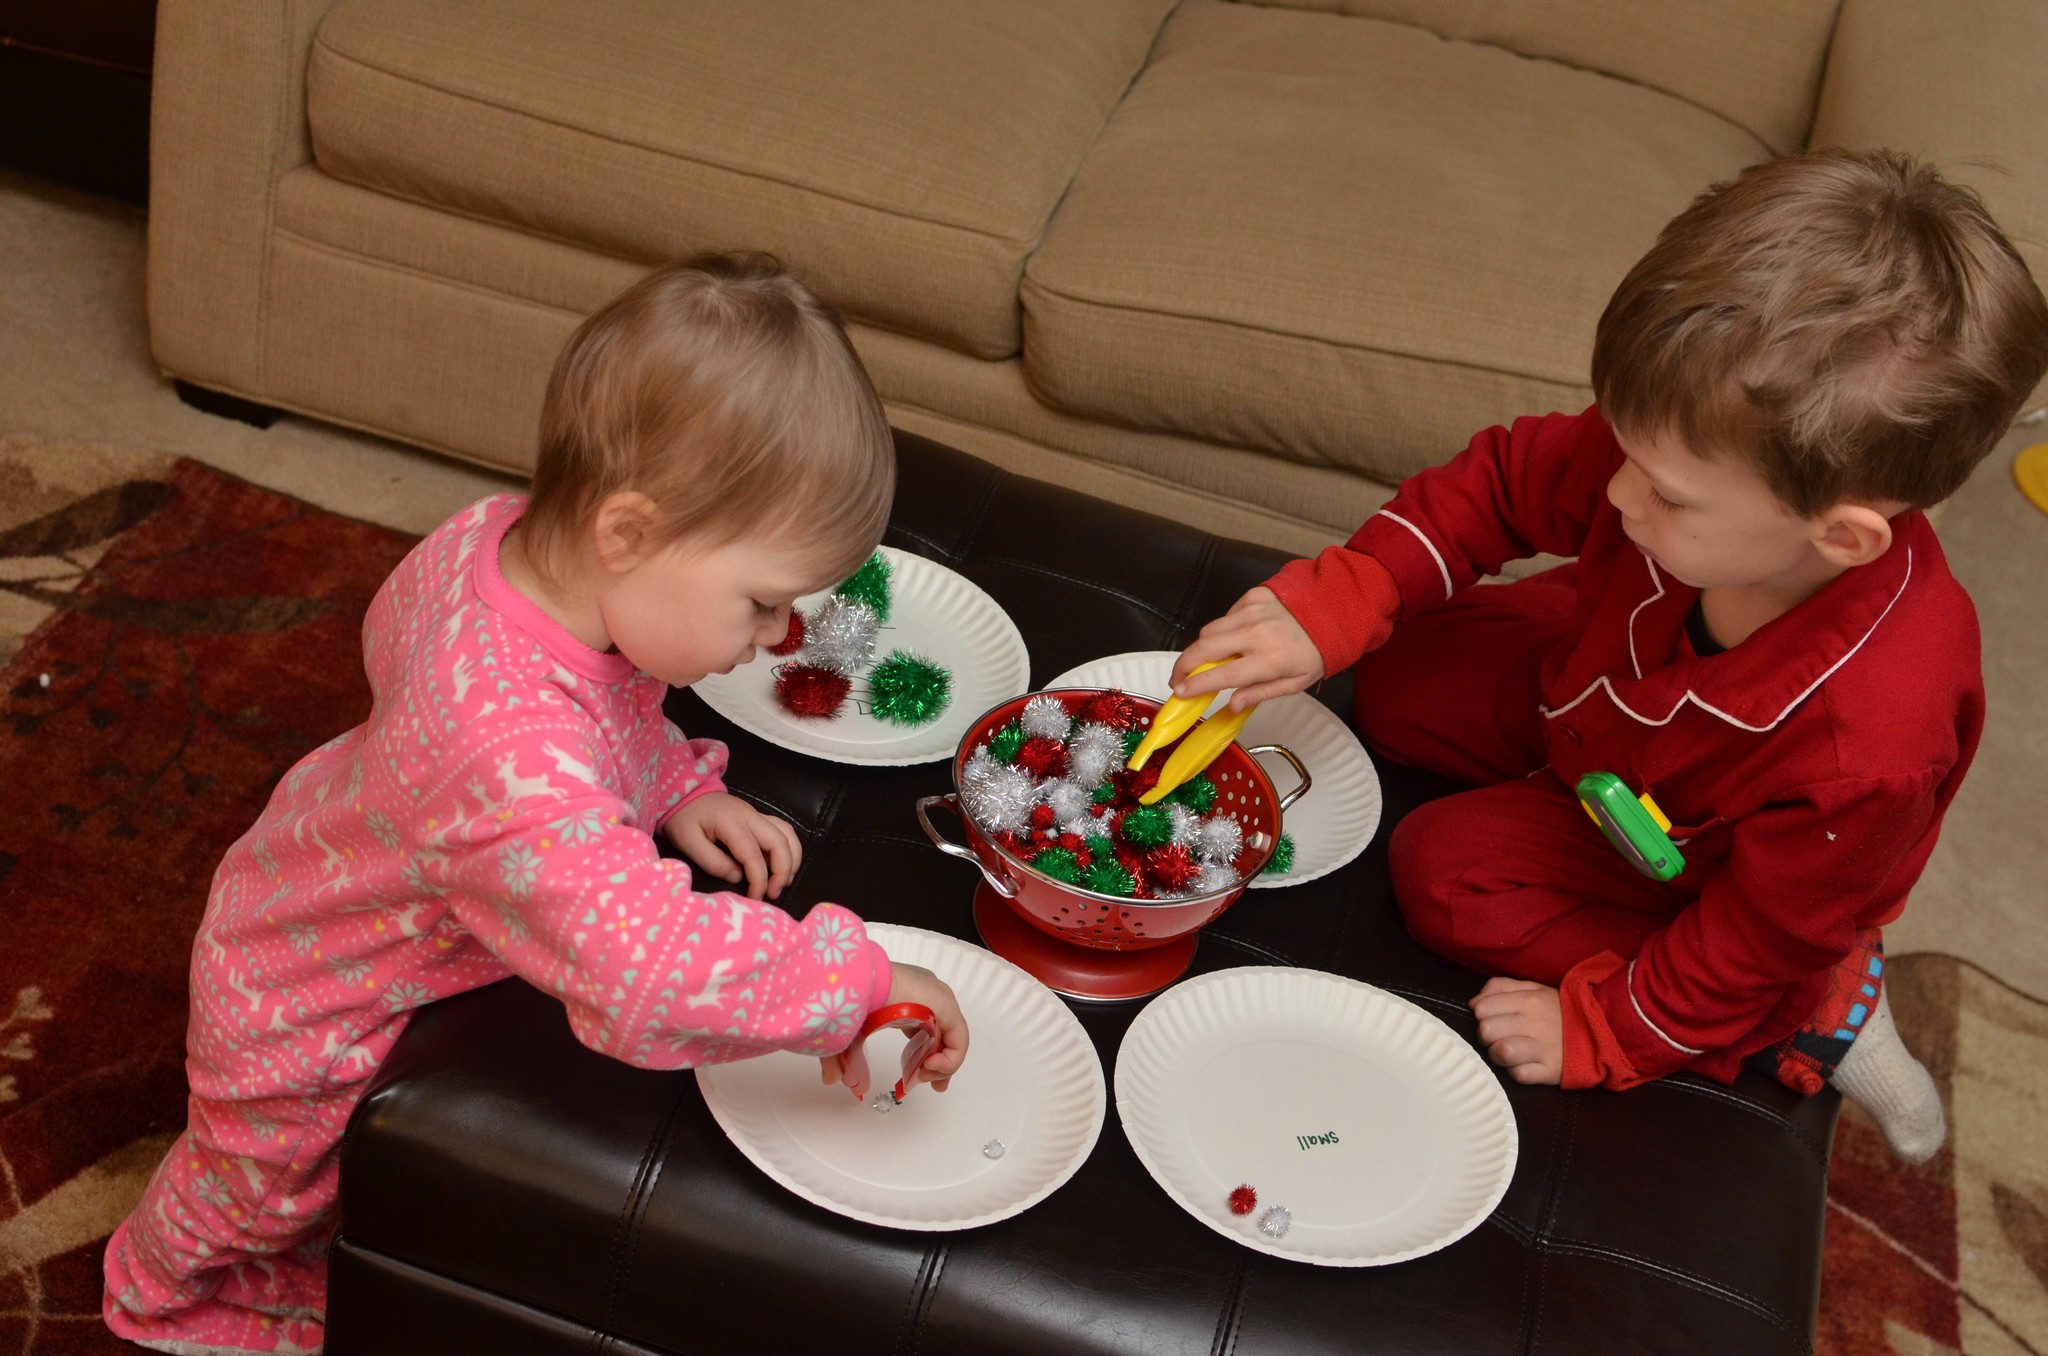
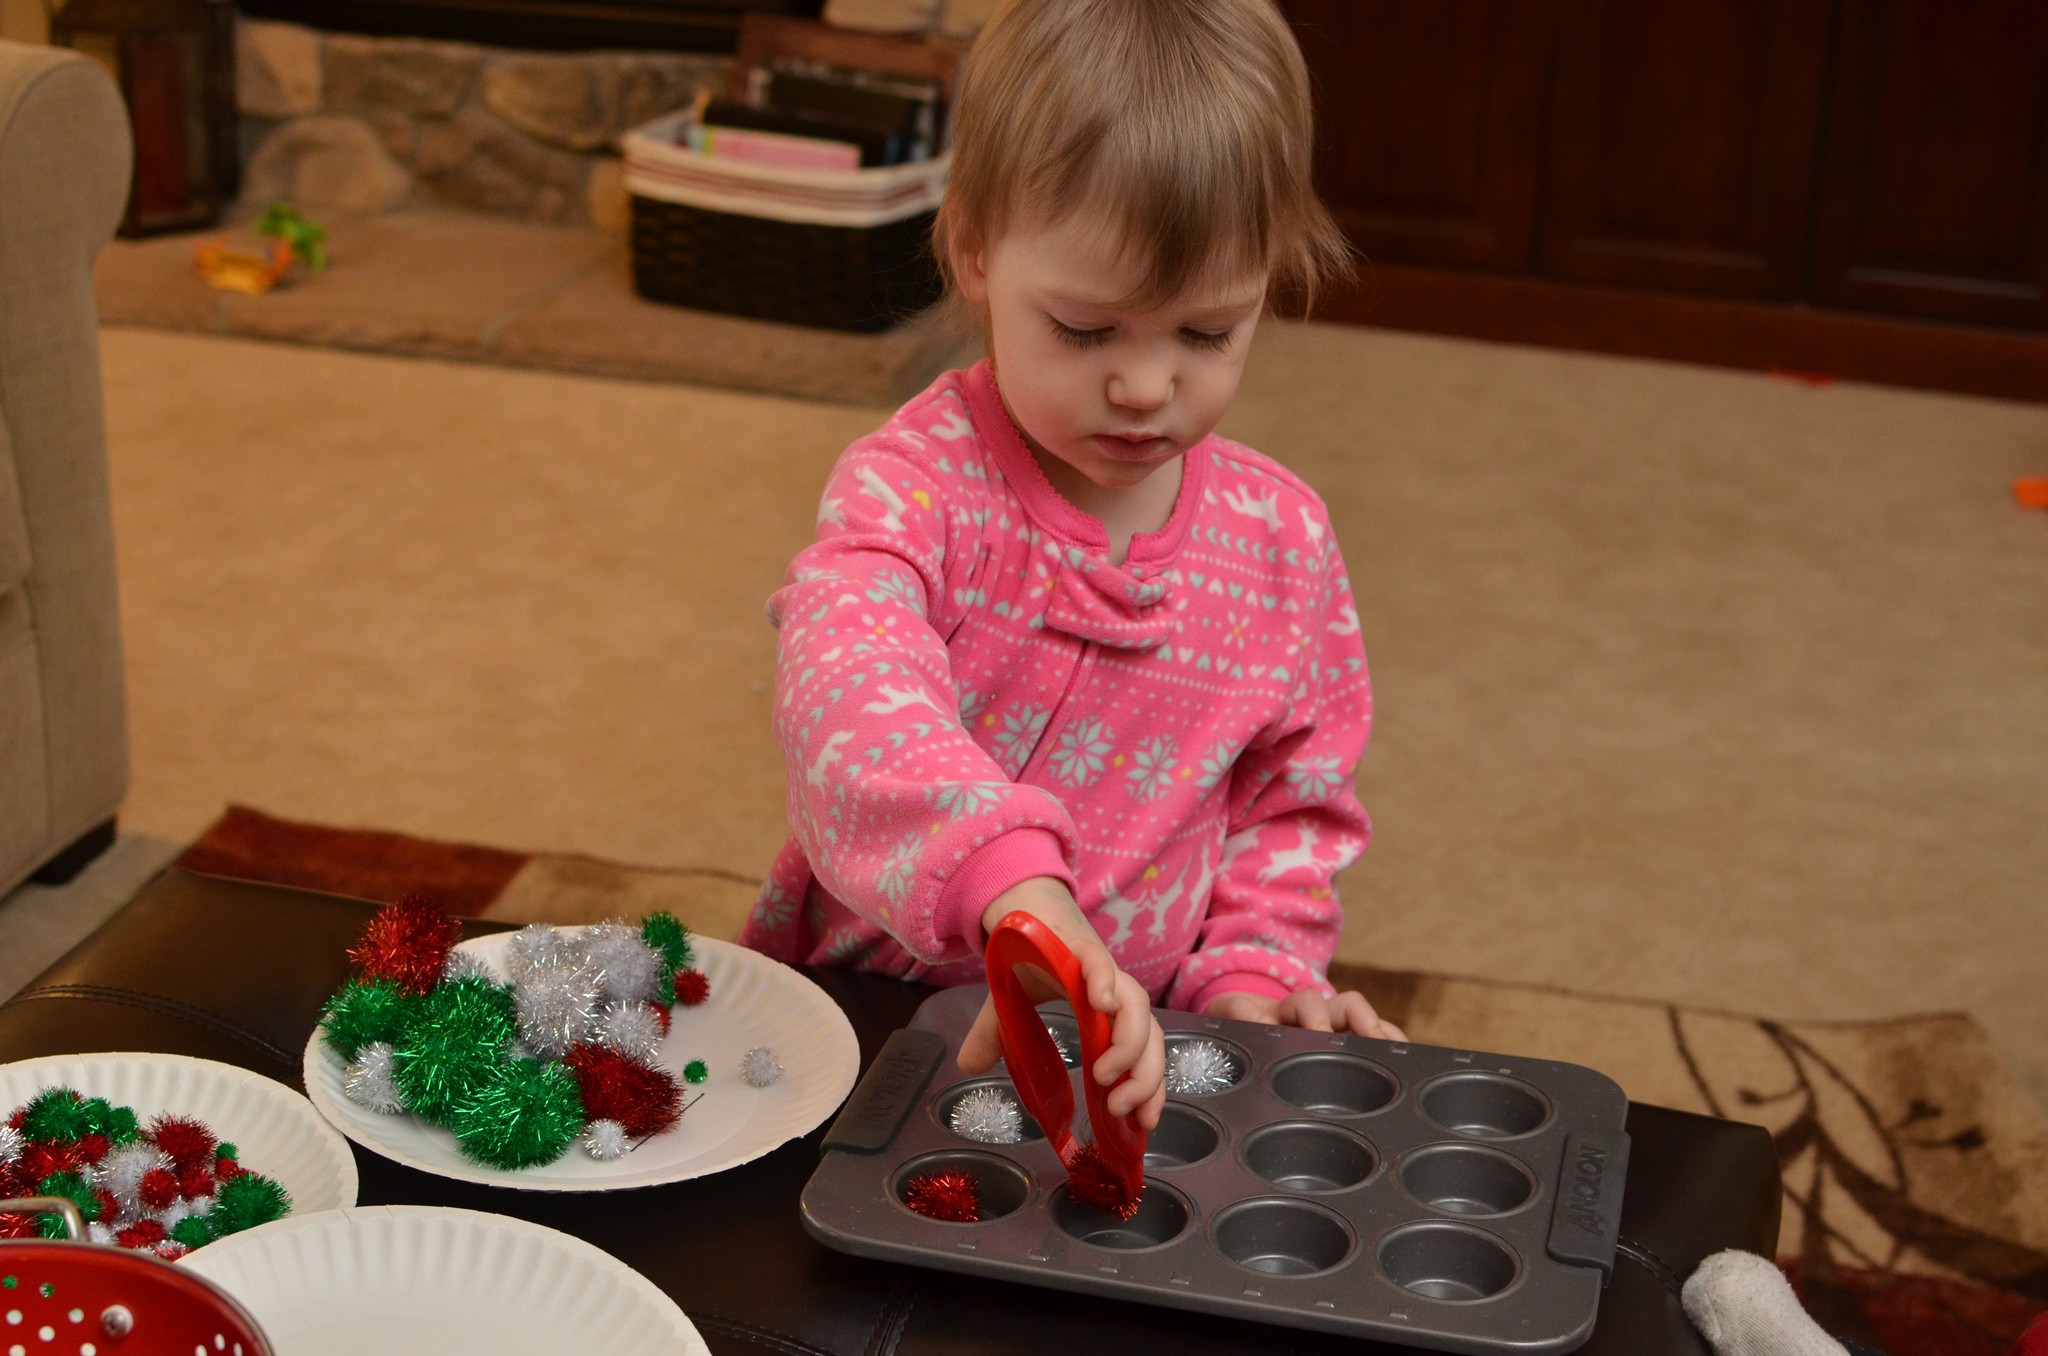
I pulled out our Counting With Christmas Trees activity from last year. The goal is to put the cooresponding number of decorations onto the tree based on the number on the star. It was perfect for Selah with a little assistance from me, although she was over it once she did numbers 1-5. Since the general activity is way too simple for Elliott, I introduced odds and evens and taught him how that worked using the trees and their ornaments. He picked it up immediately! So cool!!
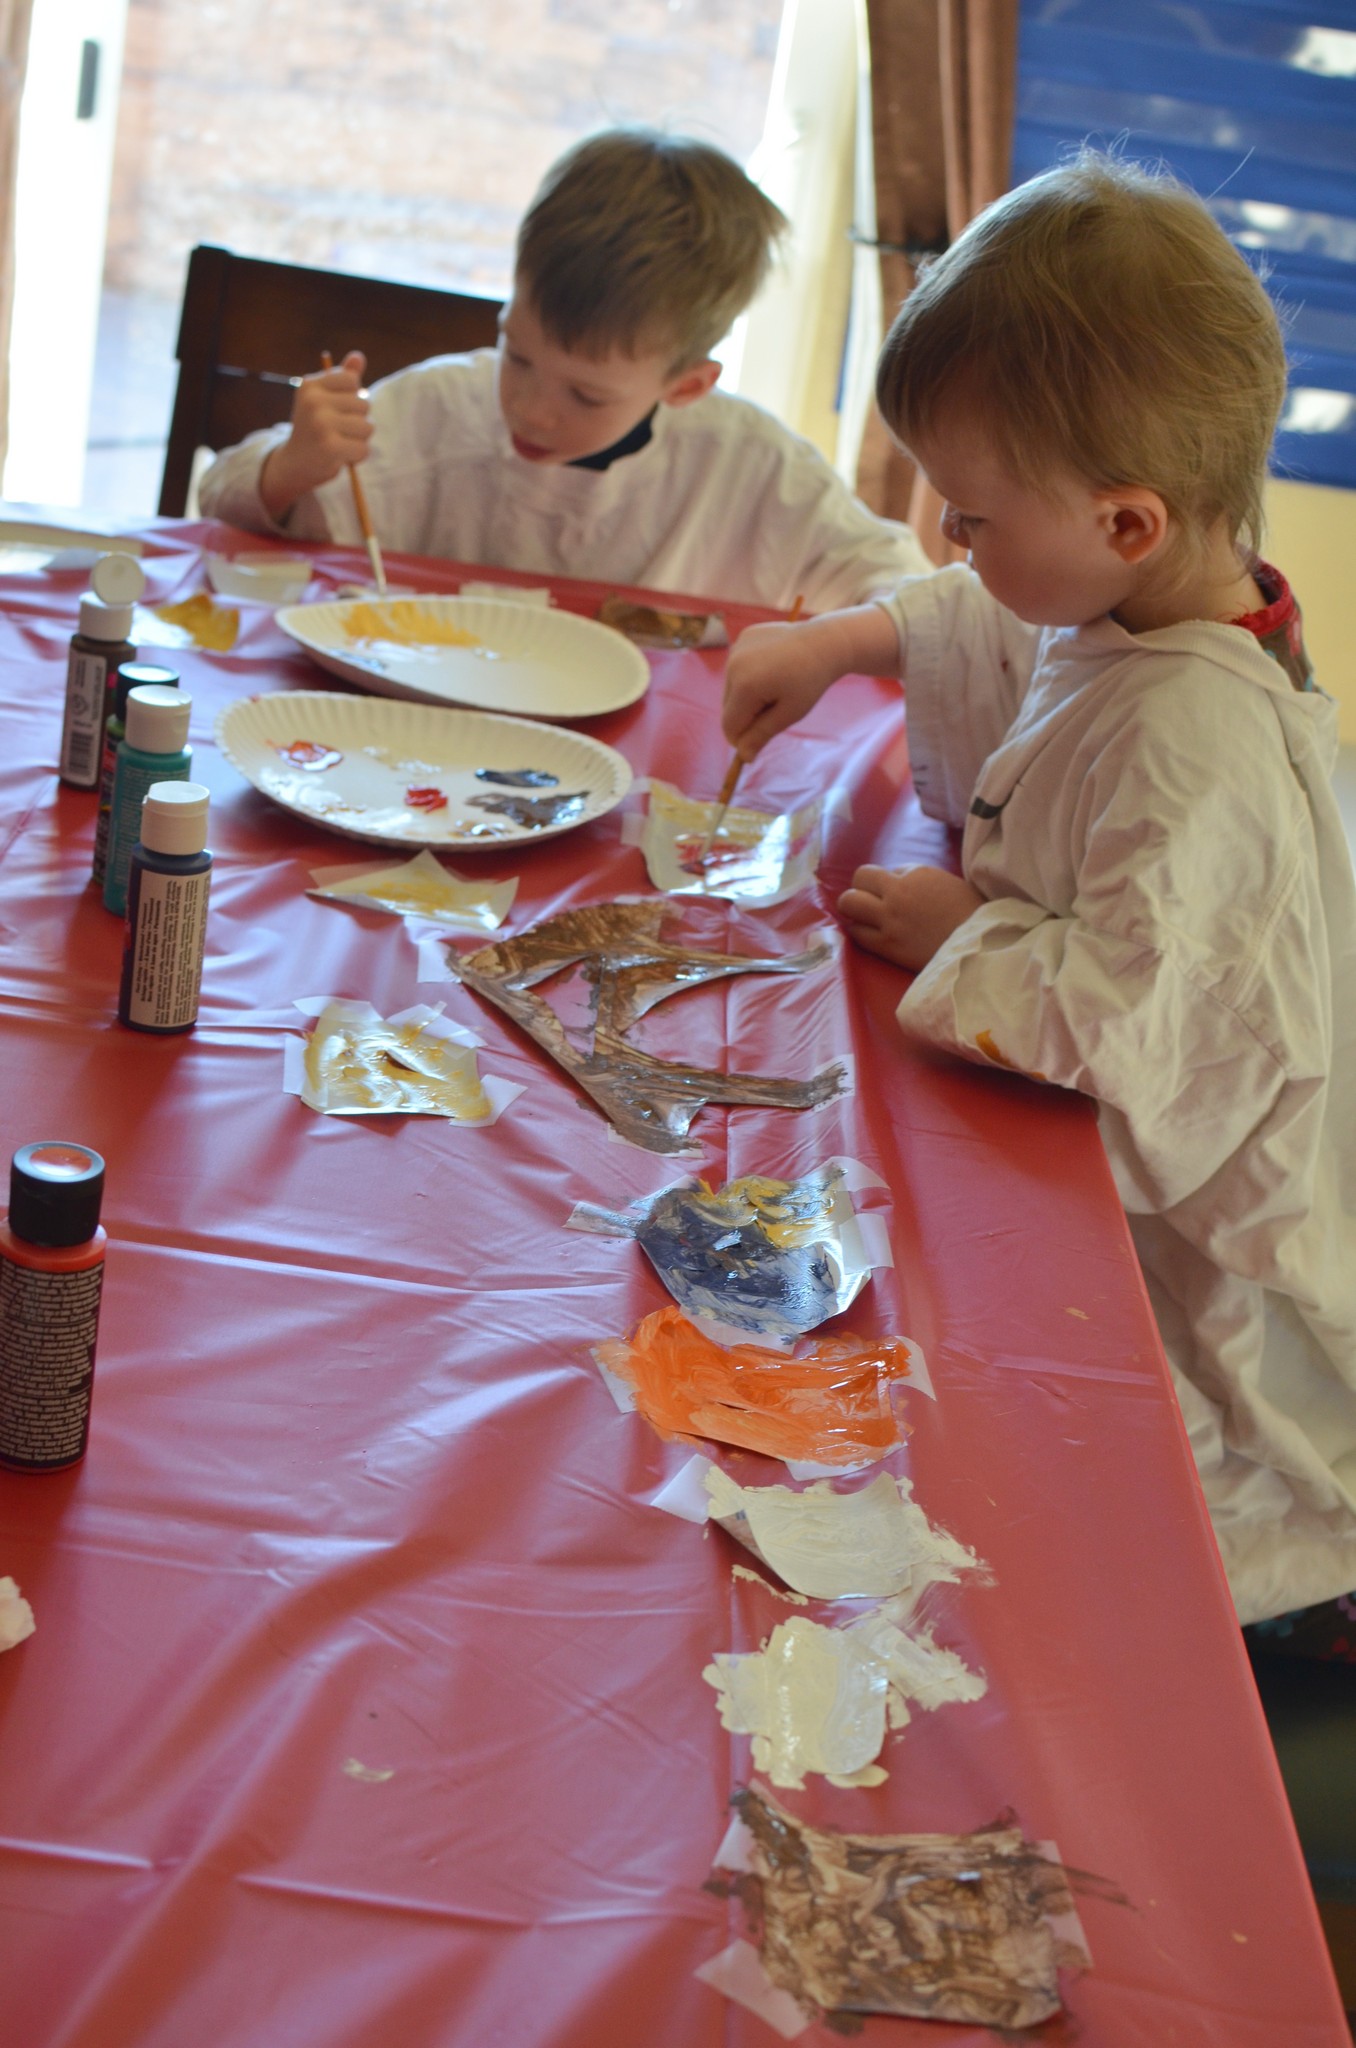
Day 9: Build a nativity set!
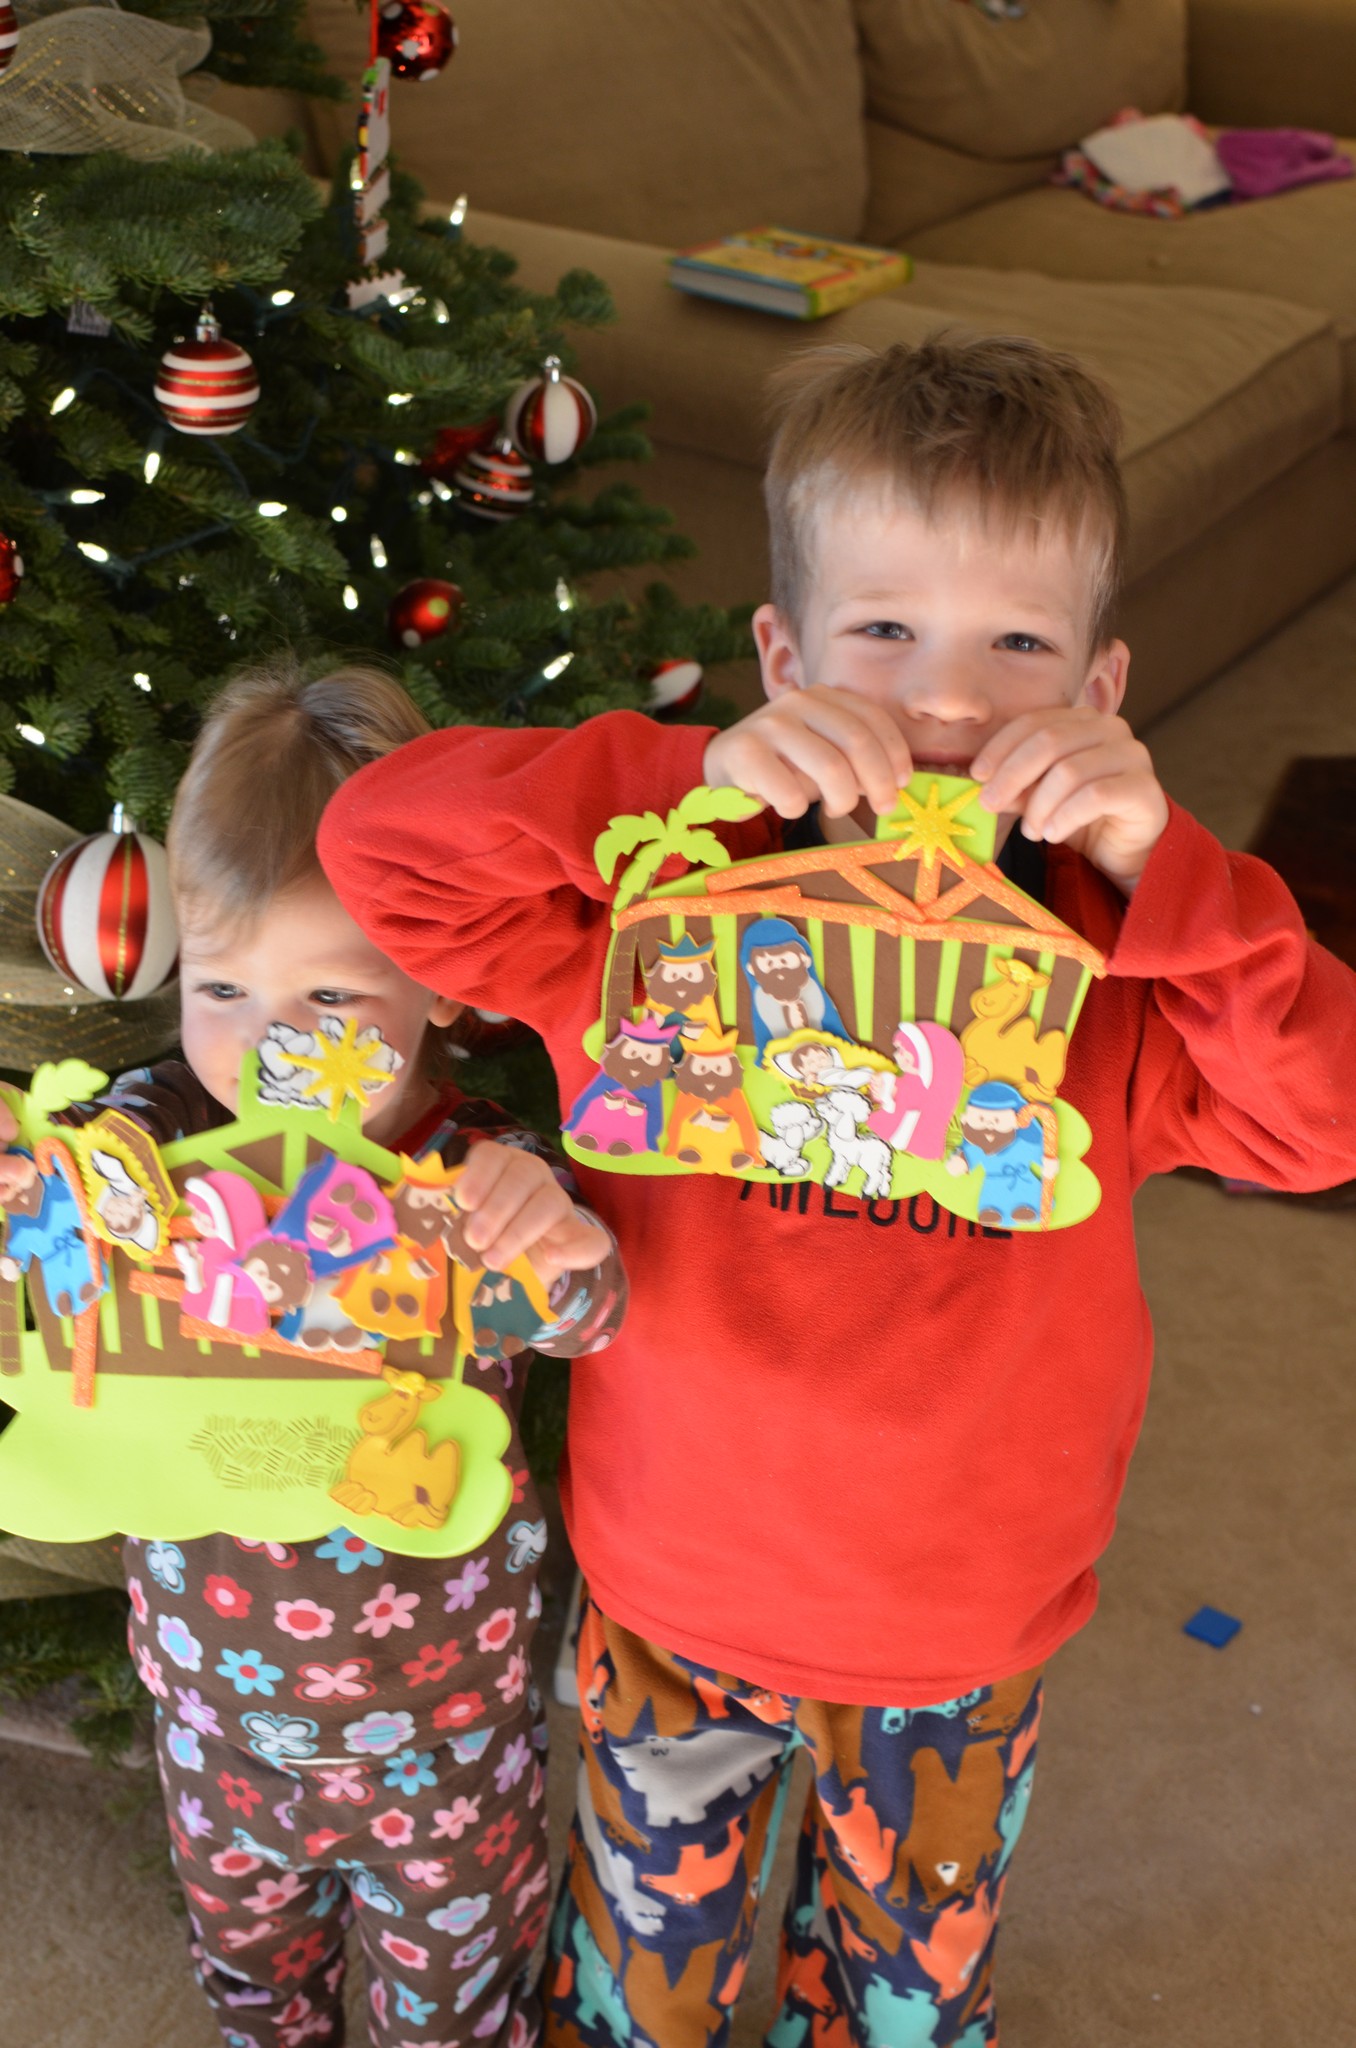
I did have my ideas planned out a lot better this year so I actually only made ONE trip to Michael’s/Hobby Lobby at the beginning of the month! I was proud of myself :). I always check out their Christmas craft aisle for simple (and always CHEAP!) already-prepped-for-you activities. They had nativity sets again this year that were MUCH simpler than last year’s (win!) so they were really perfect for my kids’ ages, obviously with a little assistance from me. Elliott usually goes for the more “traditional” art work, whereas Selah uses her artistic license ;).
Day 10: Christmas stickers!!
The night before this day, both Elliott and I were up a good portion of the night throwing up (boo!) so I was WIPED the next day. Thankfully, I had some of these awesome, simple backup ideas stored in my Christmas activity box… Michael’s had awesome books of Christmas stickers for $1!! My kids LOVE stickers. So, I deemed it “Christmas Sticker Day!!” And I laid on the couch while they cleared out their sticker books. Perfect.
Day 11: Snowflake window clings
This was a GREAT idea that went VERY BADLY, ha!! I found the idea here, but, I’ll be honest, the idea of a huge jar of glitter sends me into hiding. It called for white puffy paint and silver glitter. As I was strolling through Hobby Lobby, I stumbled upon GLITTER GLUE, and I thought to myself, “Yes!! This is it!! Glitter glue is pretty much EXACTLY the same thing as white puffy paint with glitter.” Oooorrr……NOT.
First of all, this is NOT an activity for 2 and 3 year olds!! Simply because their little hands weren’t strong enough to squeeze the tube and trace the outline of the snowflake. So I ended up doing the whole thing for both of them (which is NOT my idea of a good time!)
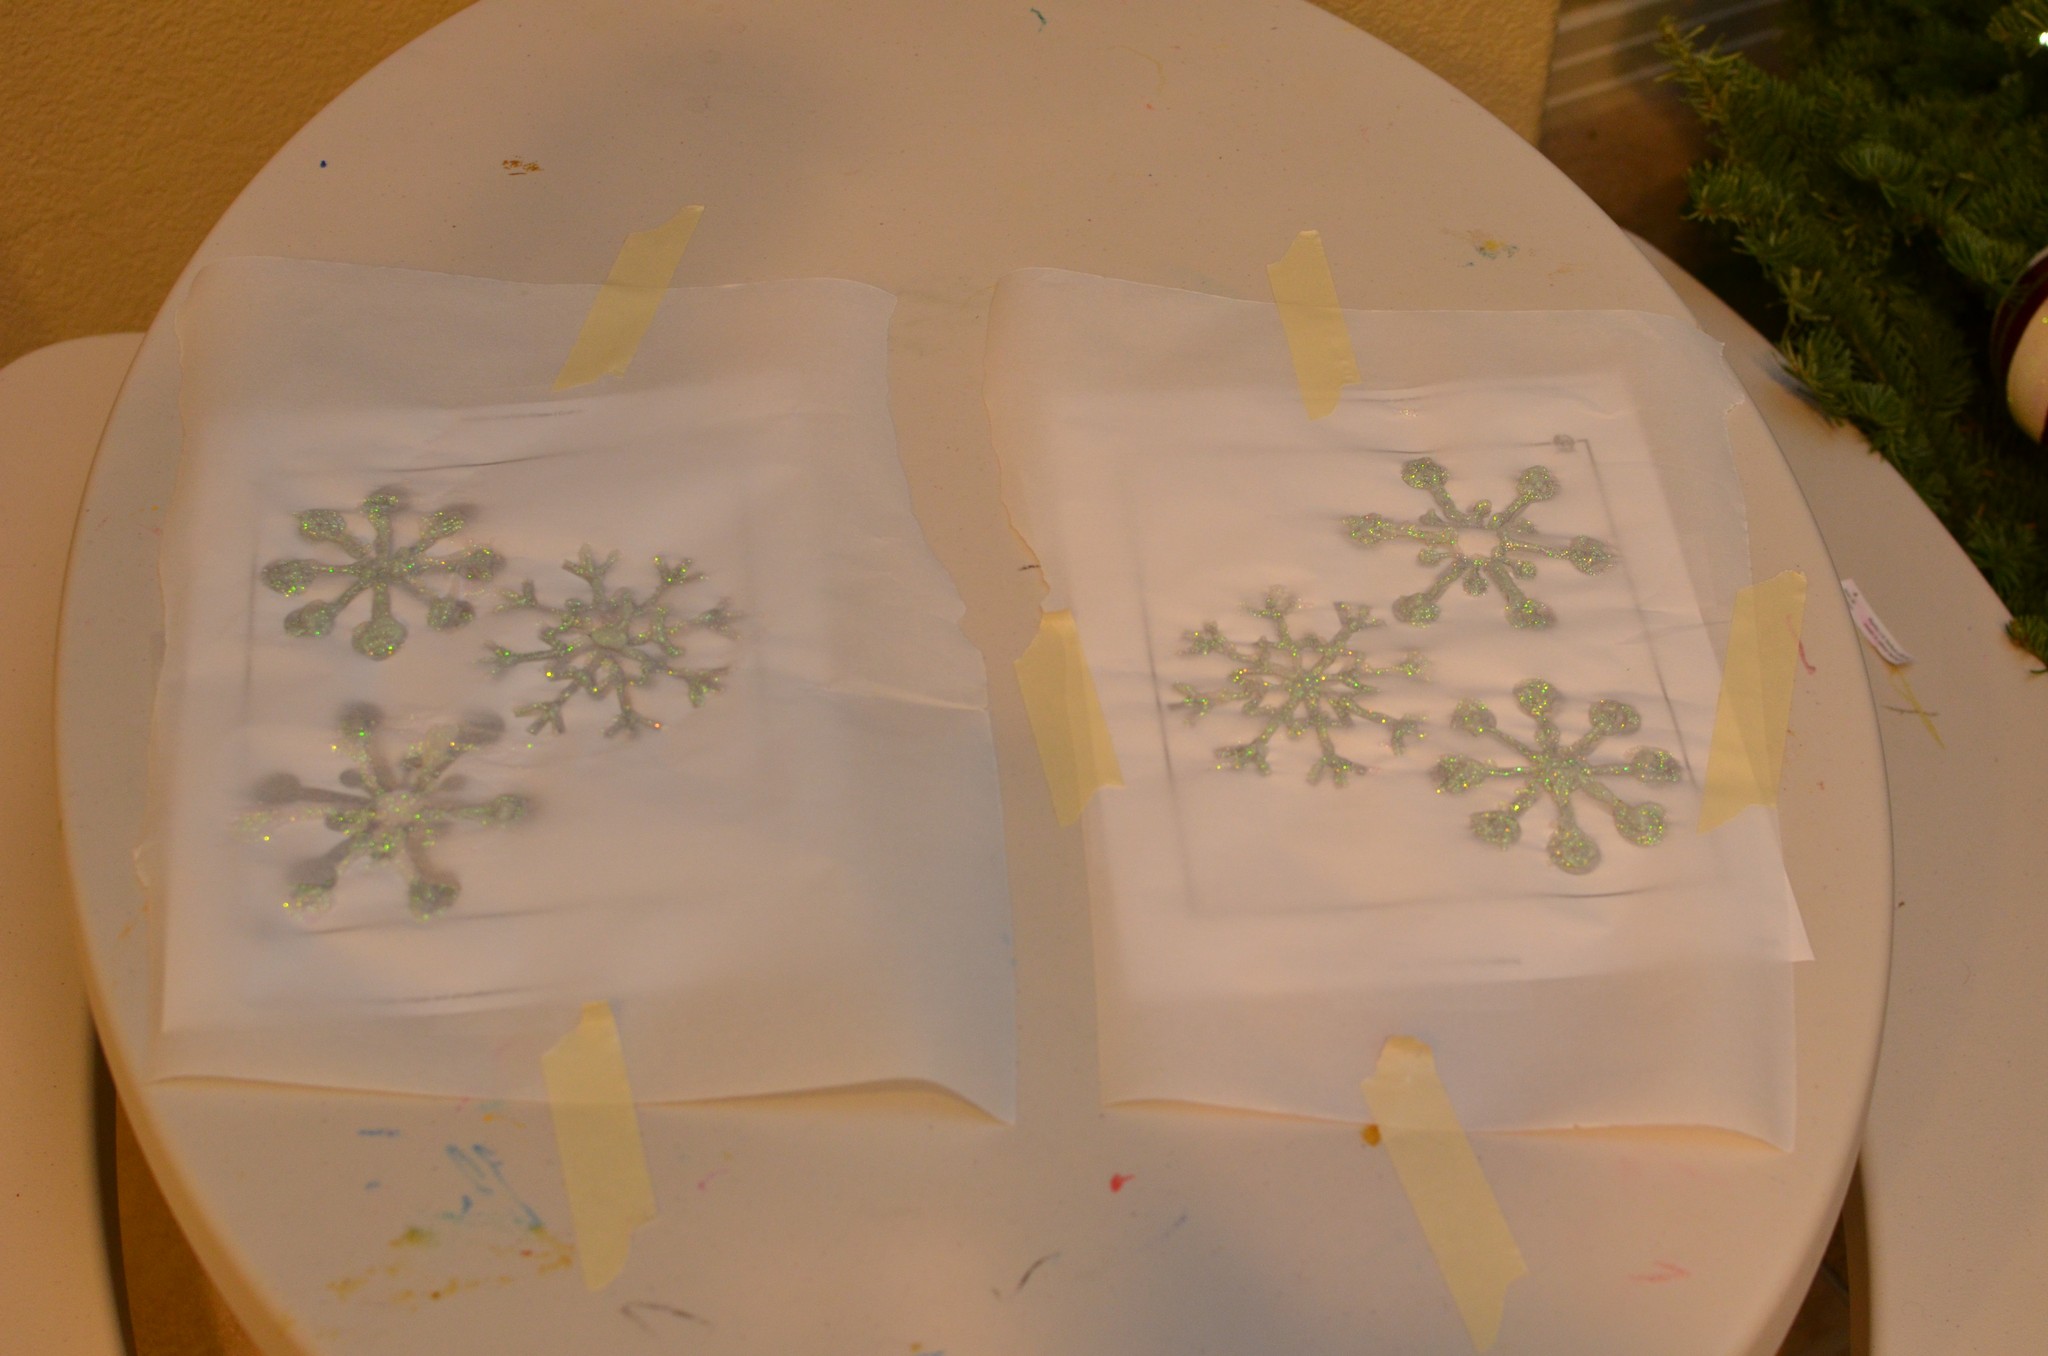
And then, once it dried, it just flaked off in pieces.
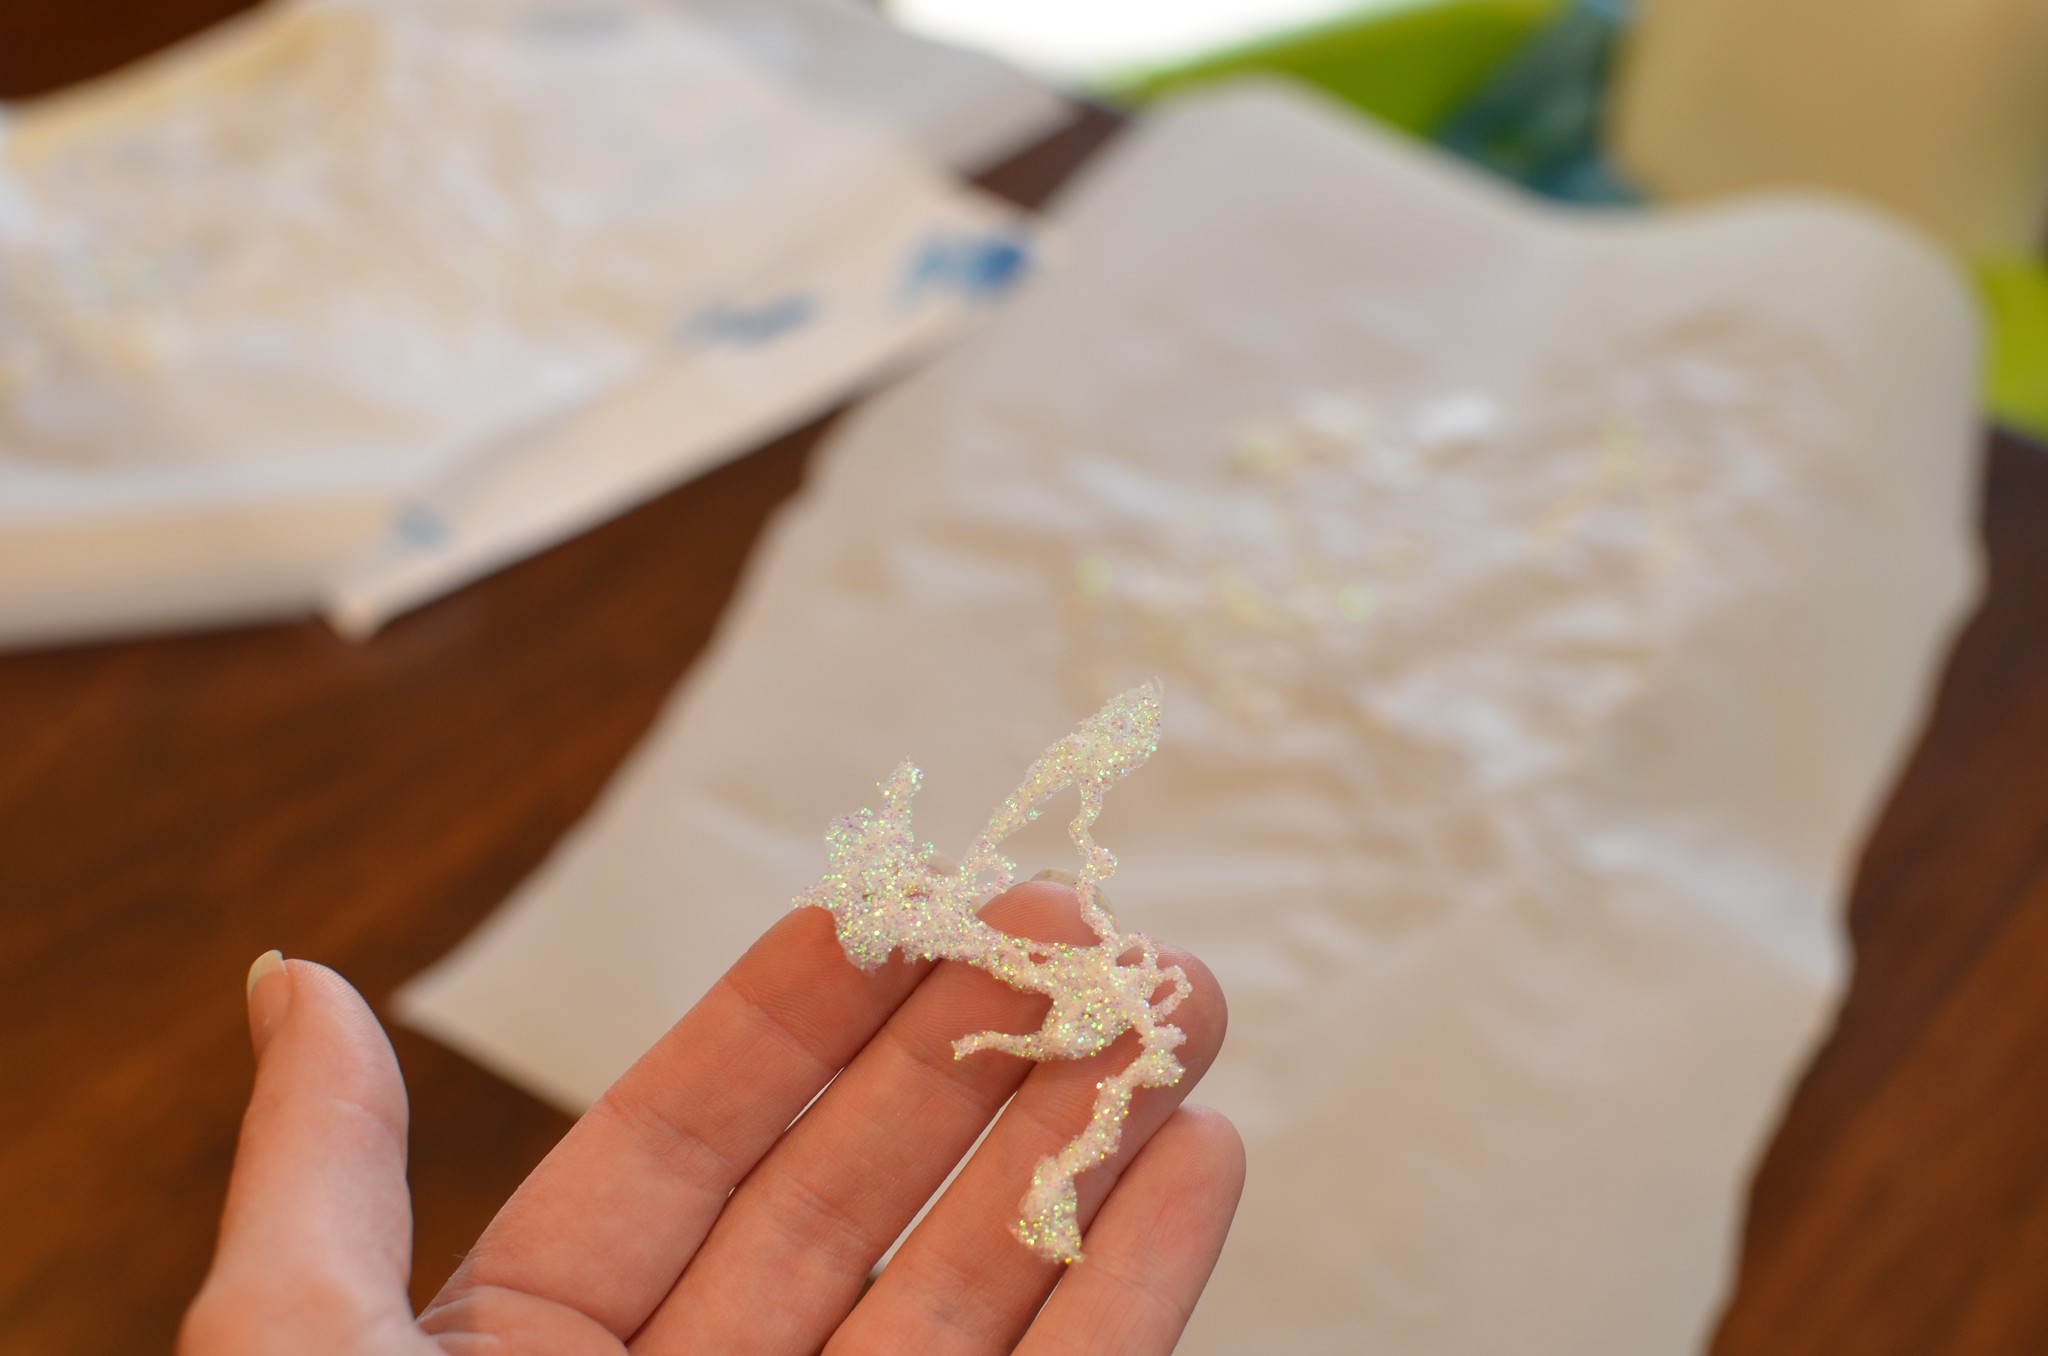
So, if you have at least a 5 year old, give it a try, and don’t skimp on the puffy paint and glitter ;).
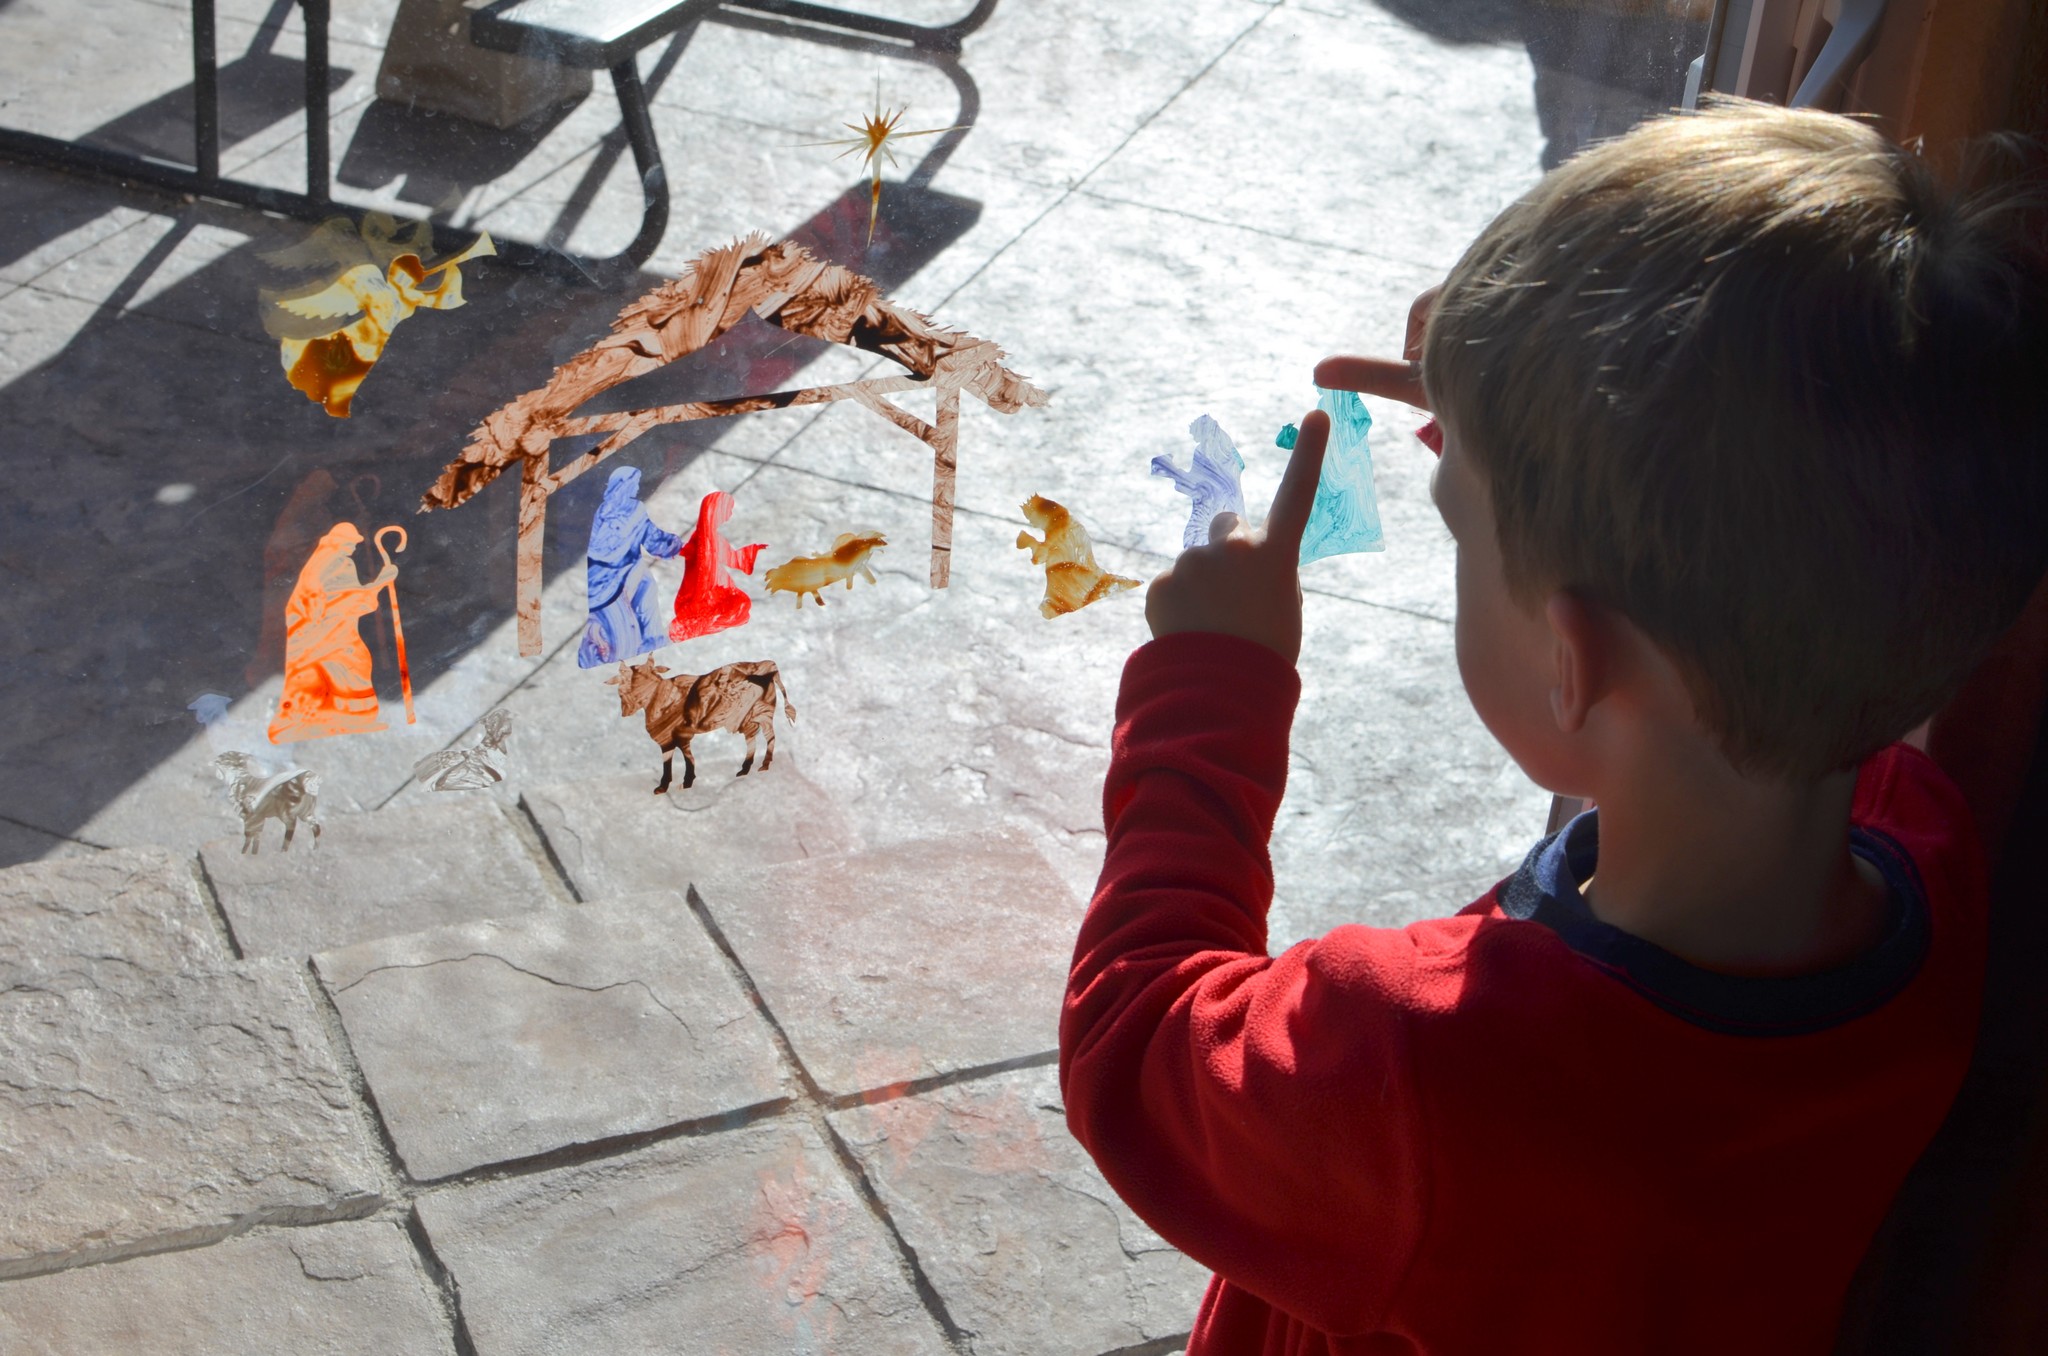
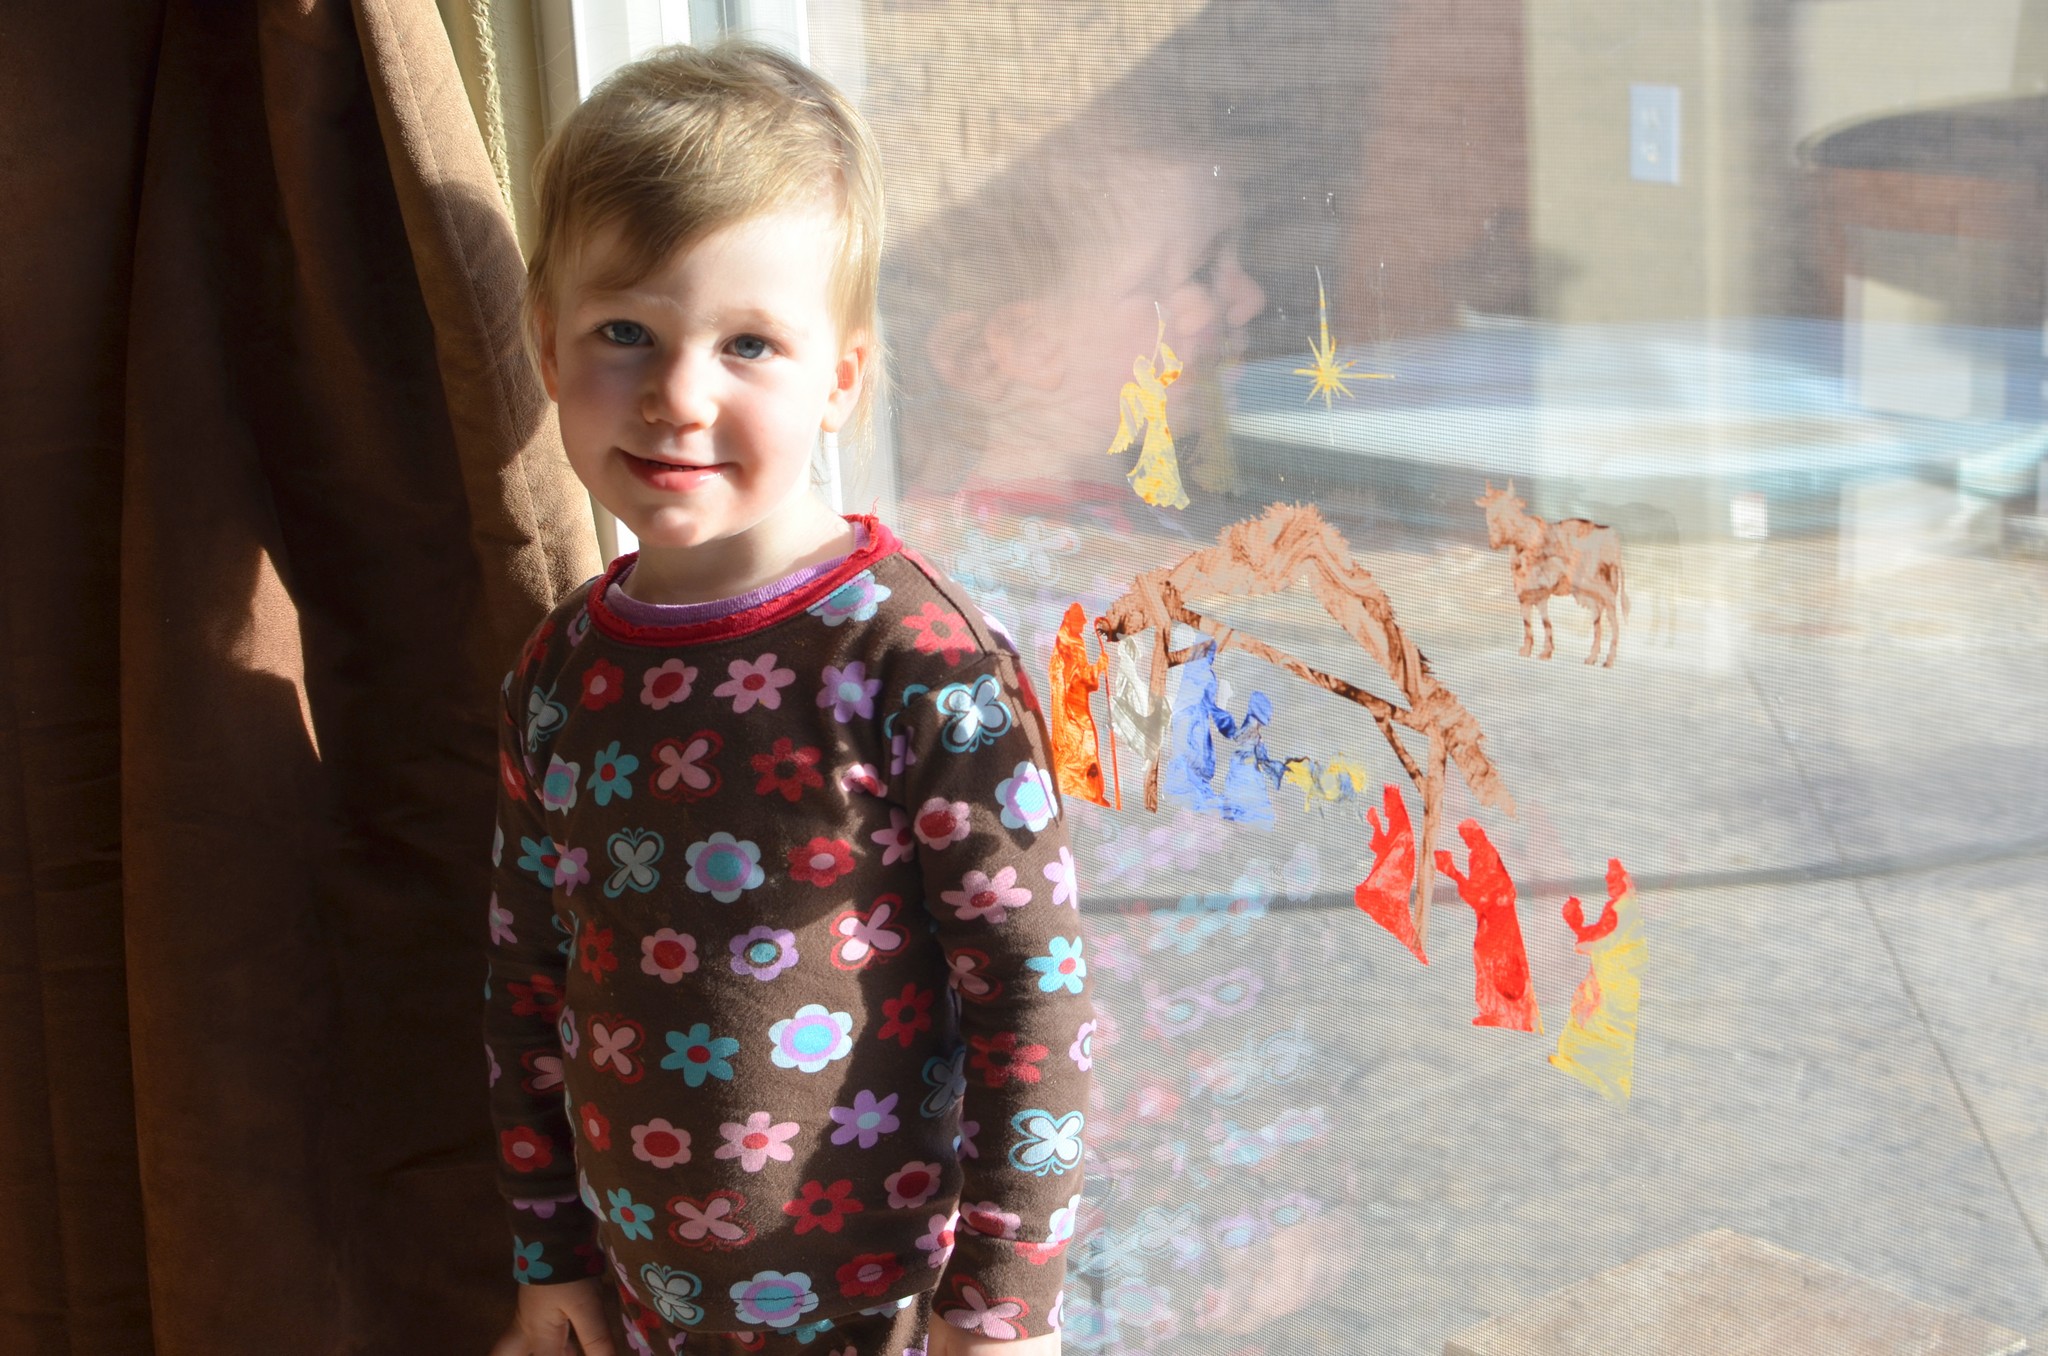
Day 12: Nativity window clings
These were so much fun!! So remember how Elliott had been asking me to do Nativity window clings? Well, the next time we were at our friends’ house (the sugar cookie friends!) I noticed that they had silhouette nativity characters up on their window. I asked Elliott if THAT was what he had been asking for and he said yes! SO, I came up with this idea on my own, using my Silhouette, of course!
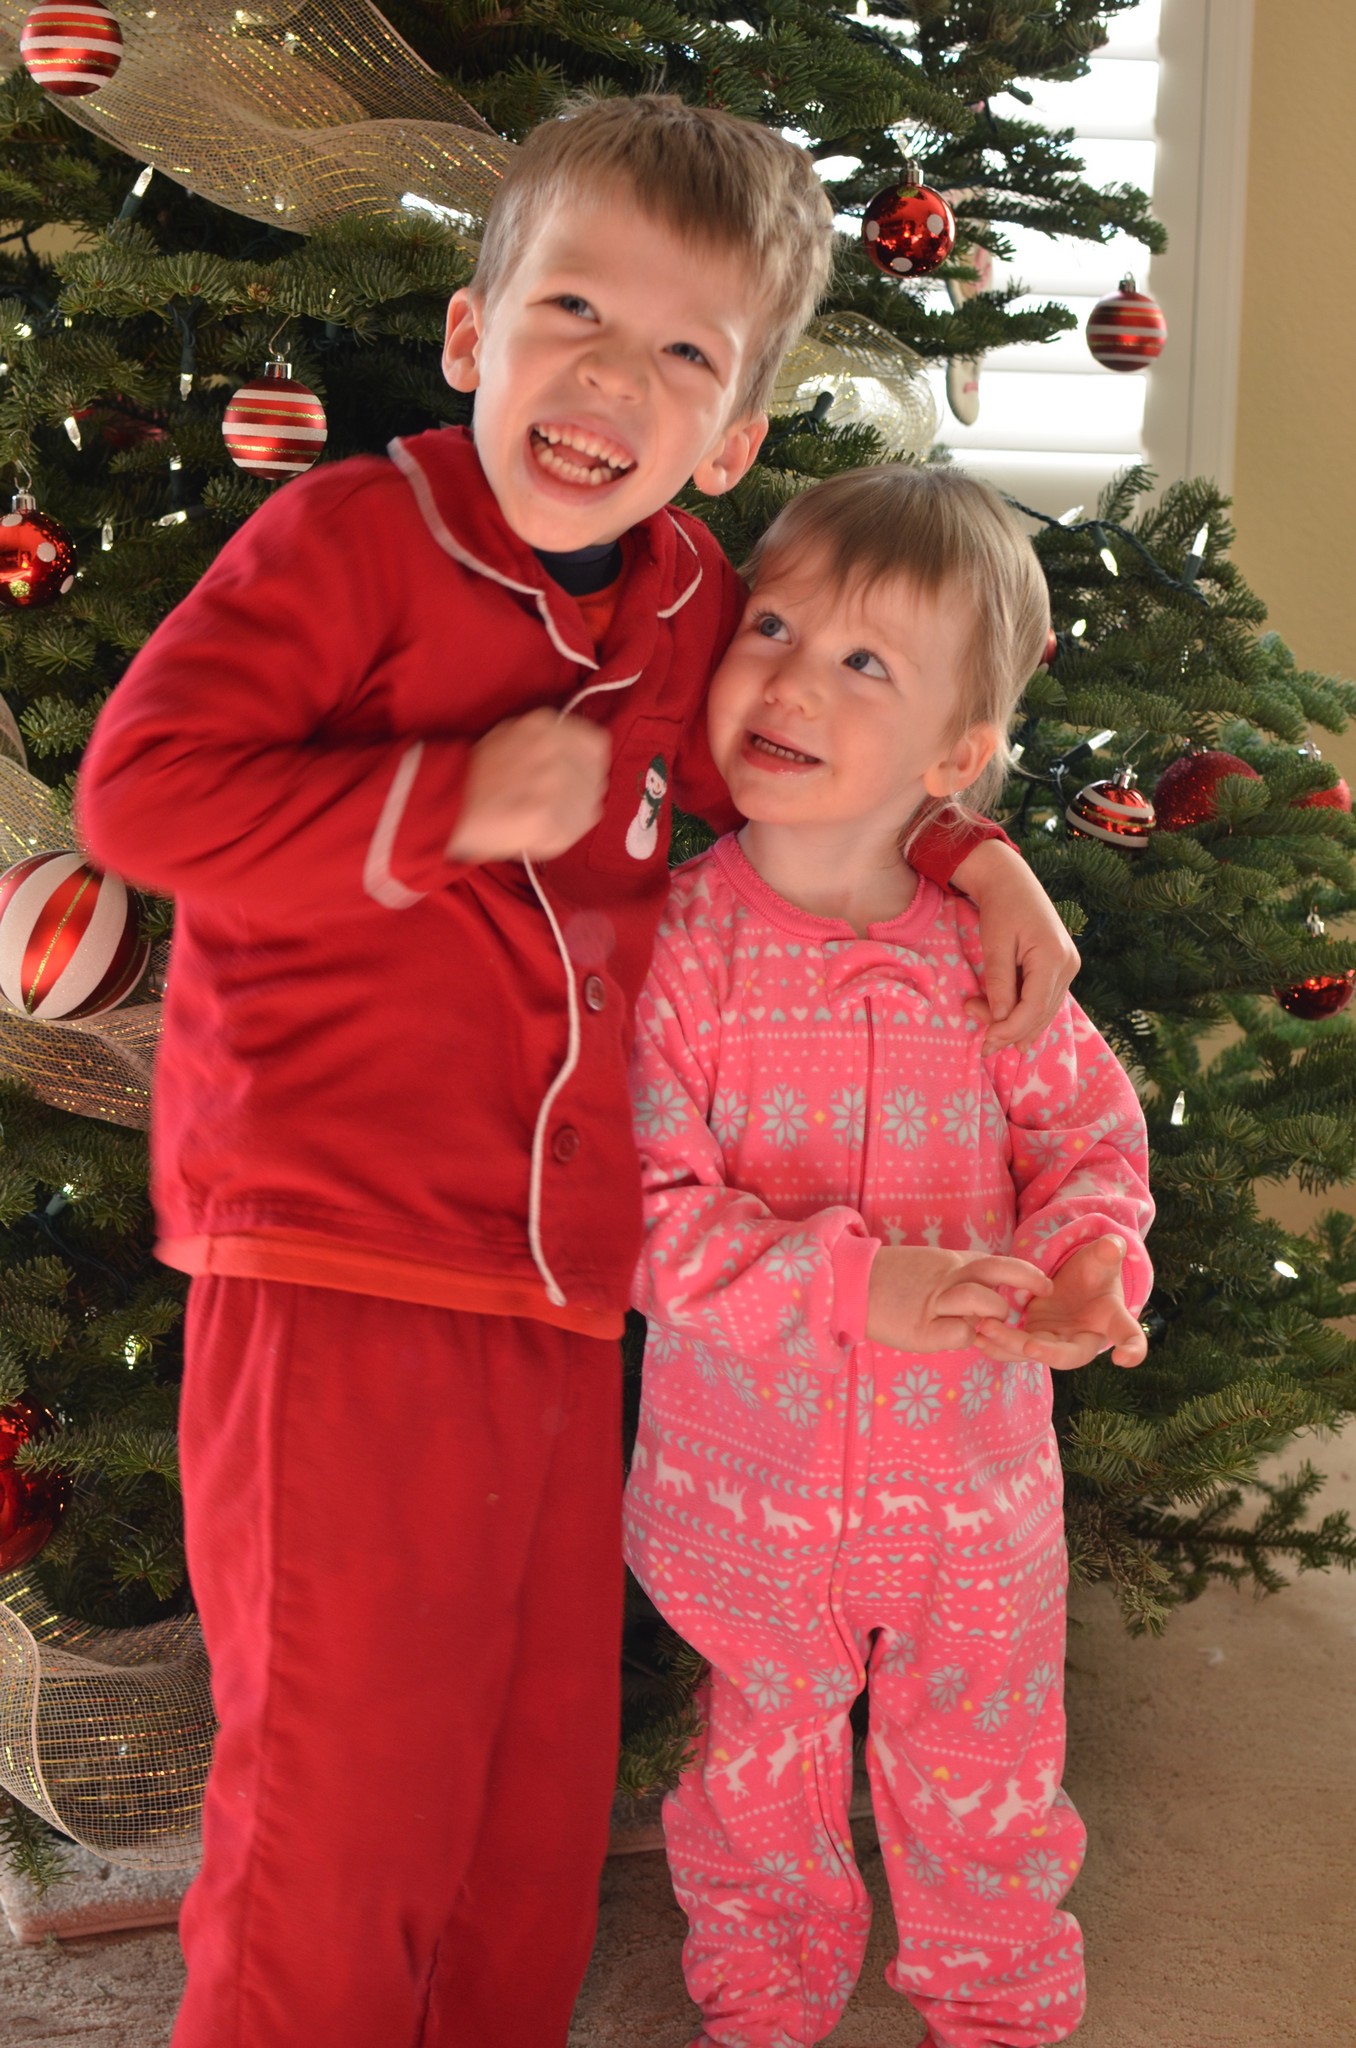
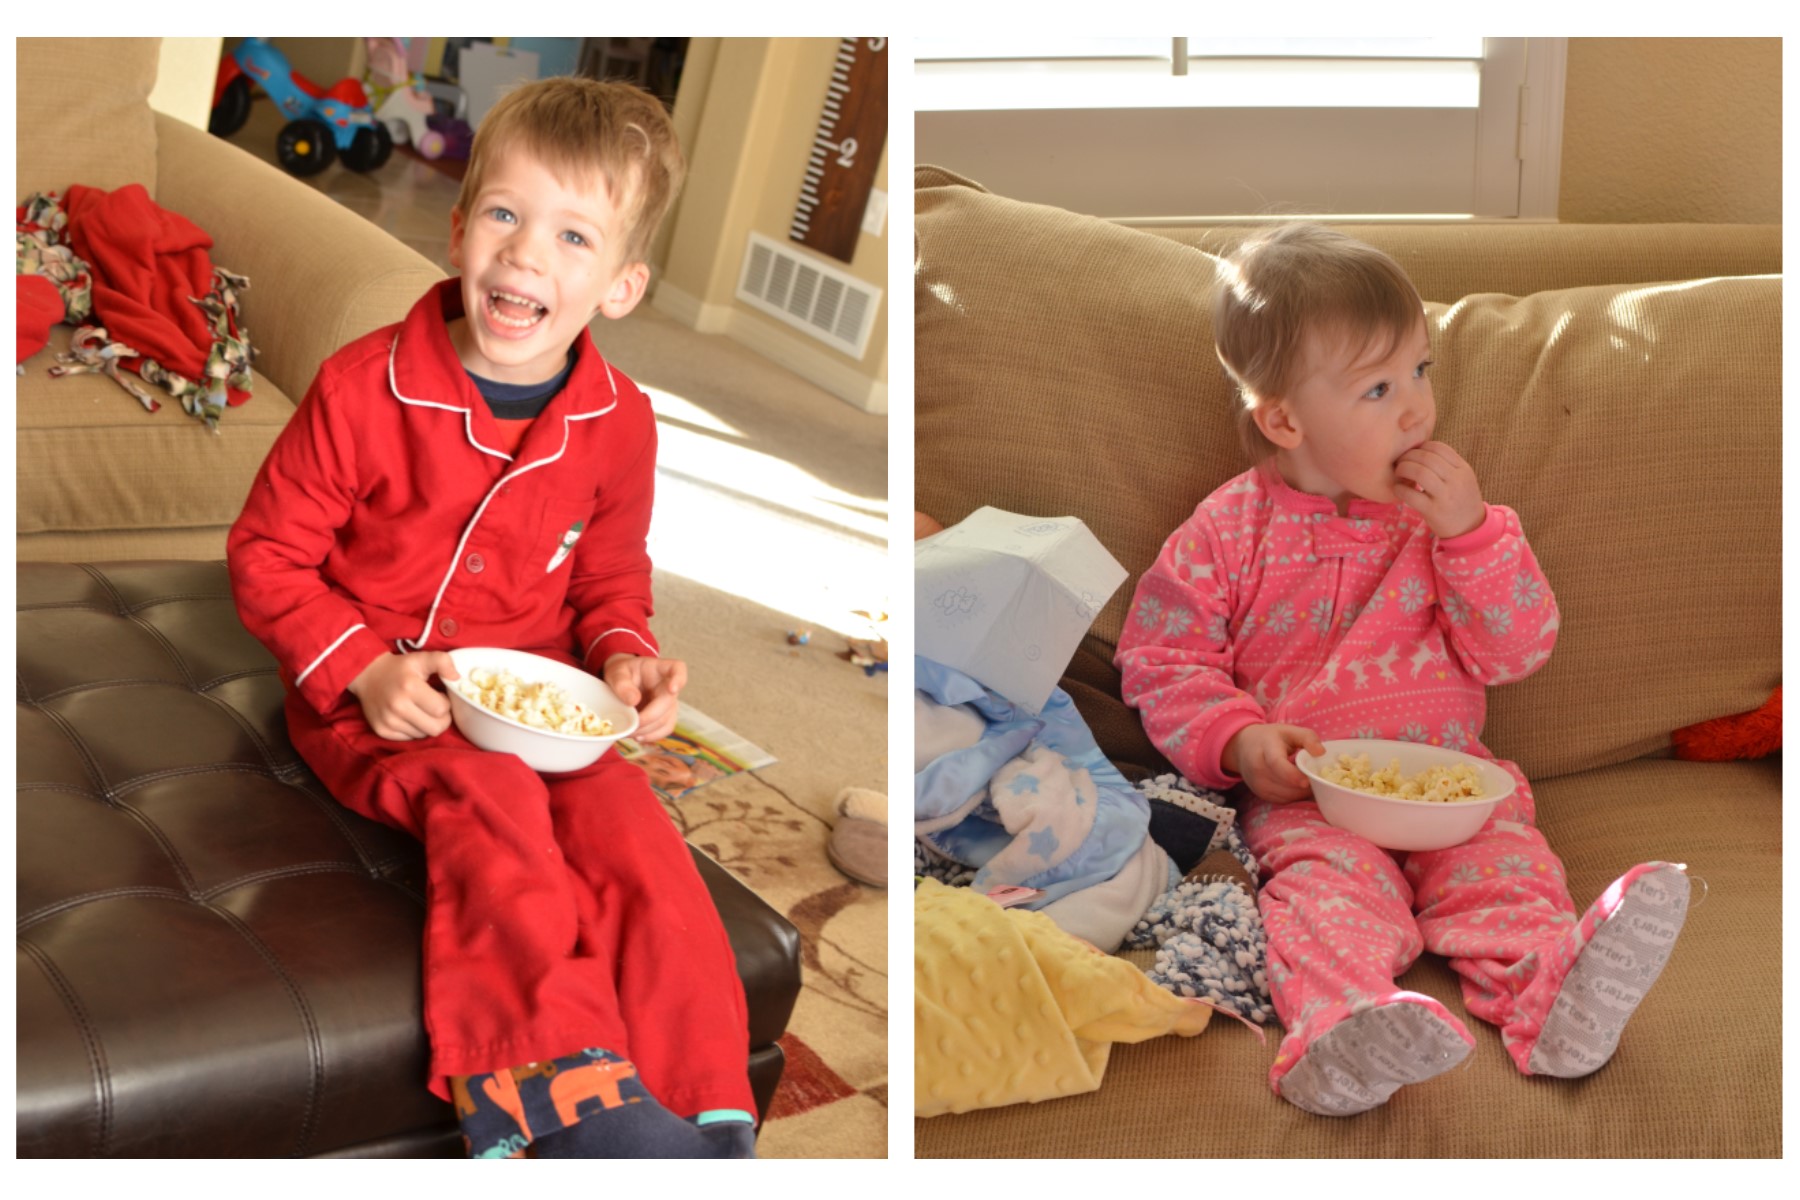
Day 13: New Christmas jammies and family movie day with popcorn
Enough said, right? We watched the Veggie Tales movie, “The Toy That Saved Christmas,” and I think it might be the first time in history that BOTH my kids sat through an entire “movie”!! I think it had something to do with the popcorn in their hands ;).
Day 14: Go see Christmas lights!!
A local bible college set up a pretty amazing display of lights that we drove through, which was great because it was FREEZING. Then we drove around and saw some of the most spectacular house lights we’ve ever seen…you know, the ones that have their own radio station and the lights are all synced to the music? Yeah, those. Some people have a LOT of times on their hands…and I’m grateful they do!! 🙂
Day 15: New Christmas book: Who Is Coming To Our House?
This happened to be another SUPER crazy day, filled with emergency trips to the doctor (only to discover everyone was okay), so we didn’t even get home until 4pm. Crazy. Of course, the kids were begging to “open an envelope” so I quickly shoved a piece of paper in for that day, pulled out the new book I had ordered, and we all read it together. Some days, that’s all we can handle :).
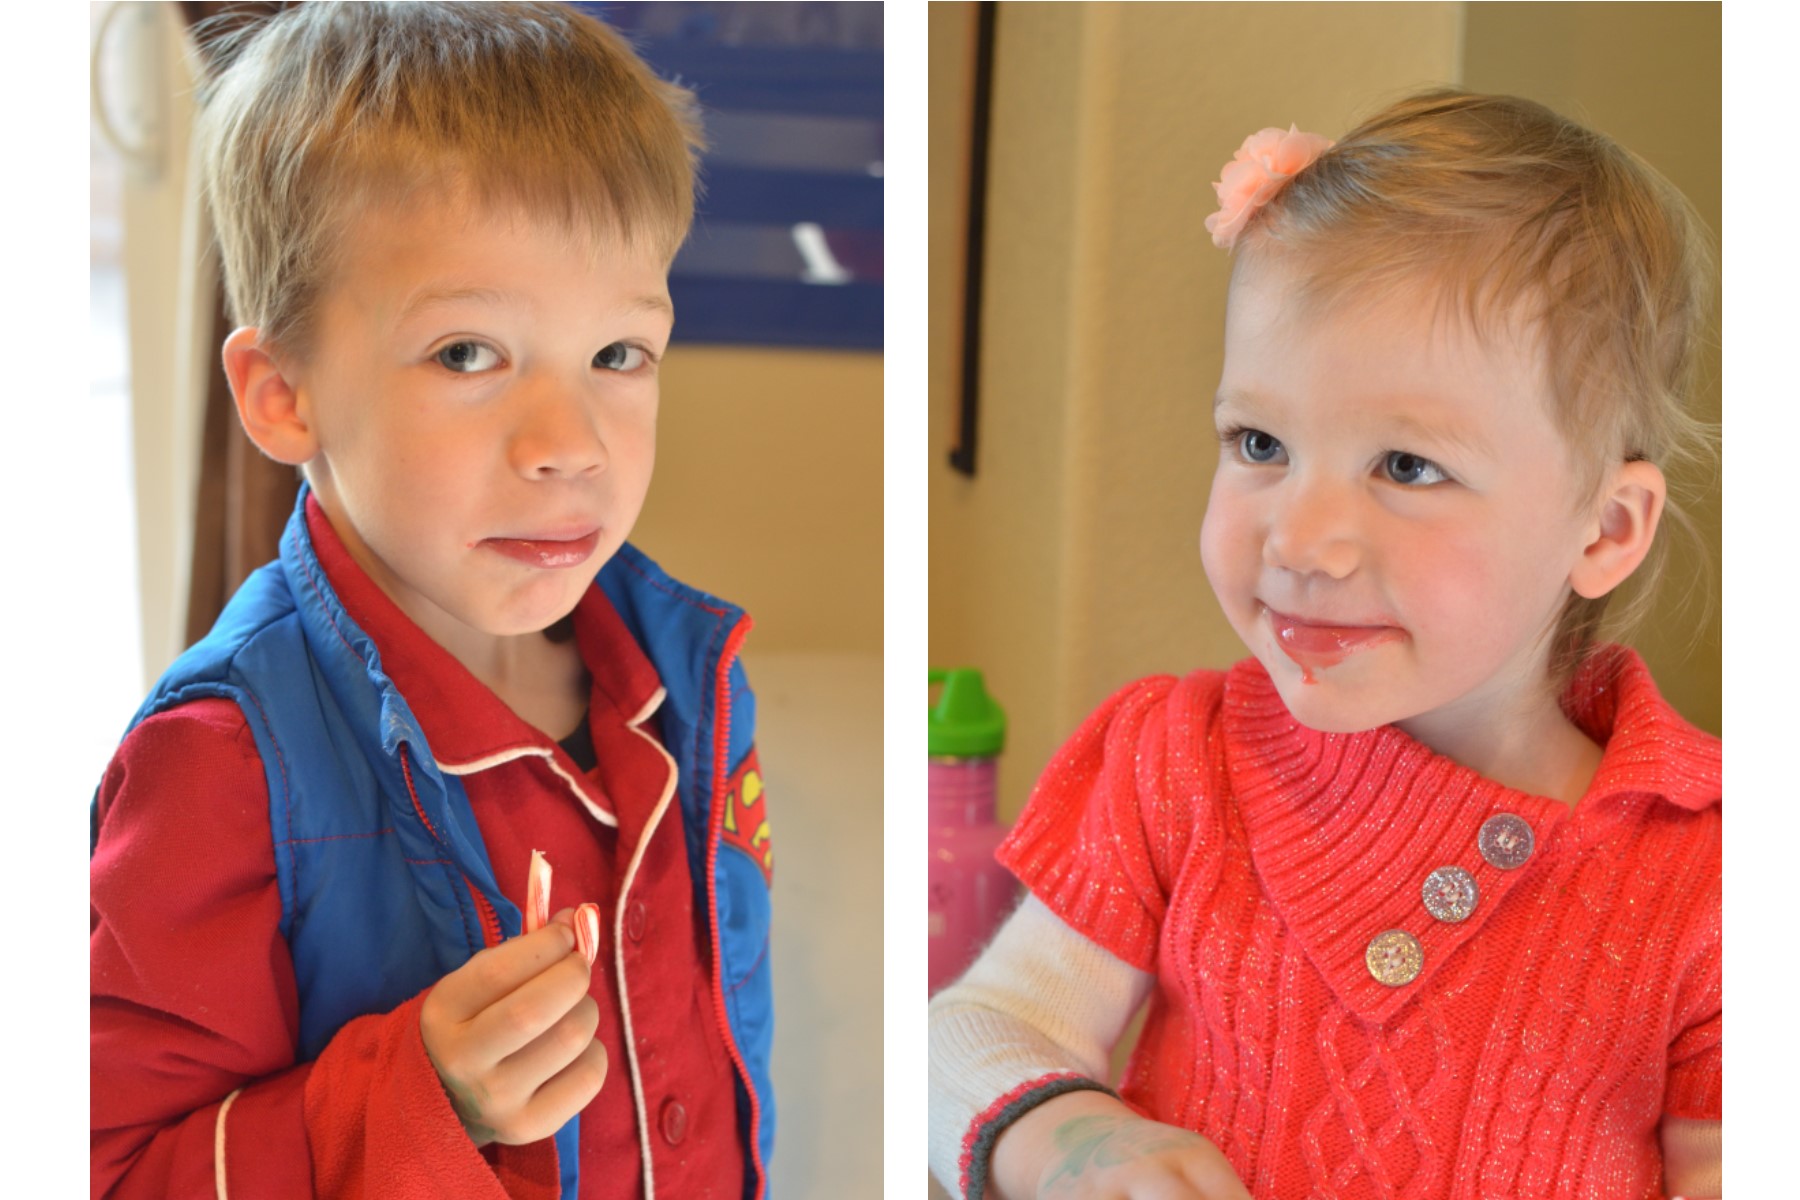
Day 16: Peppermint Day!
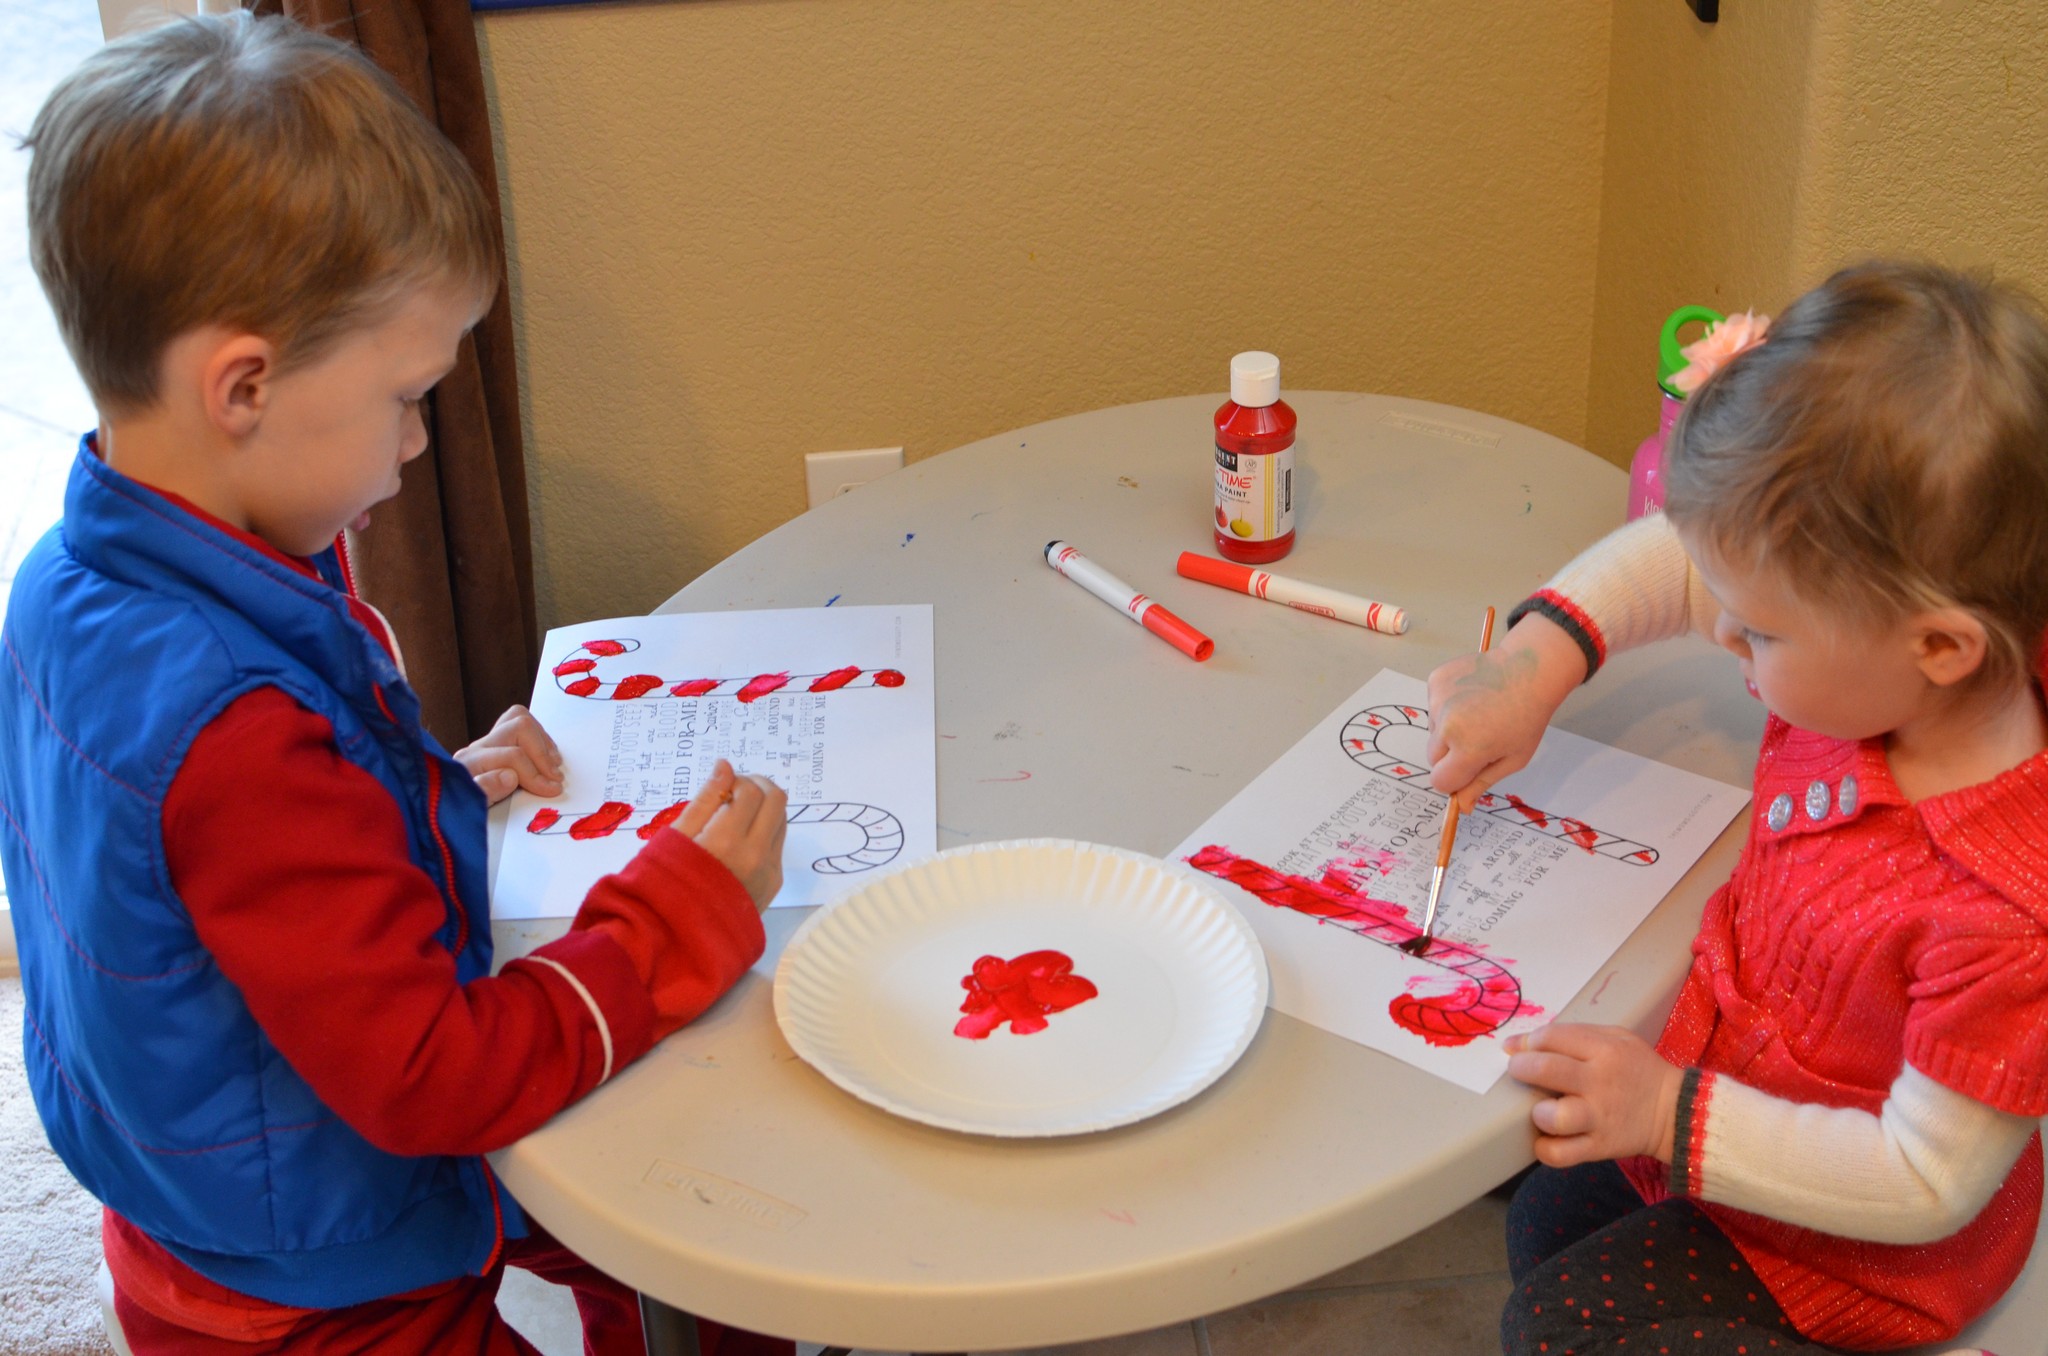
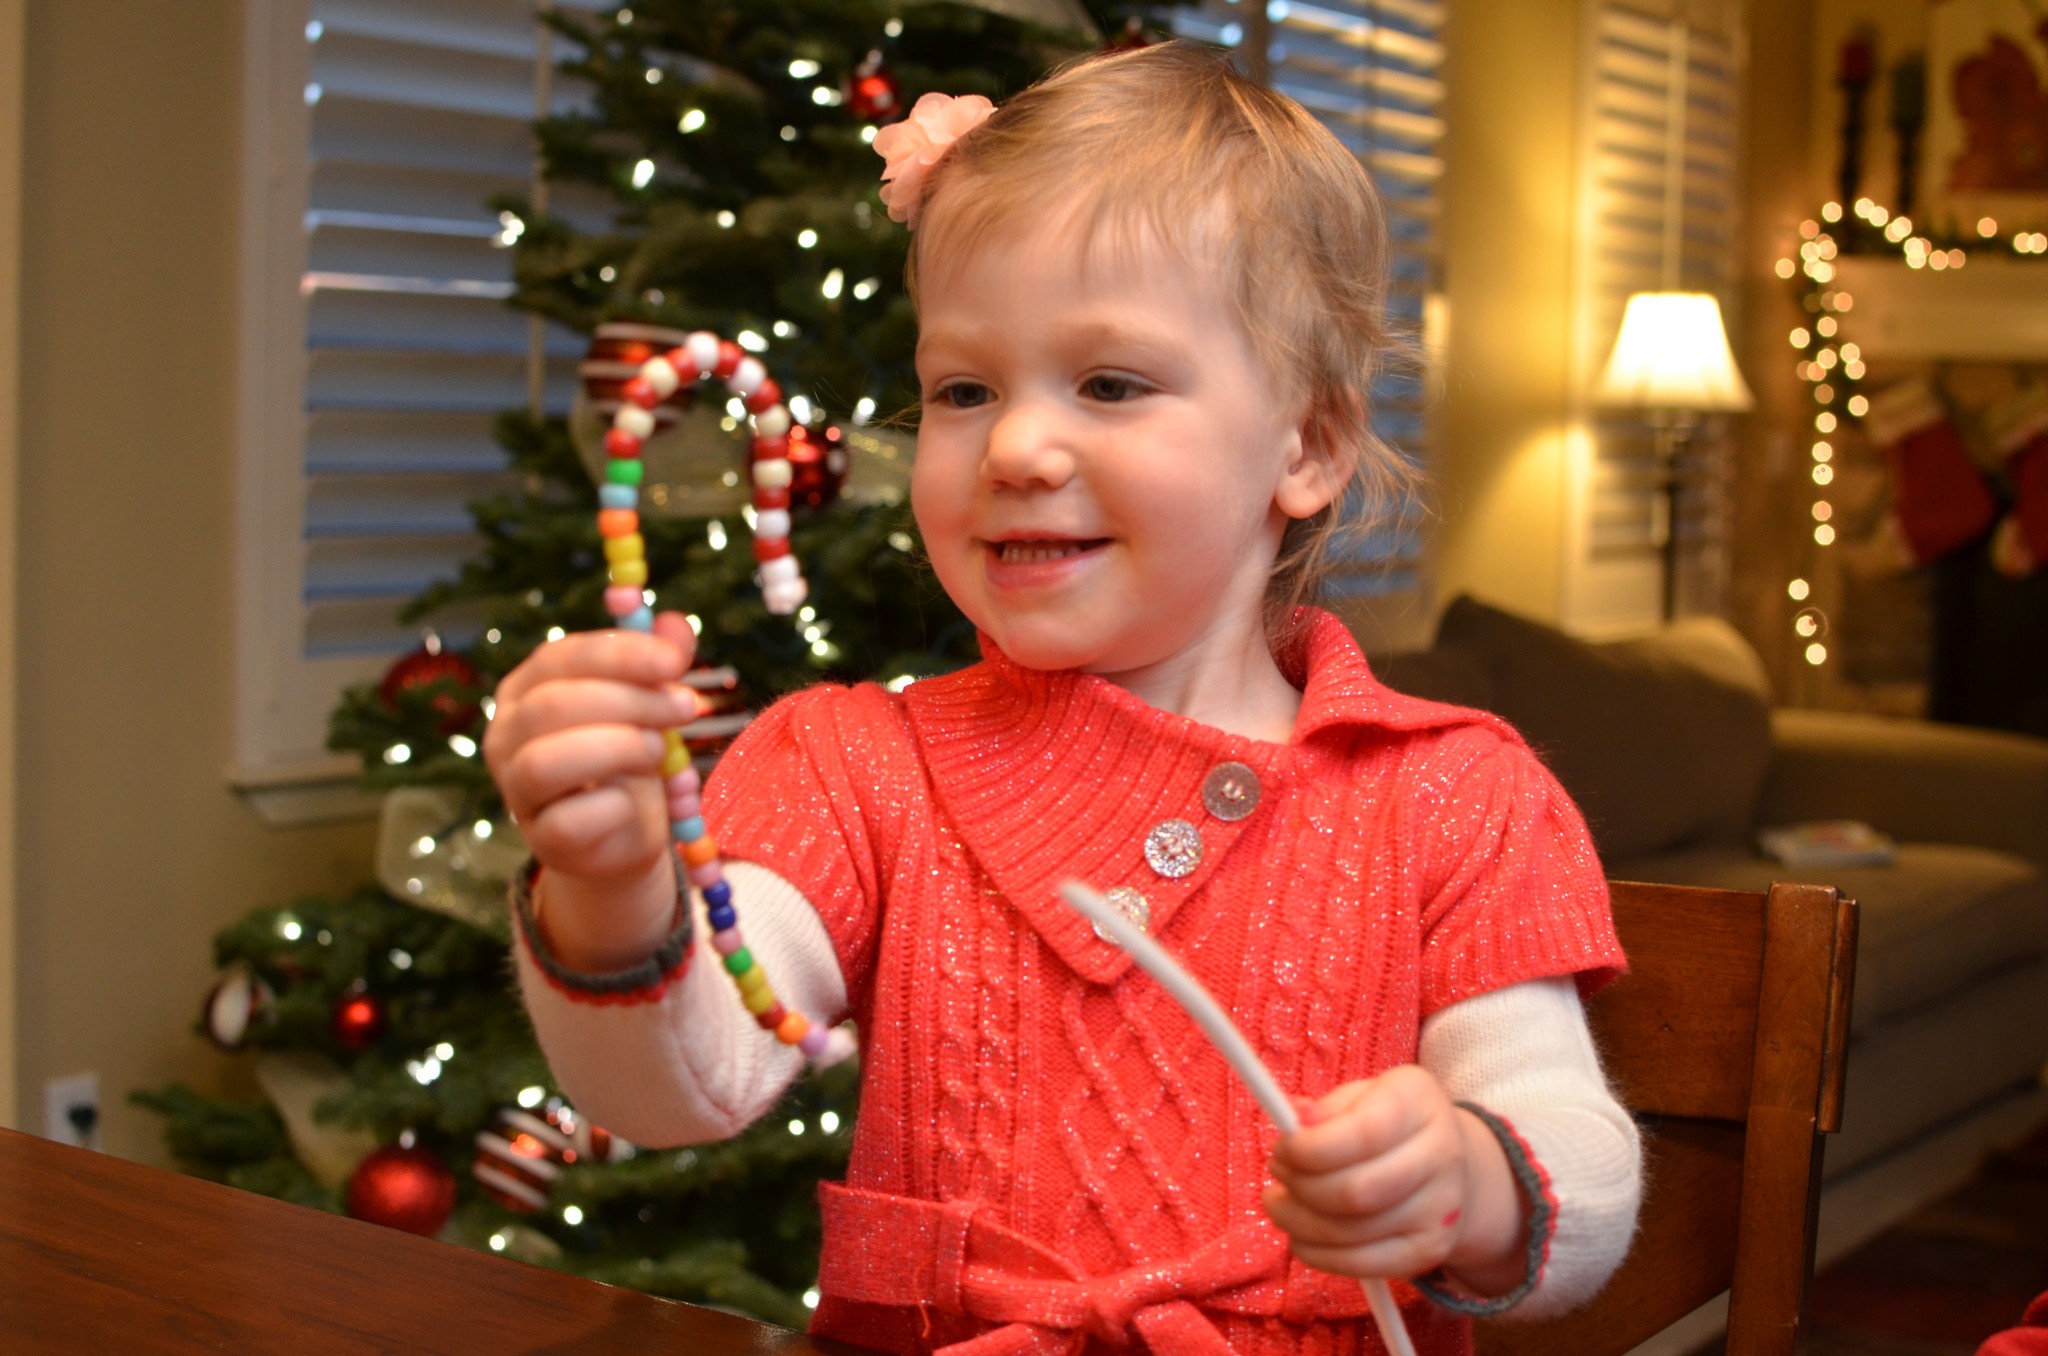
Oh my goodness, this day was so much fun! I printed out this printable, pulled out a candy cane for each kid, and then explained the legend of the candy cane. This was Selah’s first candy cane and Elliott has been BEGGING me to eat one, literally, since last Christmas when I gave him his first! So they were pretty thrilled.
I showed them the candy canes on their papers and we then talked about how to paint every other stripe on the two candy canes. Elliott was really into this idea, until, on the second cane, after he had painted every other stripe red, he informed me that, “the elevator went up, and now it’s going down…” and then he went back through and painted the rest of the white stripes red ;). Selah, again, took up her artistic license and, after painting each candy cane, decided to paint the ENTIRE paper red…ha! I love it. She didn’t miss a spot.
Next, I asked them if they rememebered what the candy cane tasted and smelled like. I dropped a little bit of peppermint extract, vanilla extract, and almond extract onto three separate cotton balls in dishes. They smelled them and had to identify which was which! They did it! Super cute and fun.
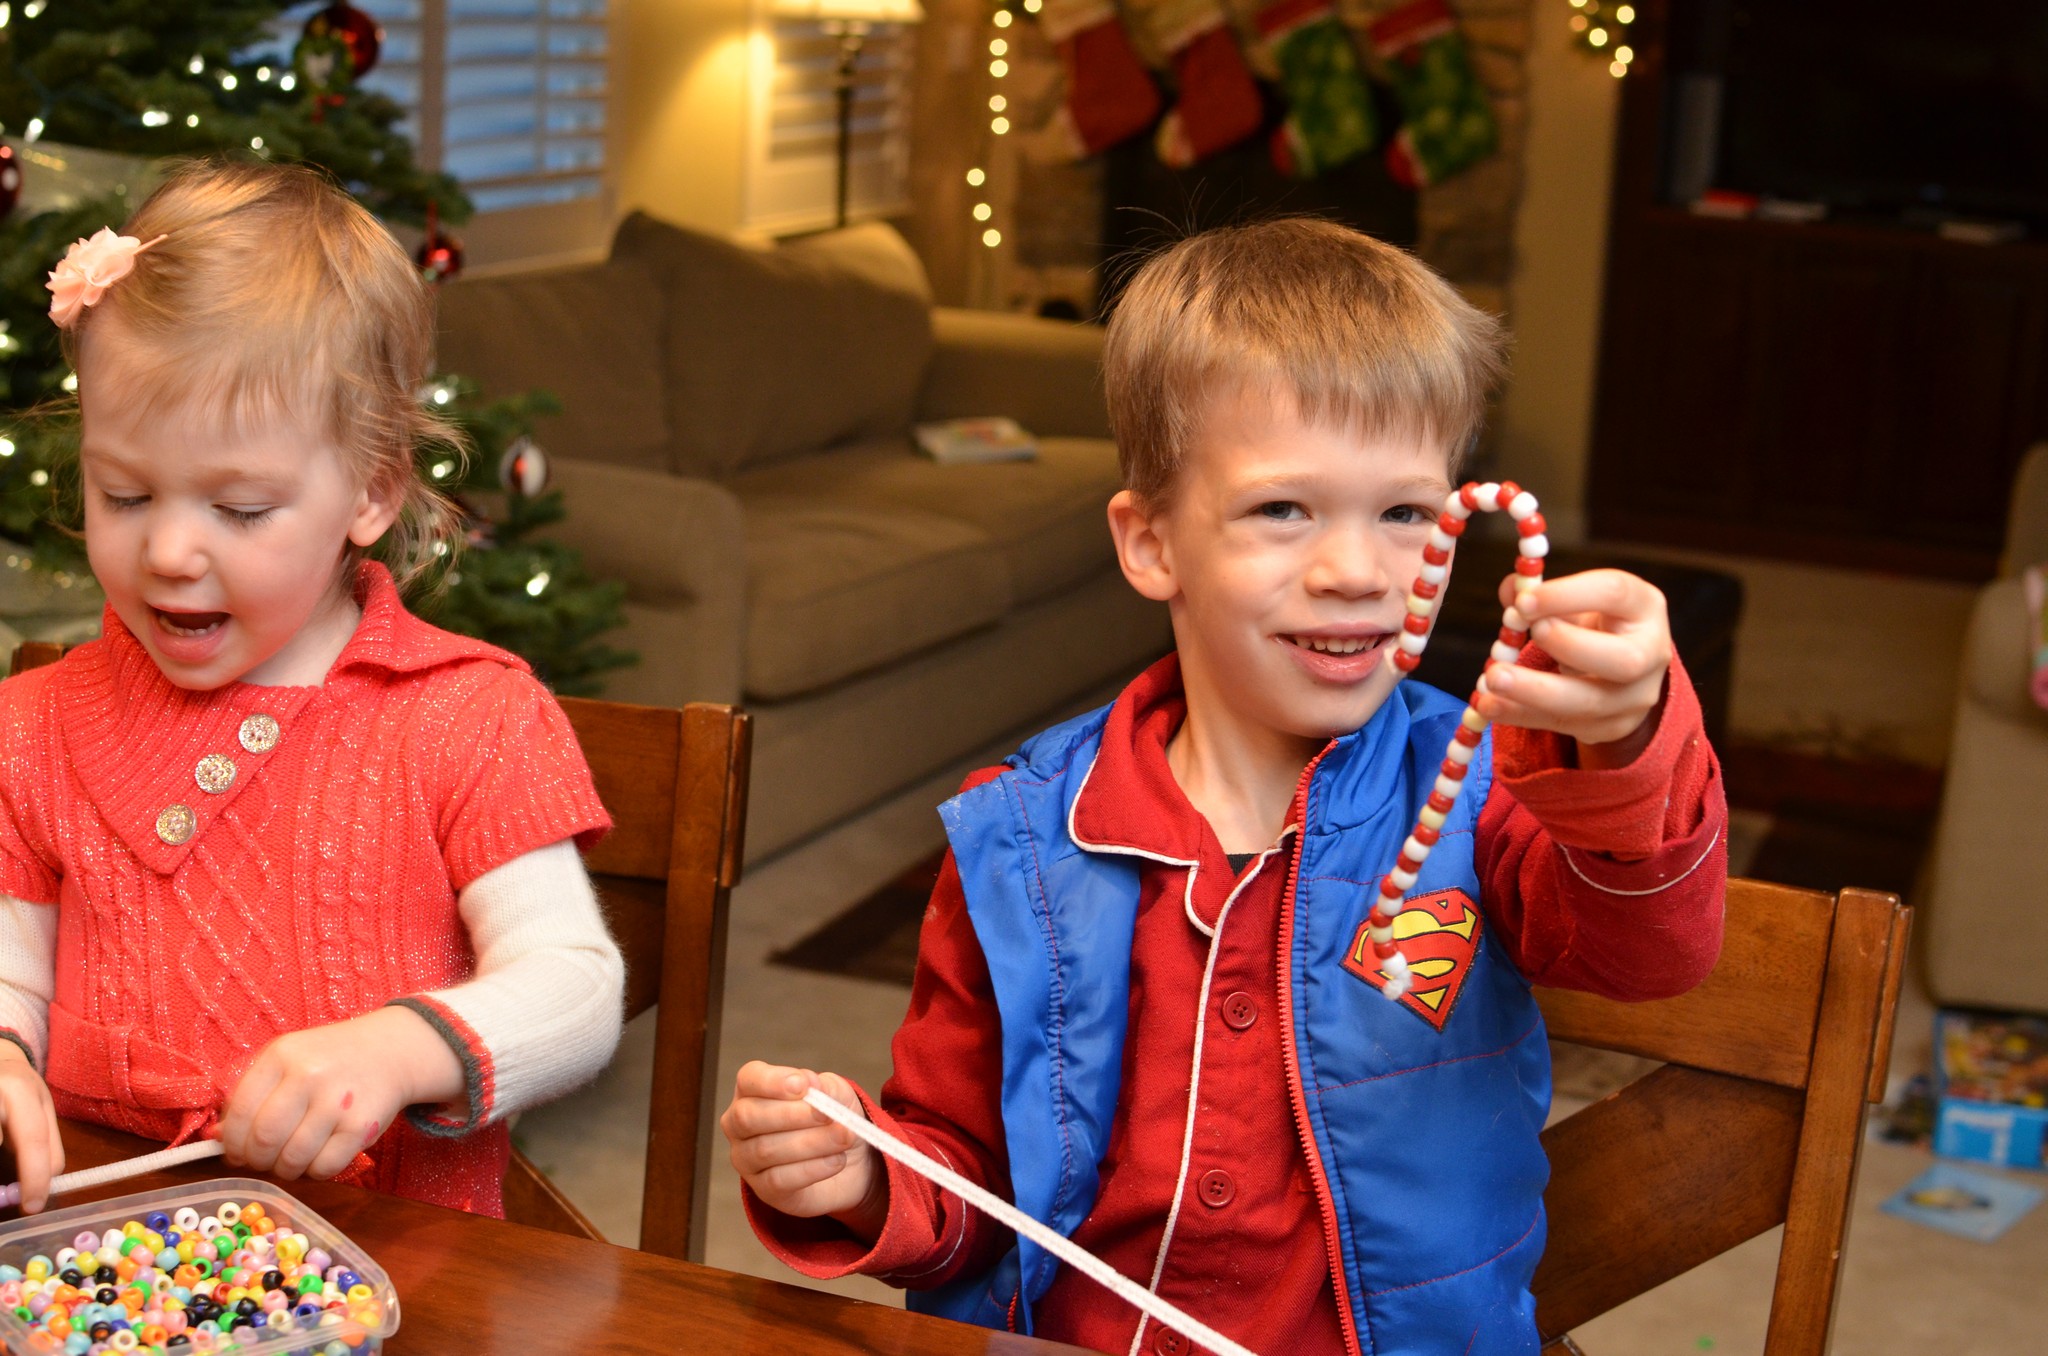
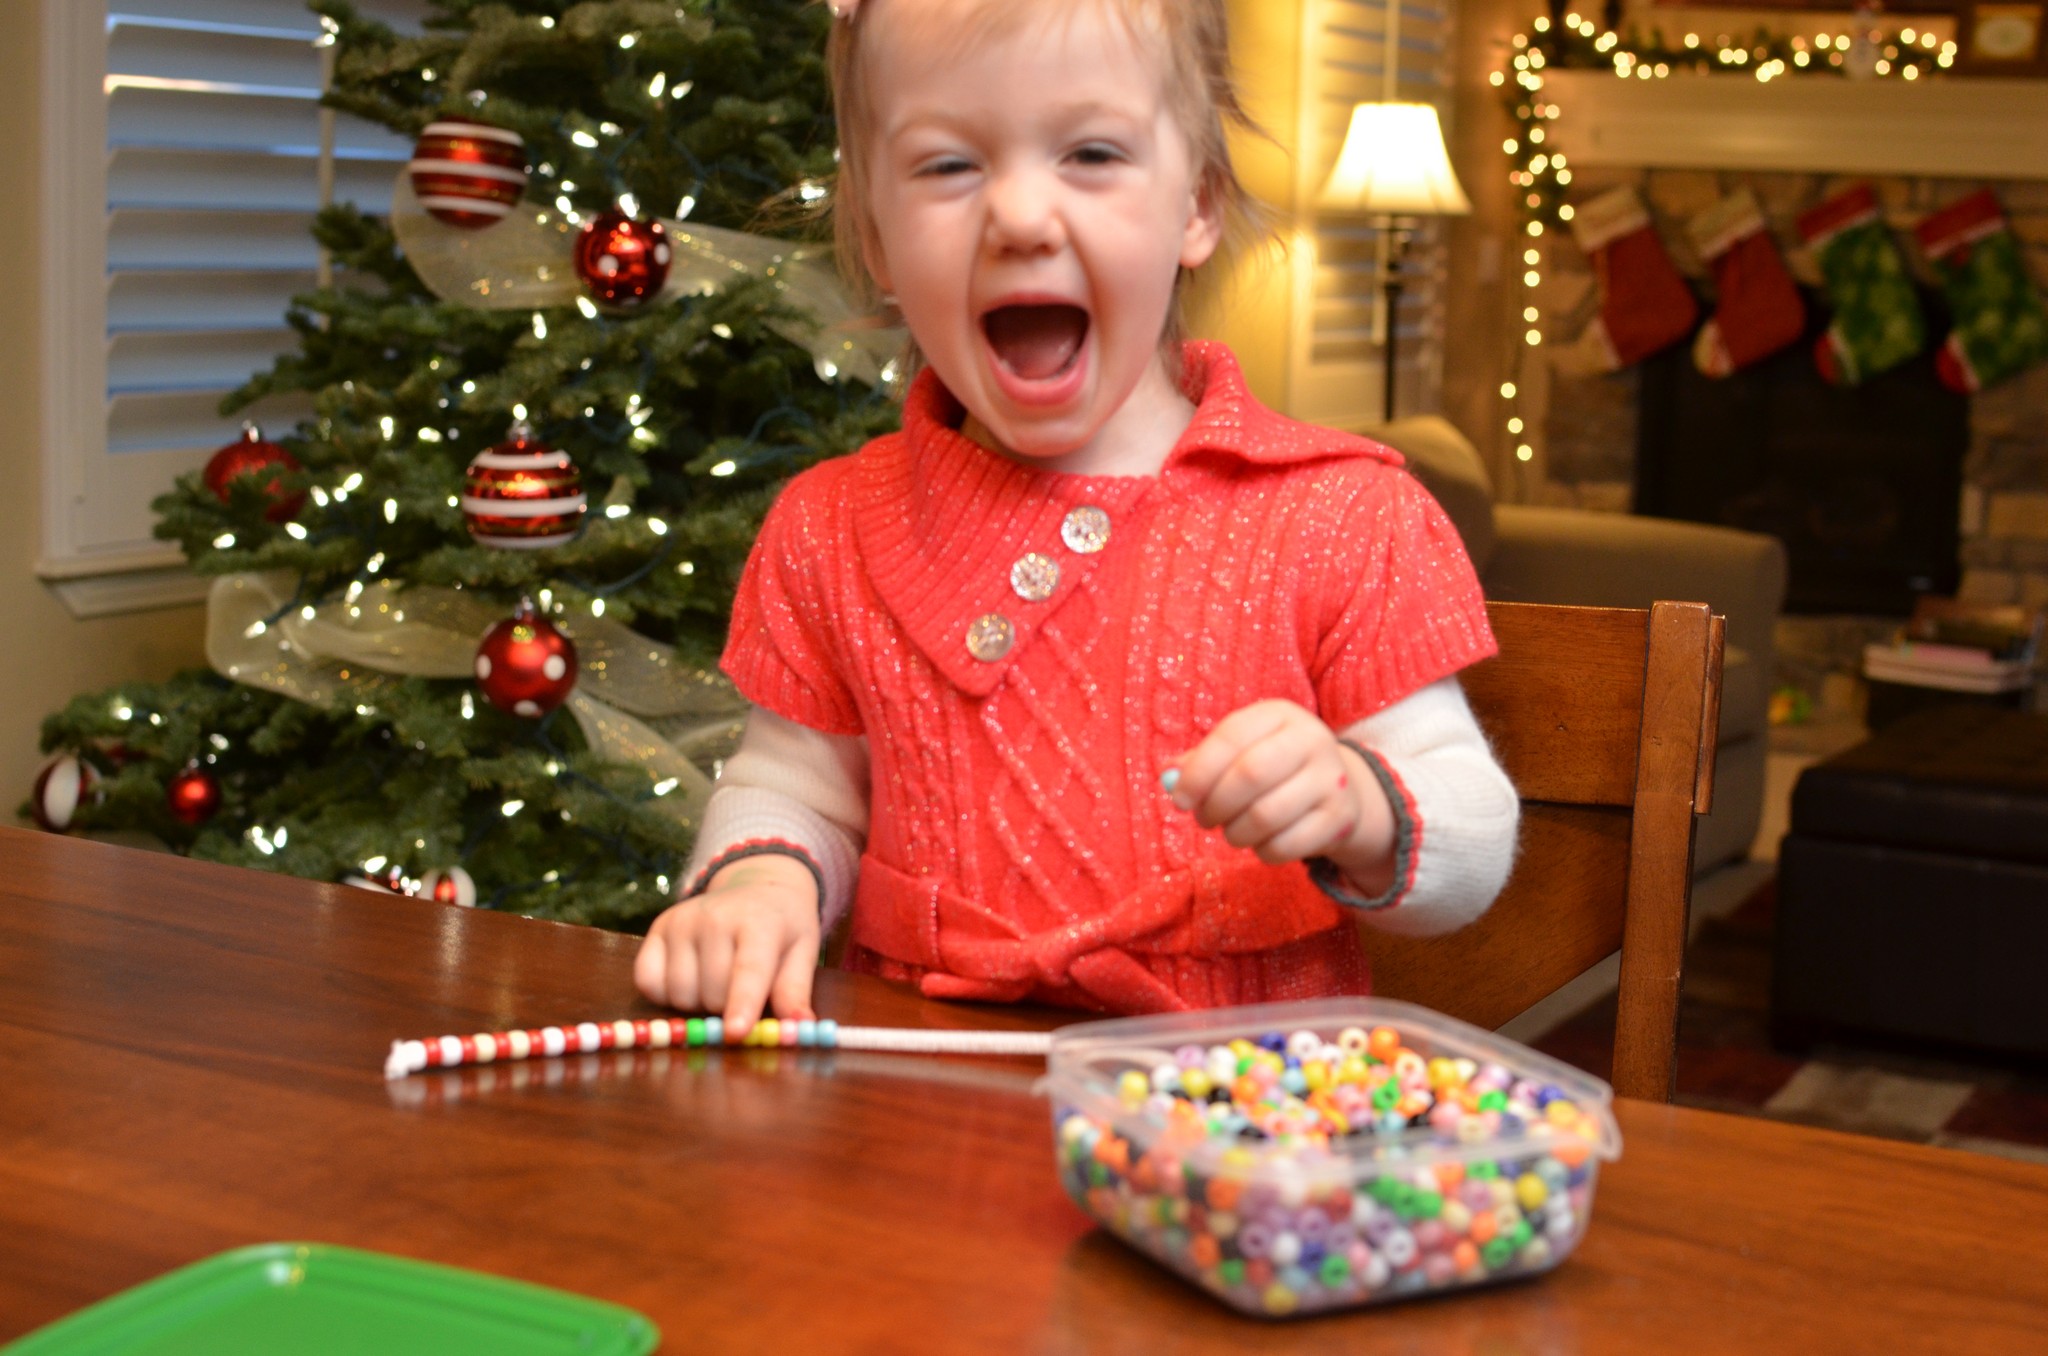
Lastly, we made candy canes out of pipe cleaners. This wasn’t Selah’s favorite activity since, as you know, she would prefer to exercise her artistic license and not do things “inside the box.” Elliott grabbed his pipe cleaner and immediately began alternating red and whites, but Selah…well, she kept sneaking purples when I wasn’t looking! Hahaha!!! Oh my goodness, she just cracks me up!!!
Day 17: Christmas activities!!
I pulled out these old “magnetic presents” from last year:
I got these ideas (and one of the previous peppermint activities) from here .
Lots of activities that kept them busy.
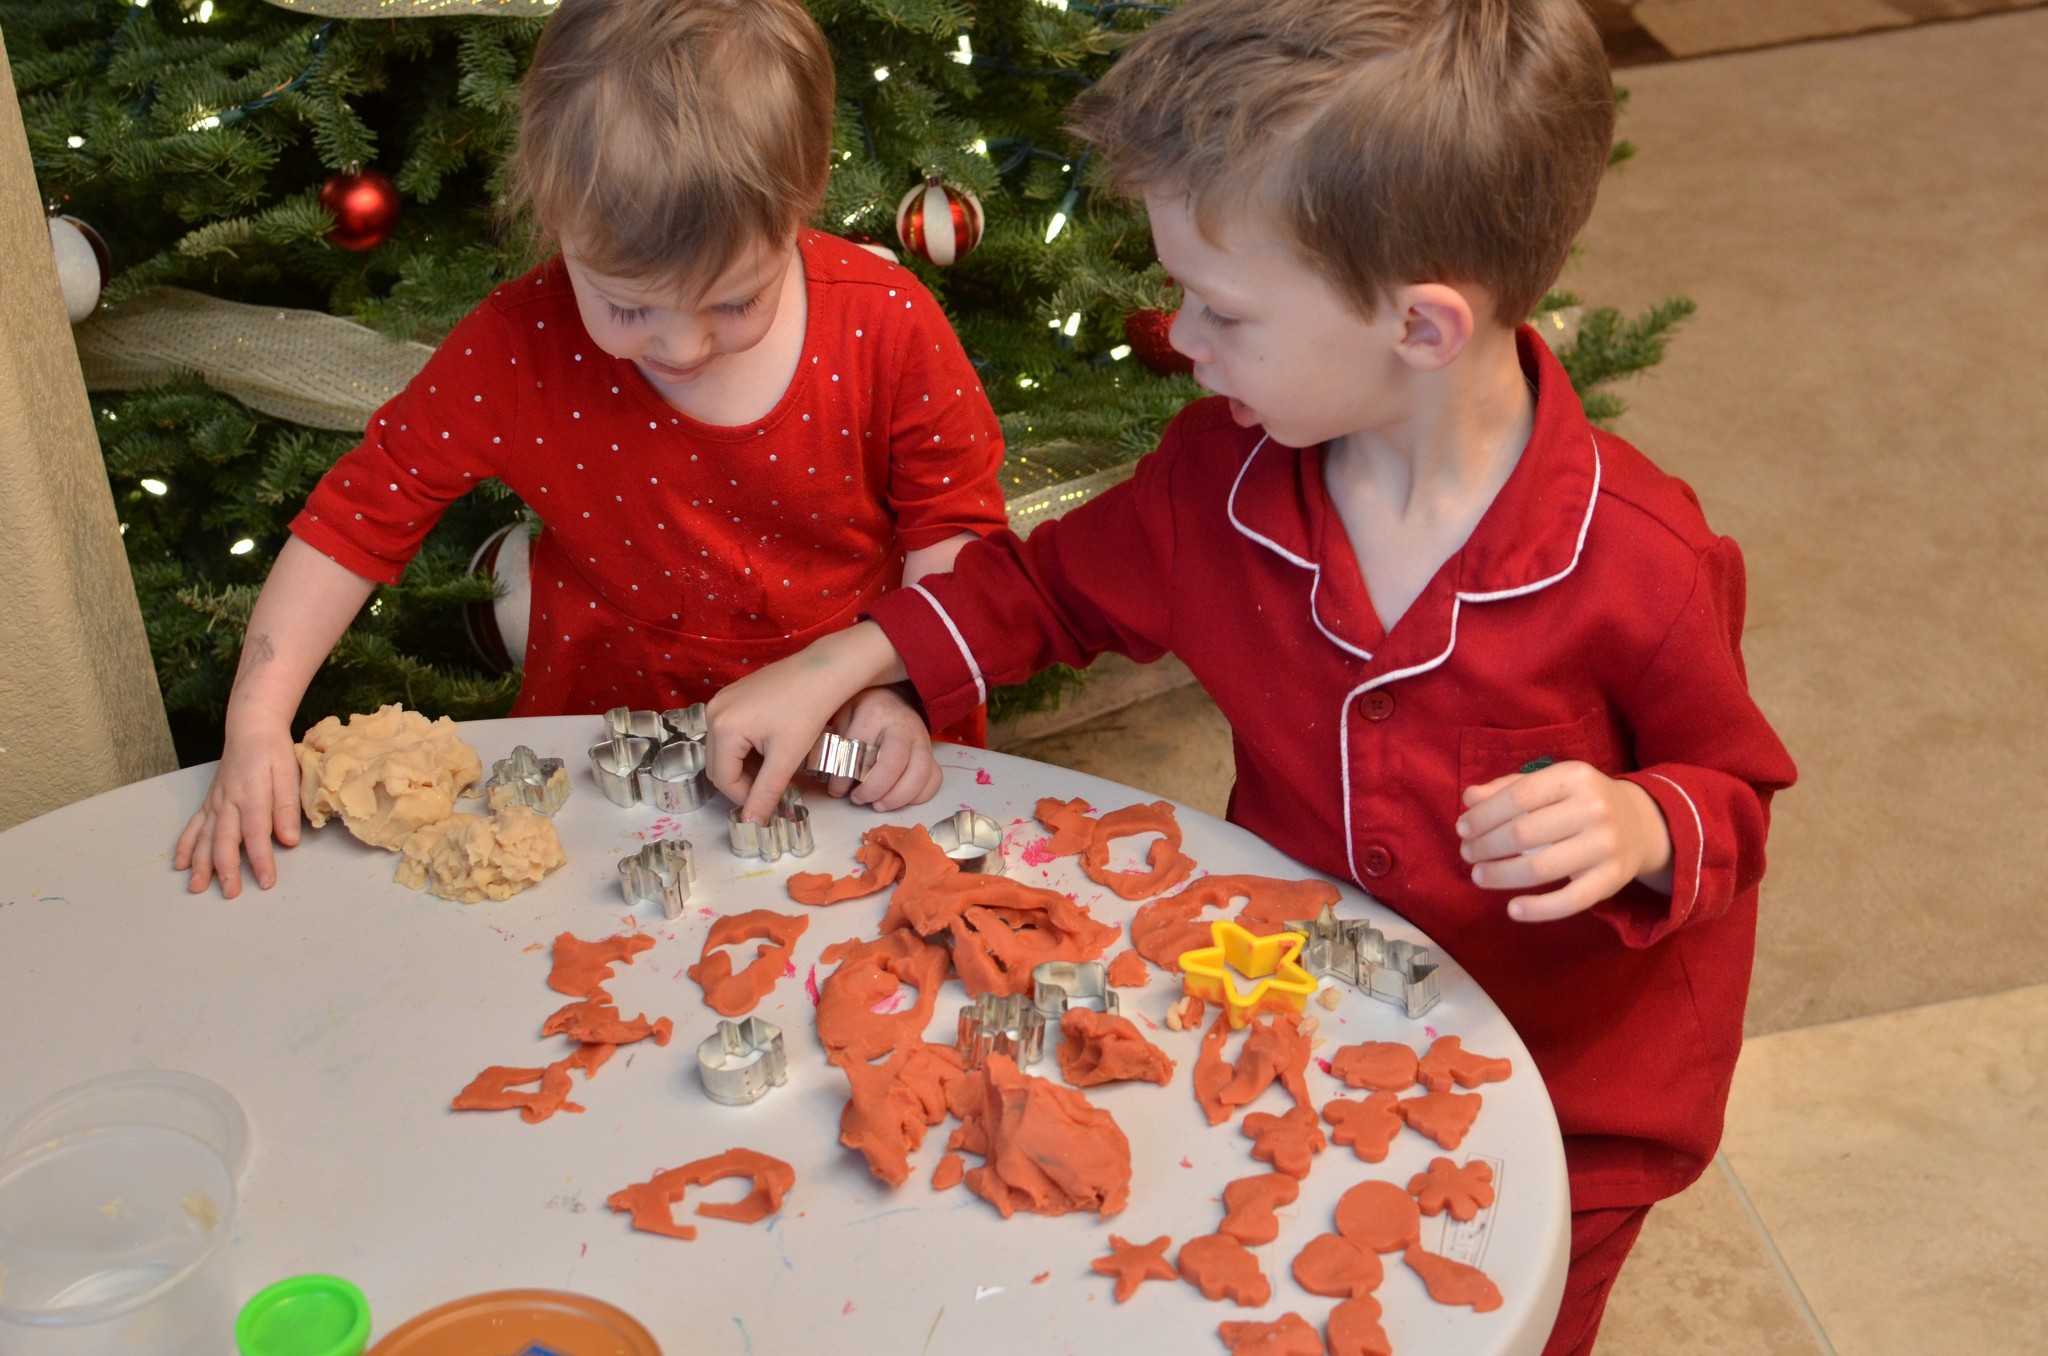
Day 18: Playdough & cookie cutters
My friend Elizabeth had given us some Christmas playdough last year, and it is the gift that keeps on giving!! My kids play with it all the time and it is still wonderful playdough. I found these tiny cookie cutters at Hobby Lobby and I knew they’d be perfect for the cookie cutter playdough activity I wanted to do with the kids. Sure enough, they were! Elliott made TONS and TONS of playdough cookies and Selah, well…I think you’re starting to catch on to her “style.” 🙂
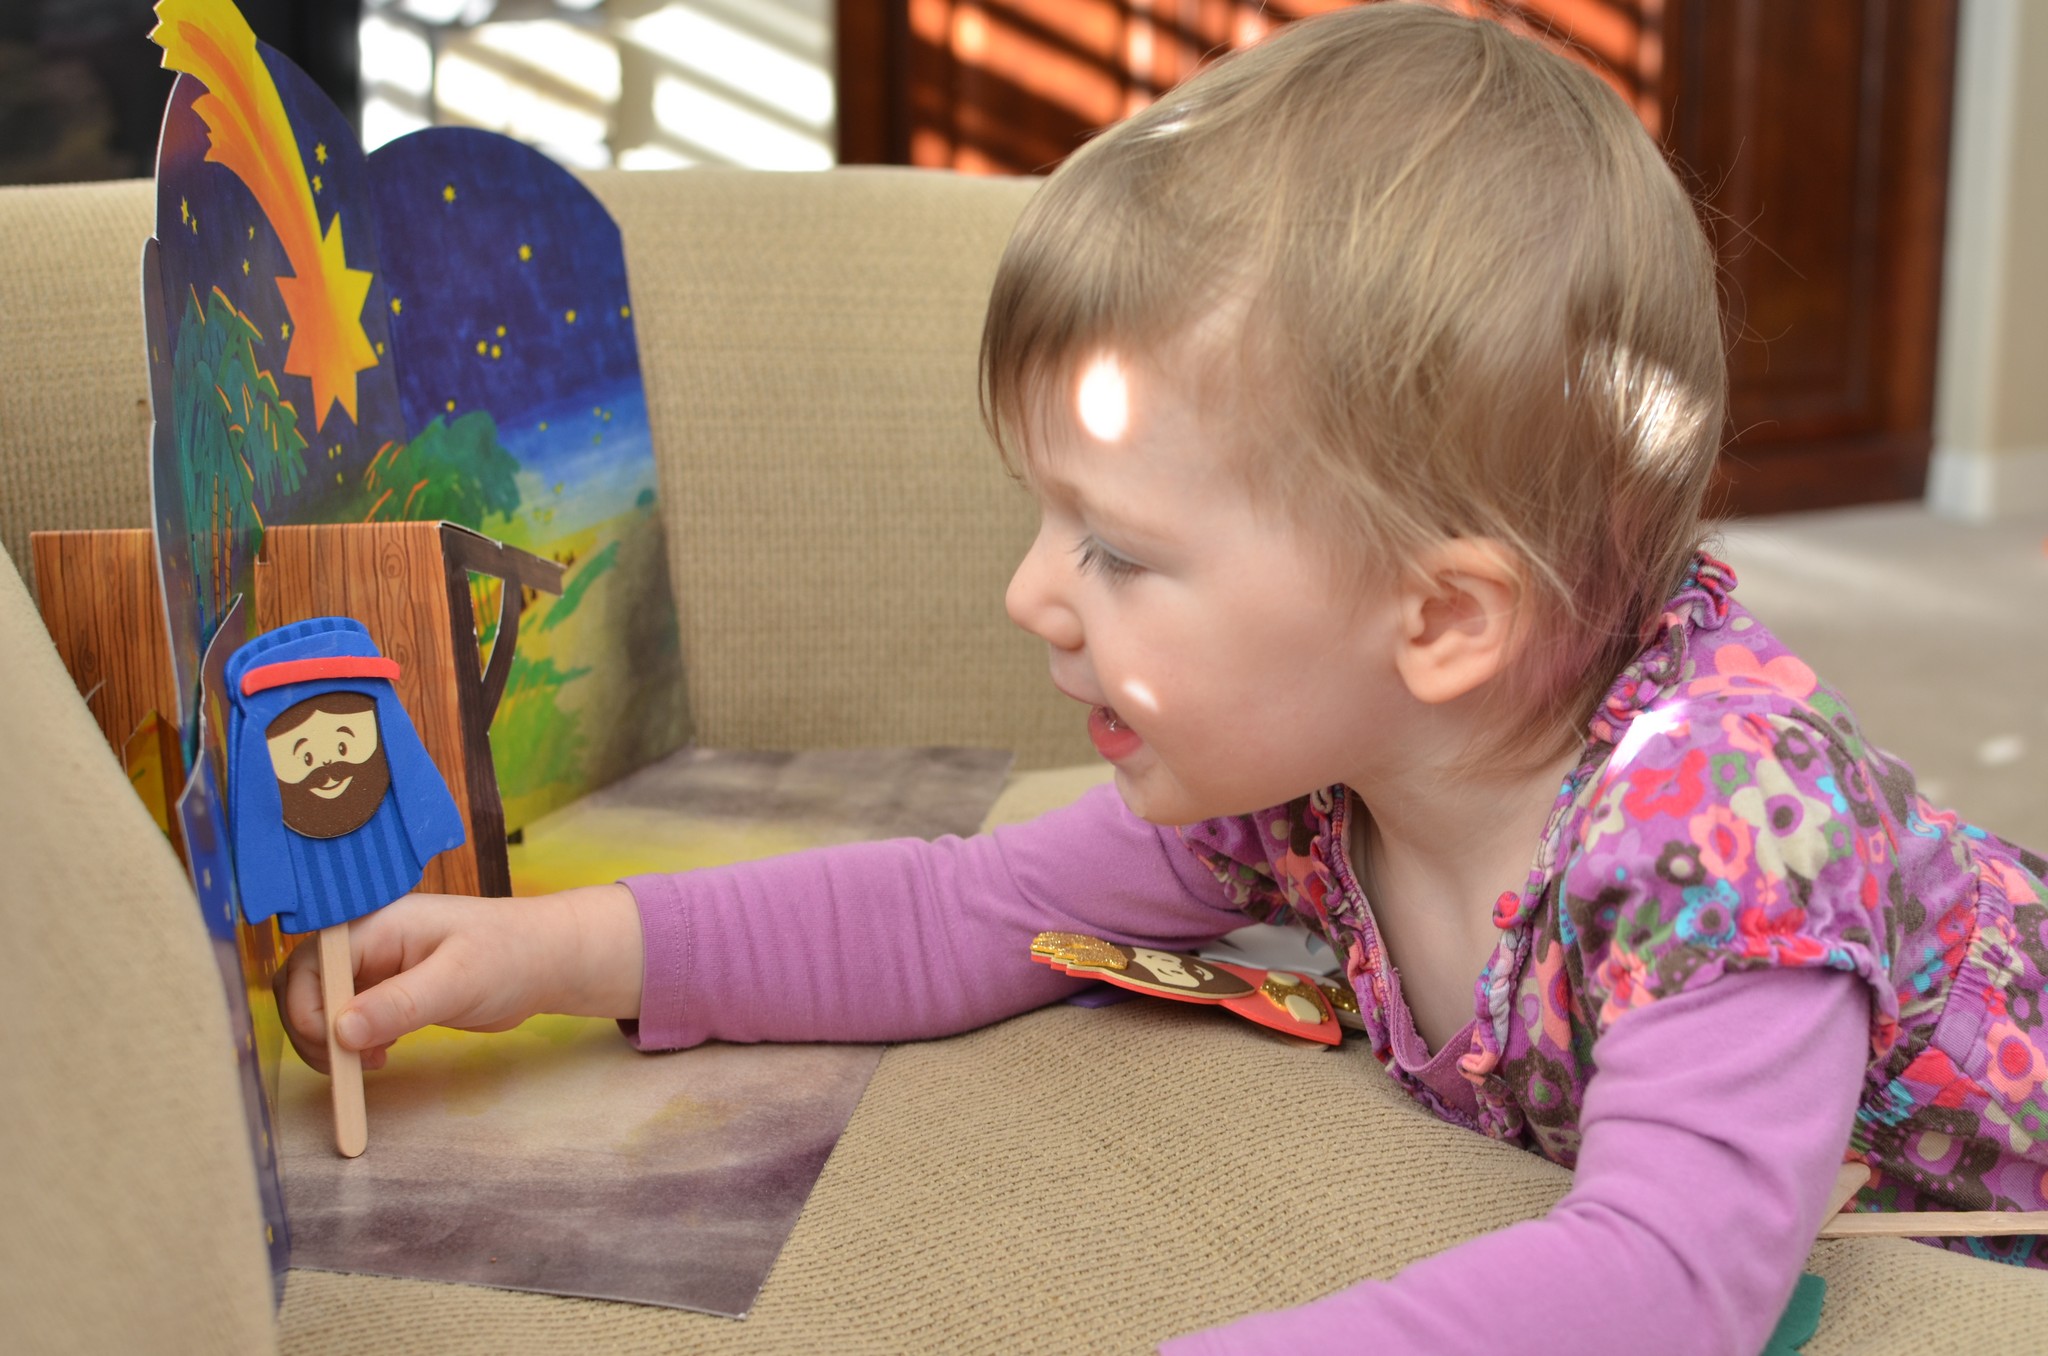
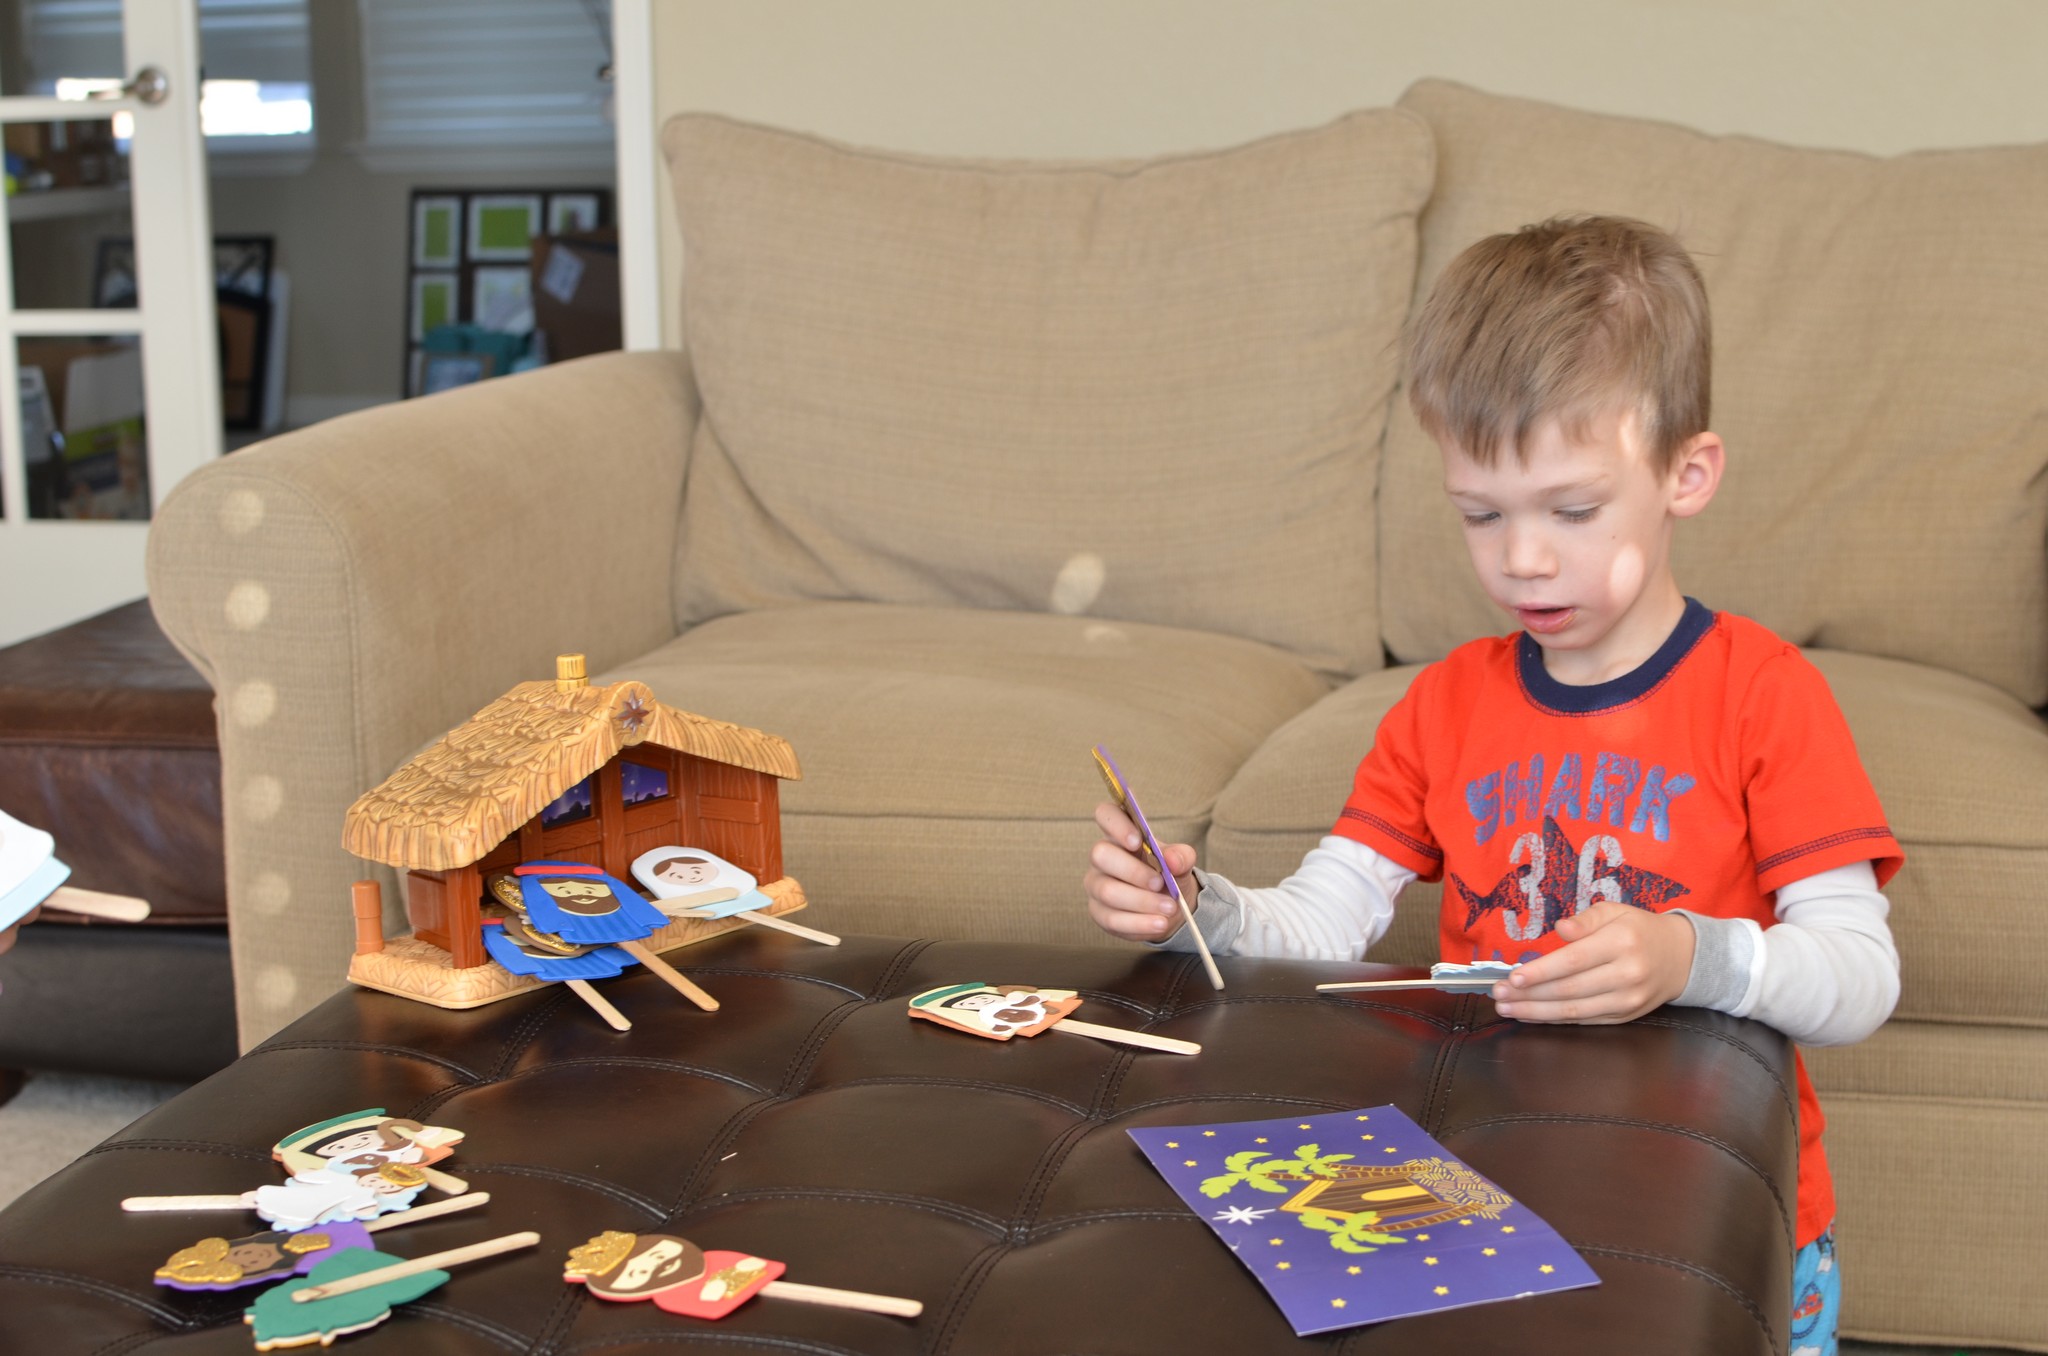
Day 19: Act out the nativity story using puppets!
I was tired this day :). I pulled out the nativity puppets we had made last year from a Michael’s set (thankfully, there were TWO!), and we acted out the story. The kids had a blast, using the two stables we had. Obviously, you could do this without puppets, and just use the figurines you have in any nativity set. As simple as this activity was, the kids really loved it as they are SO into role playing.
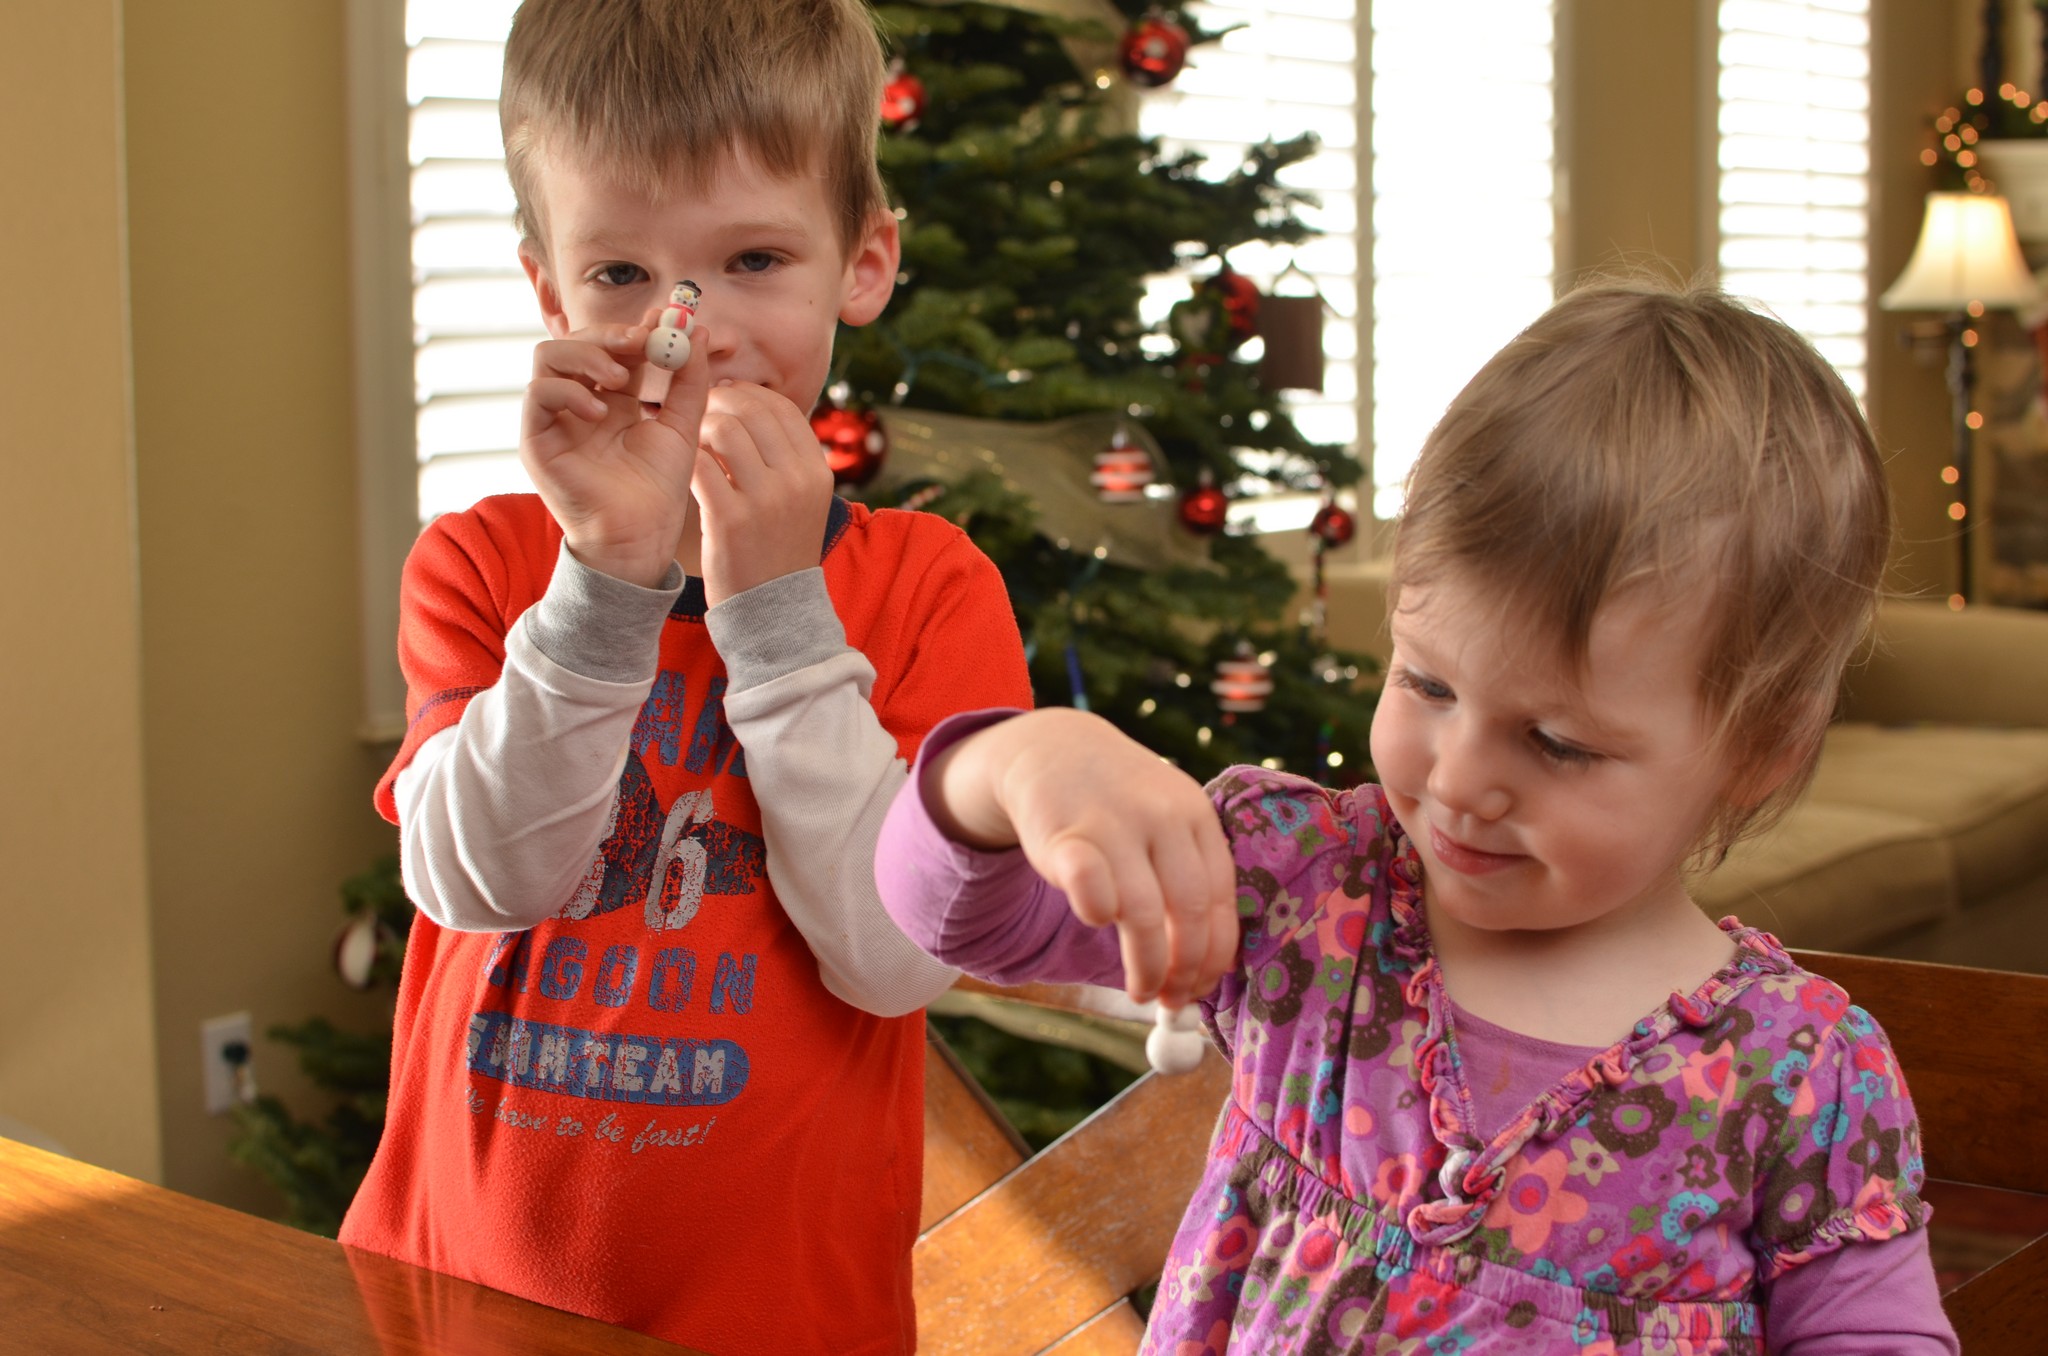
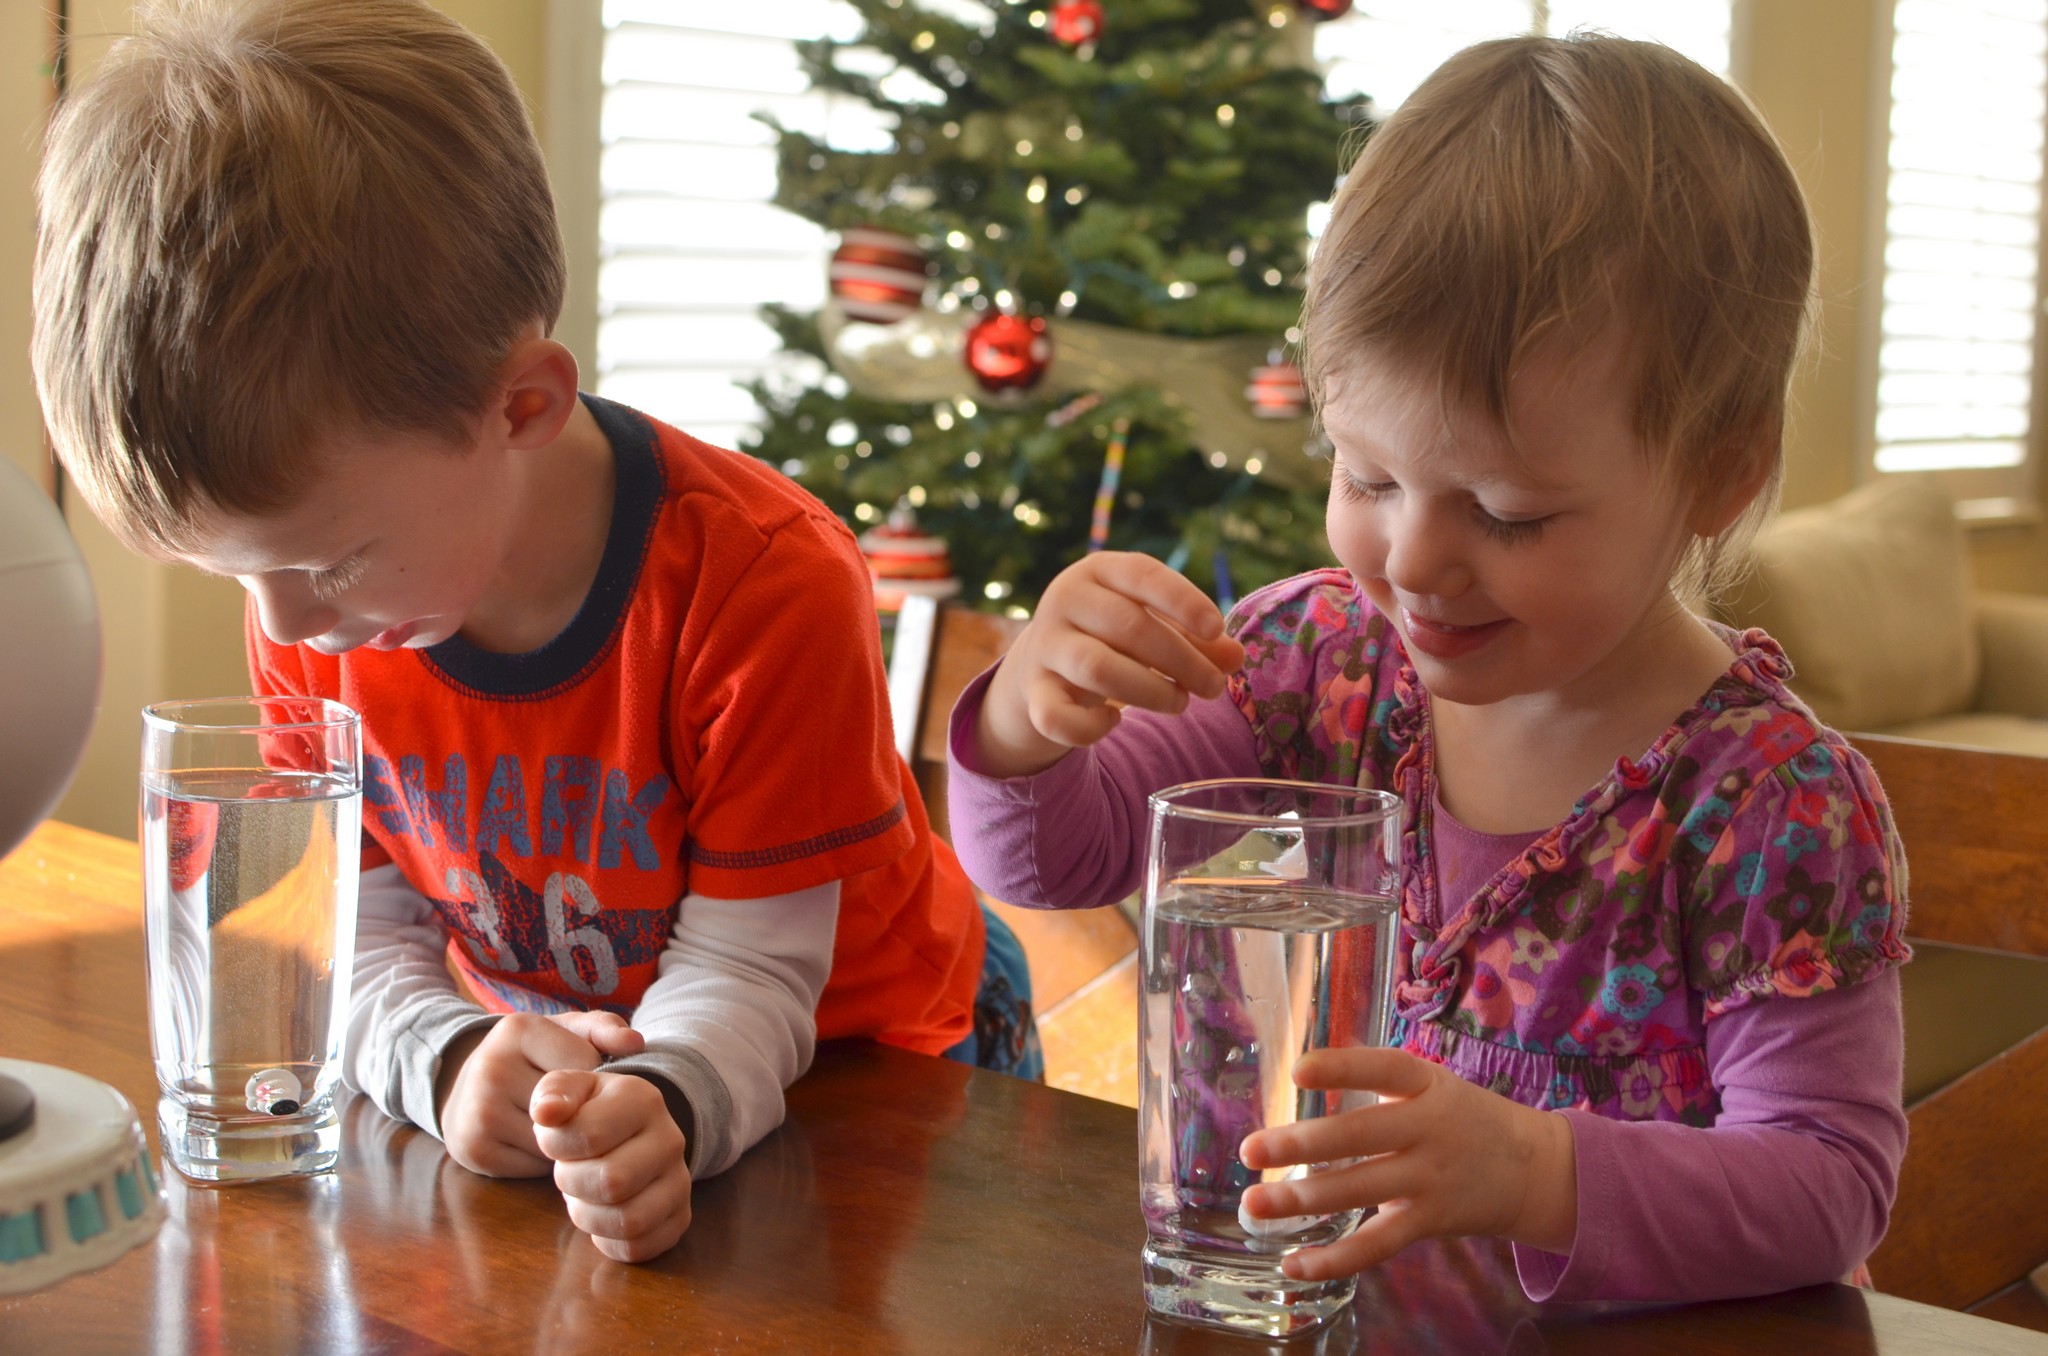
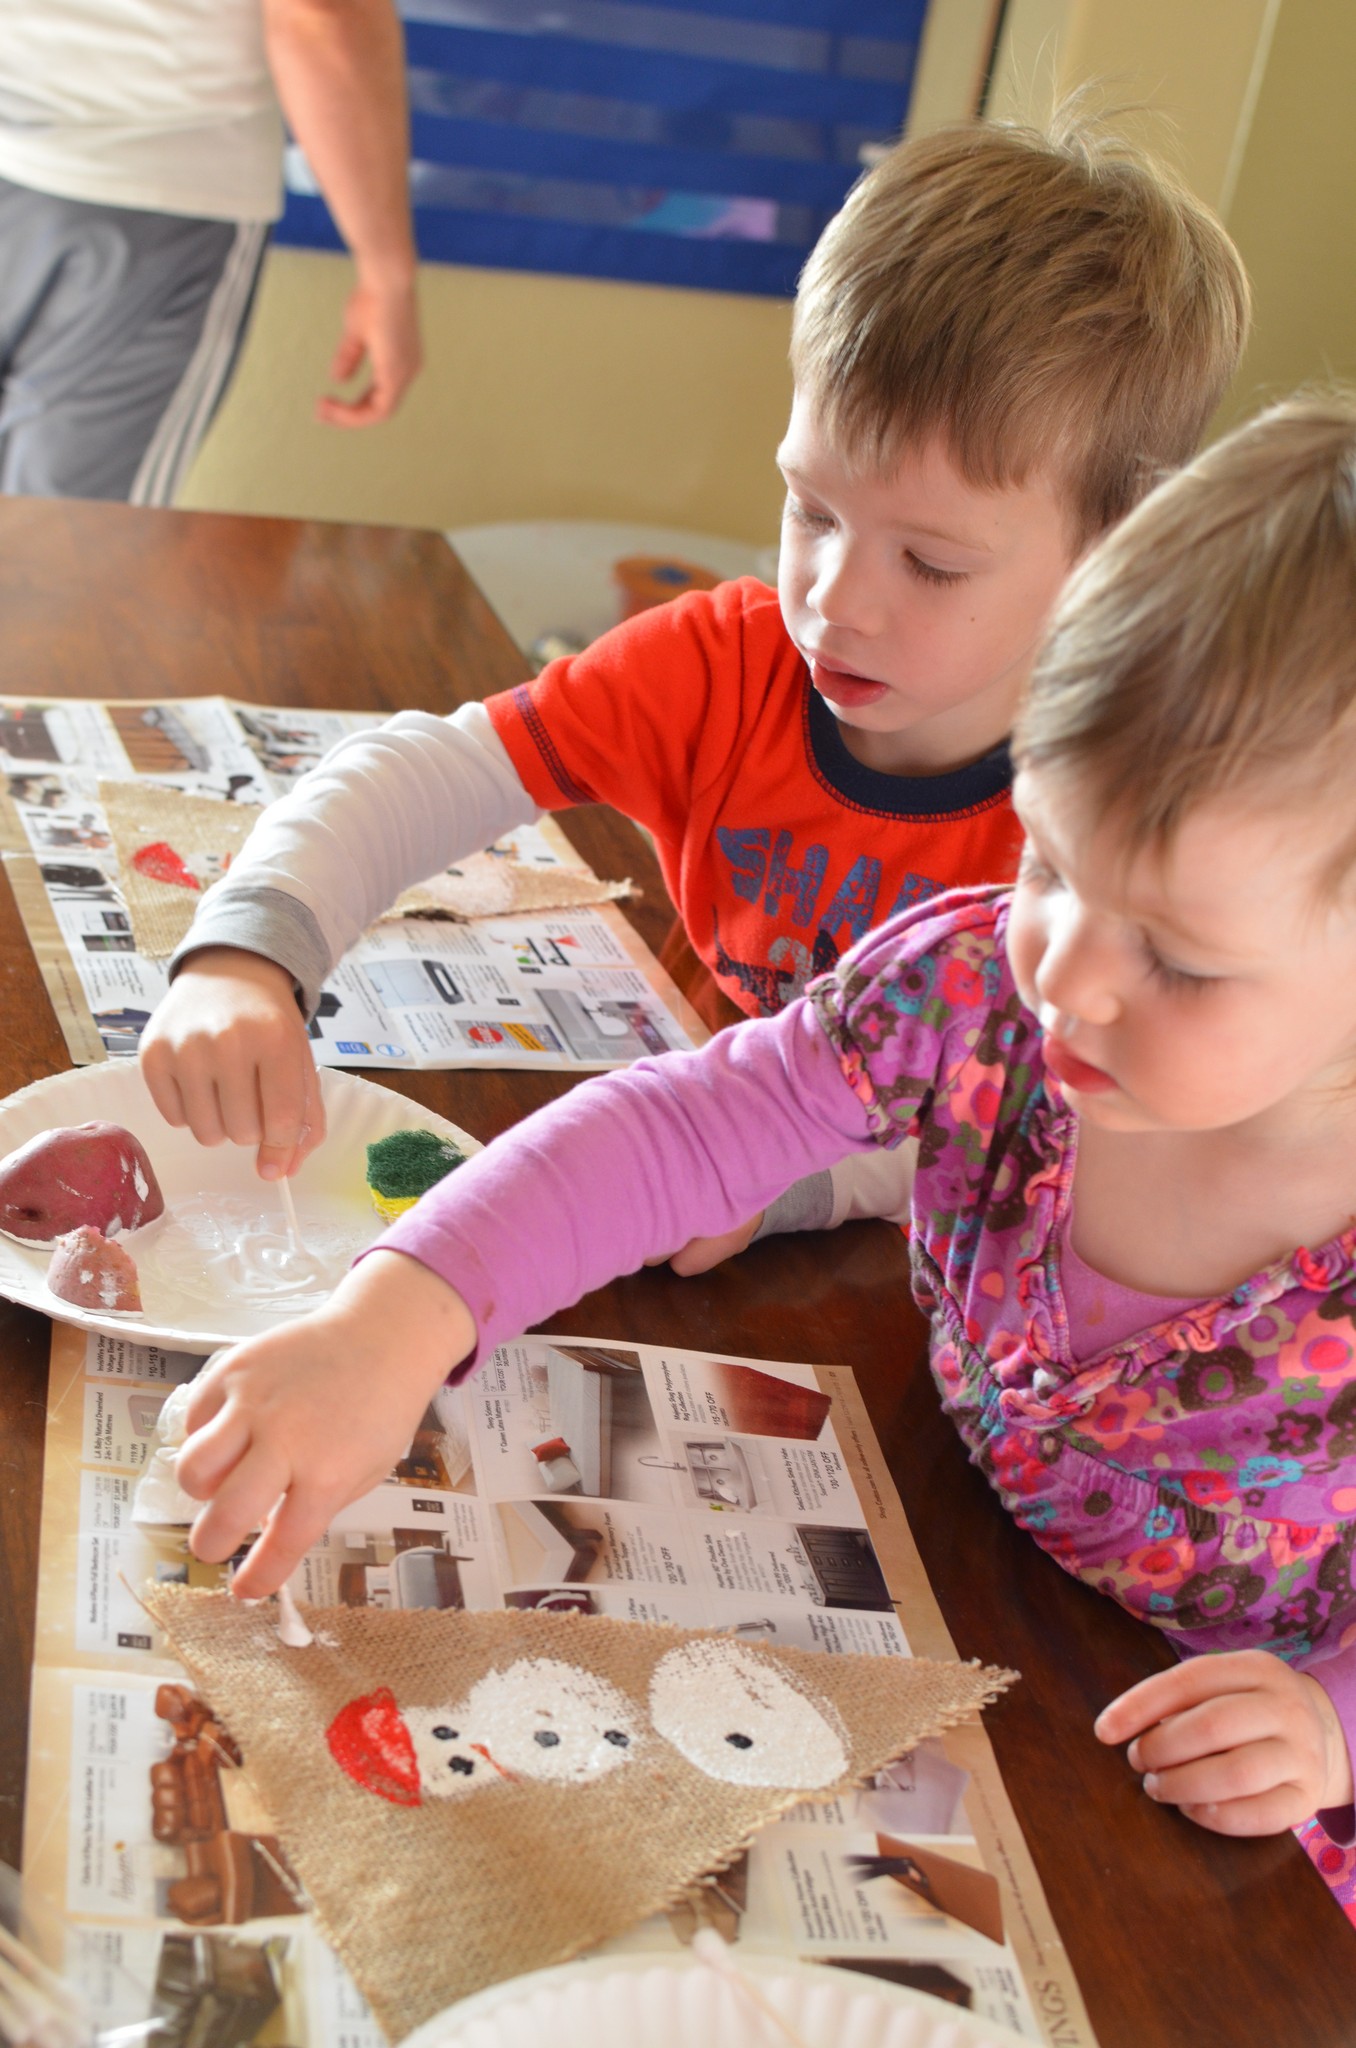
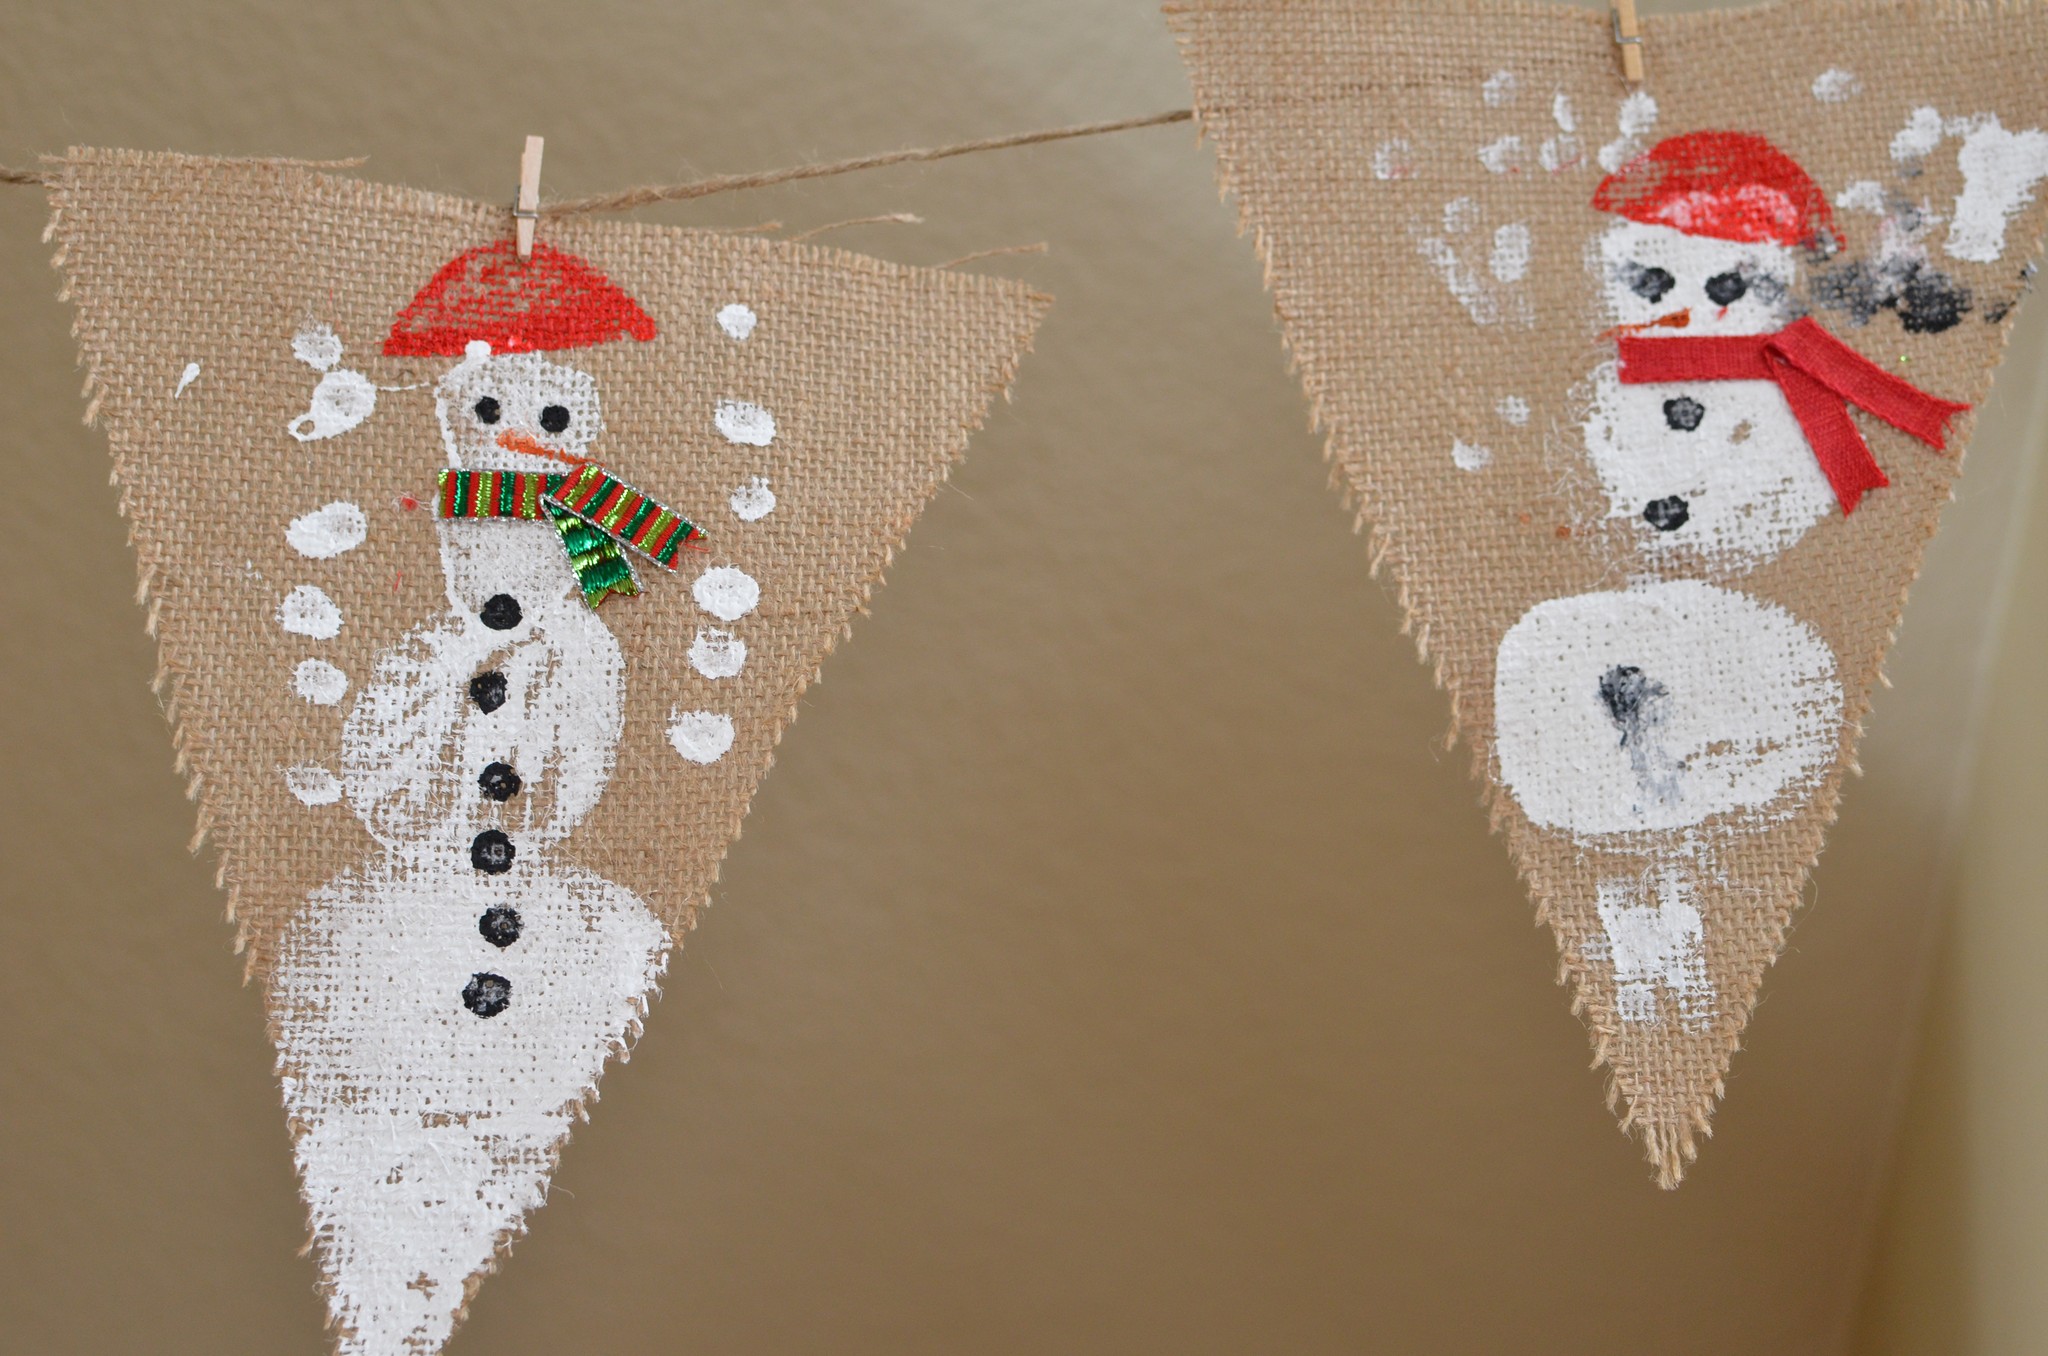
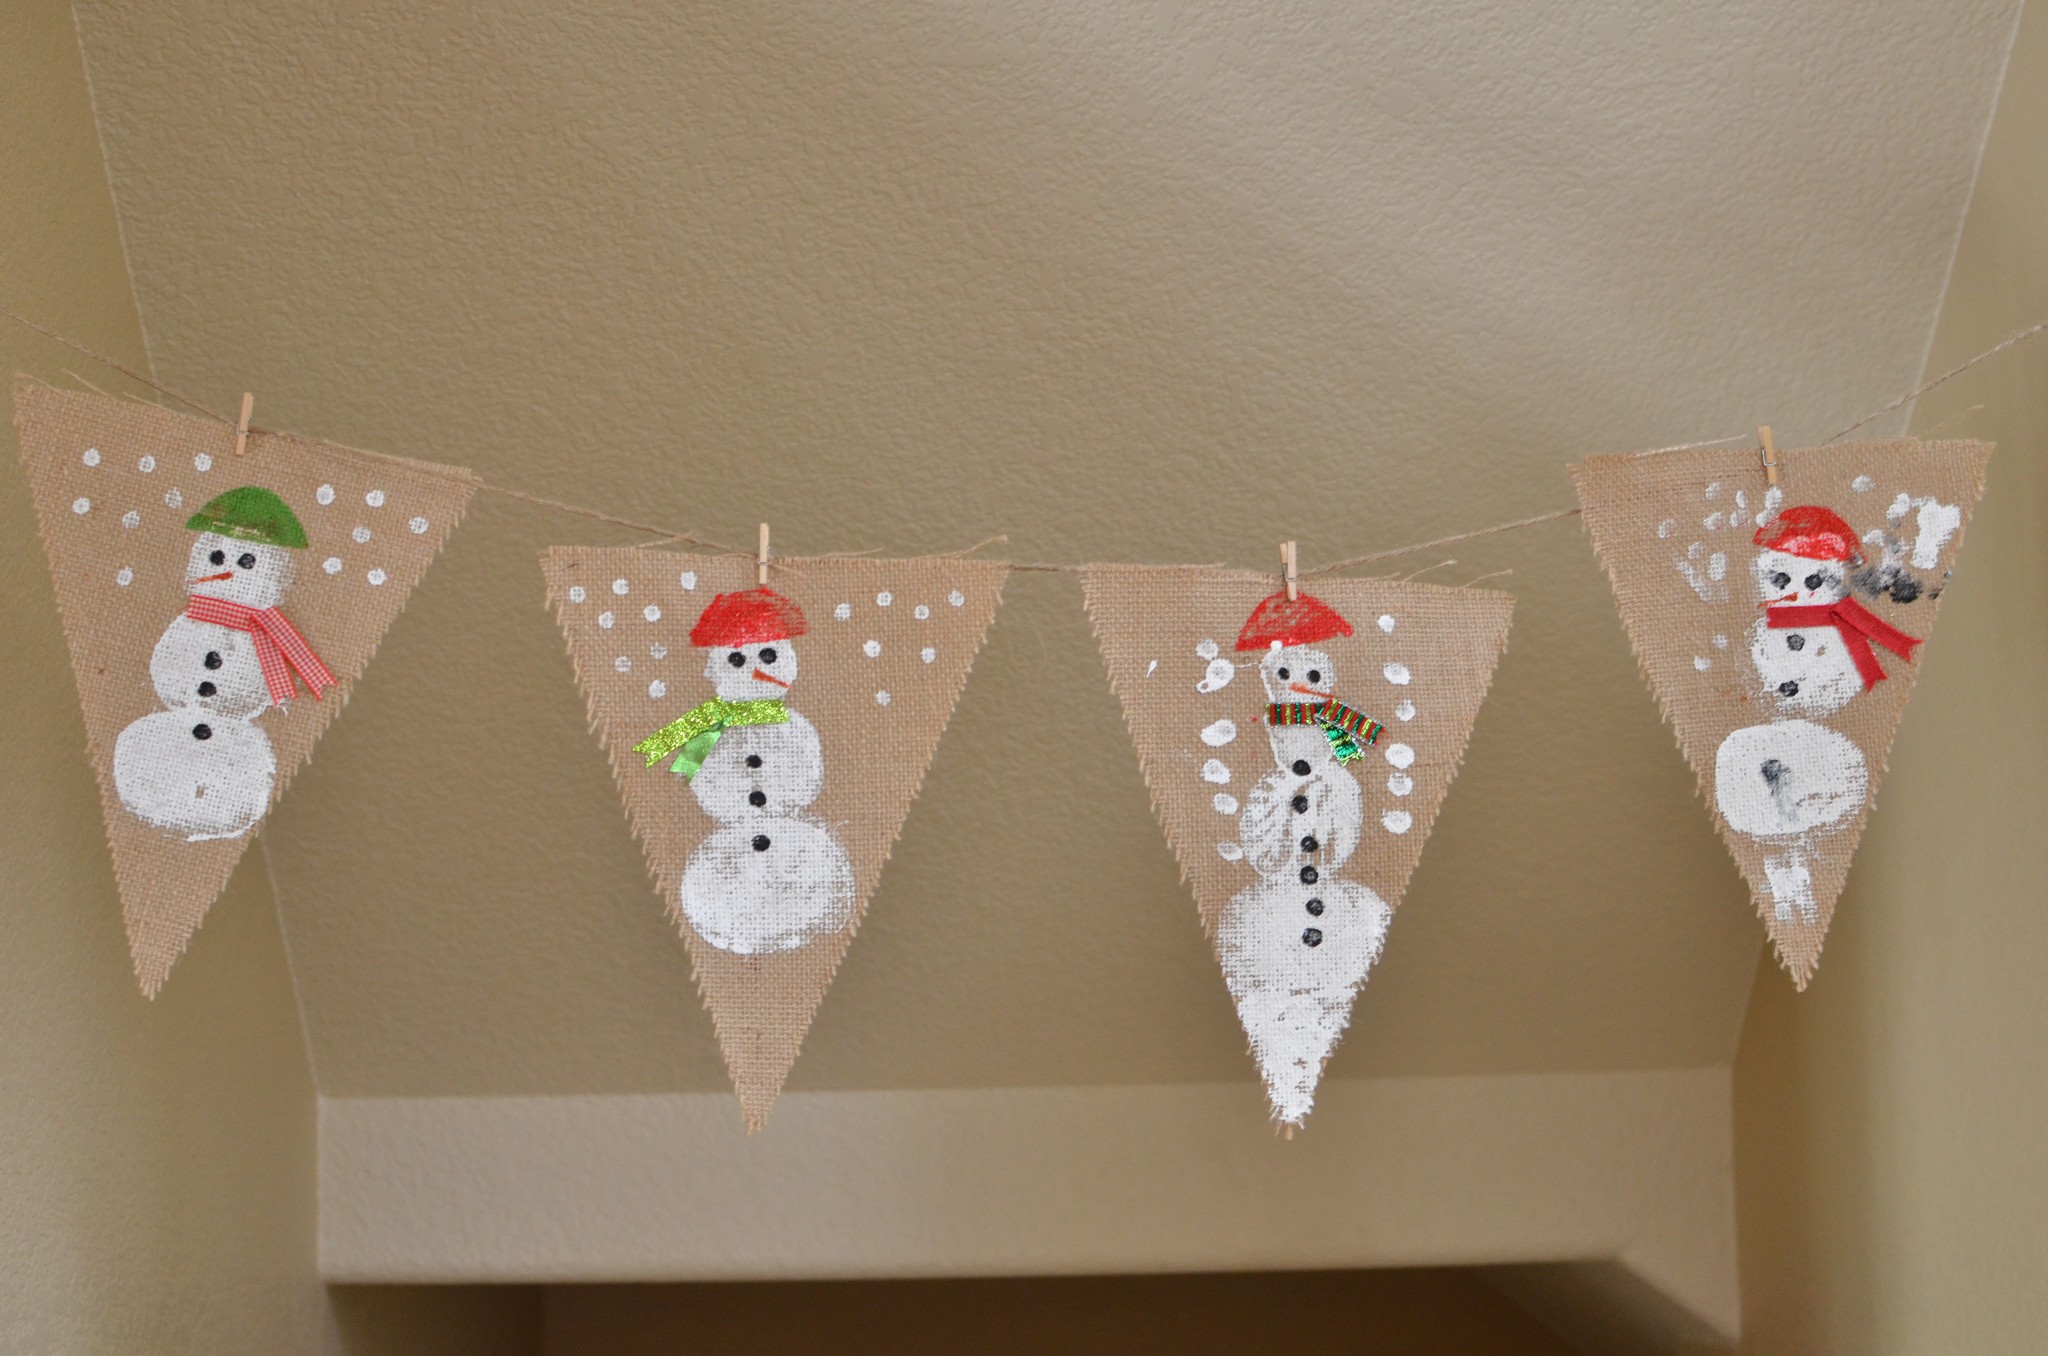
Day 20: Snowman family day!
Snowman pancakes!!
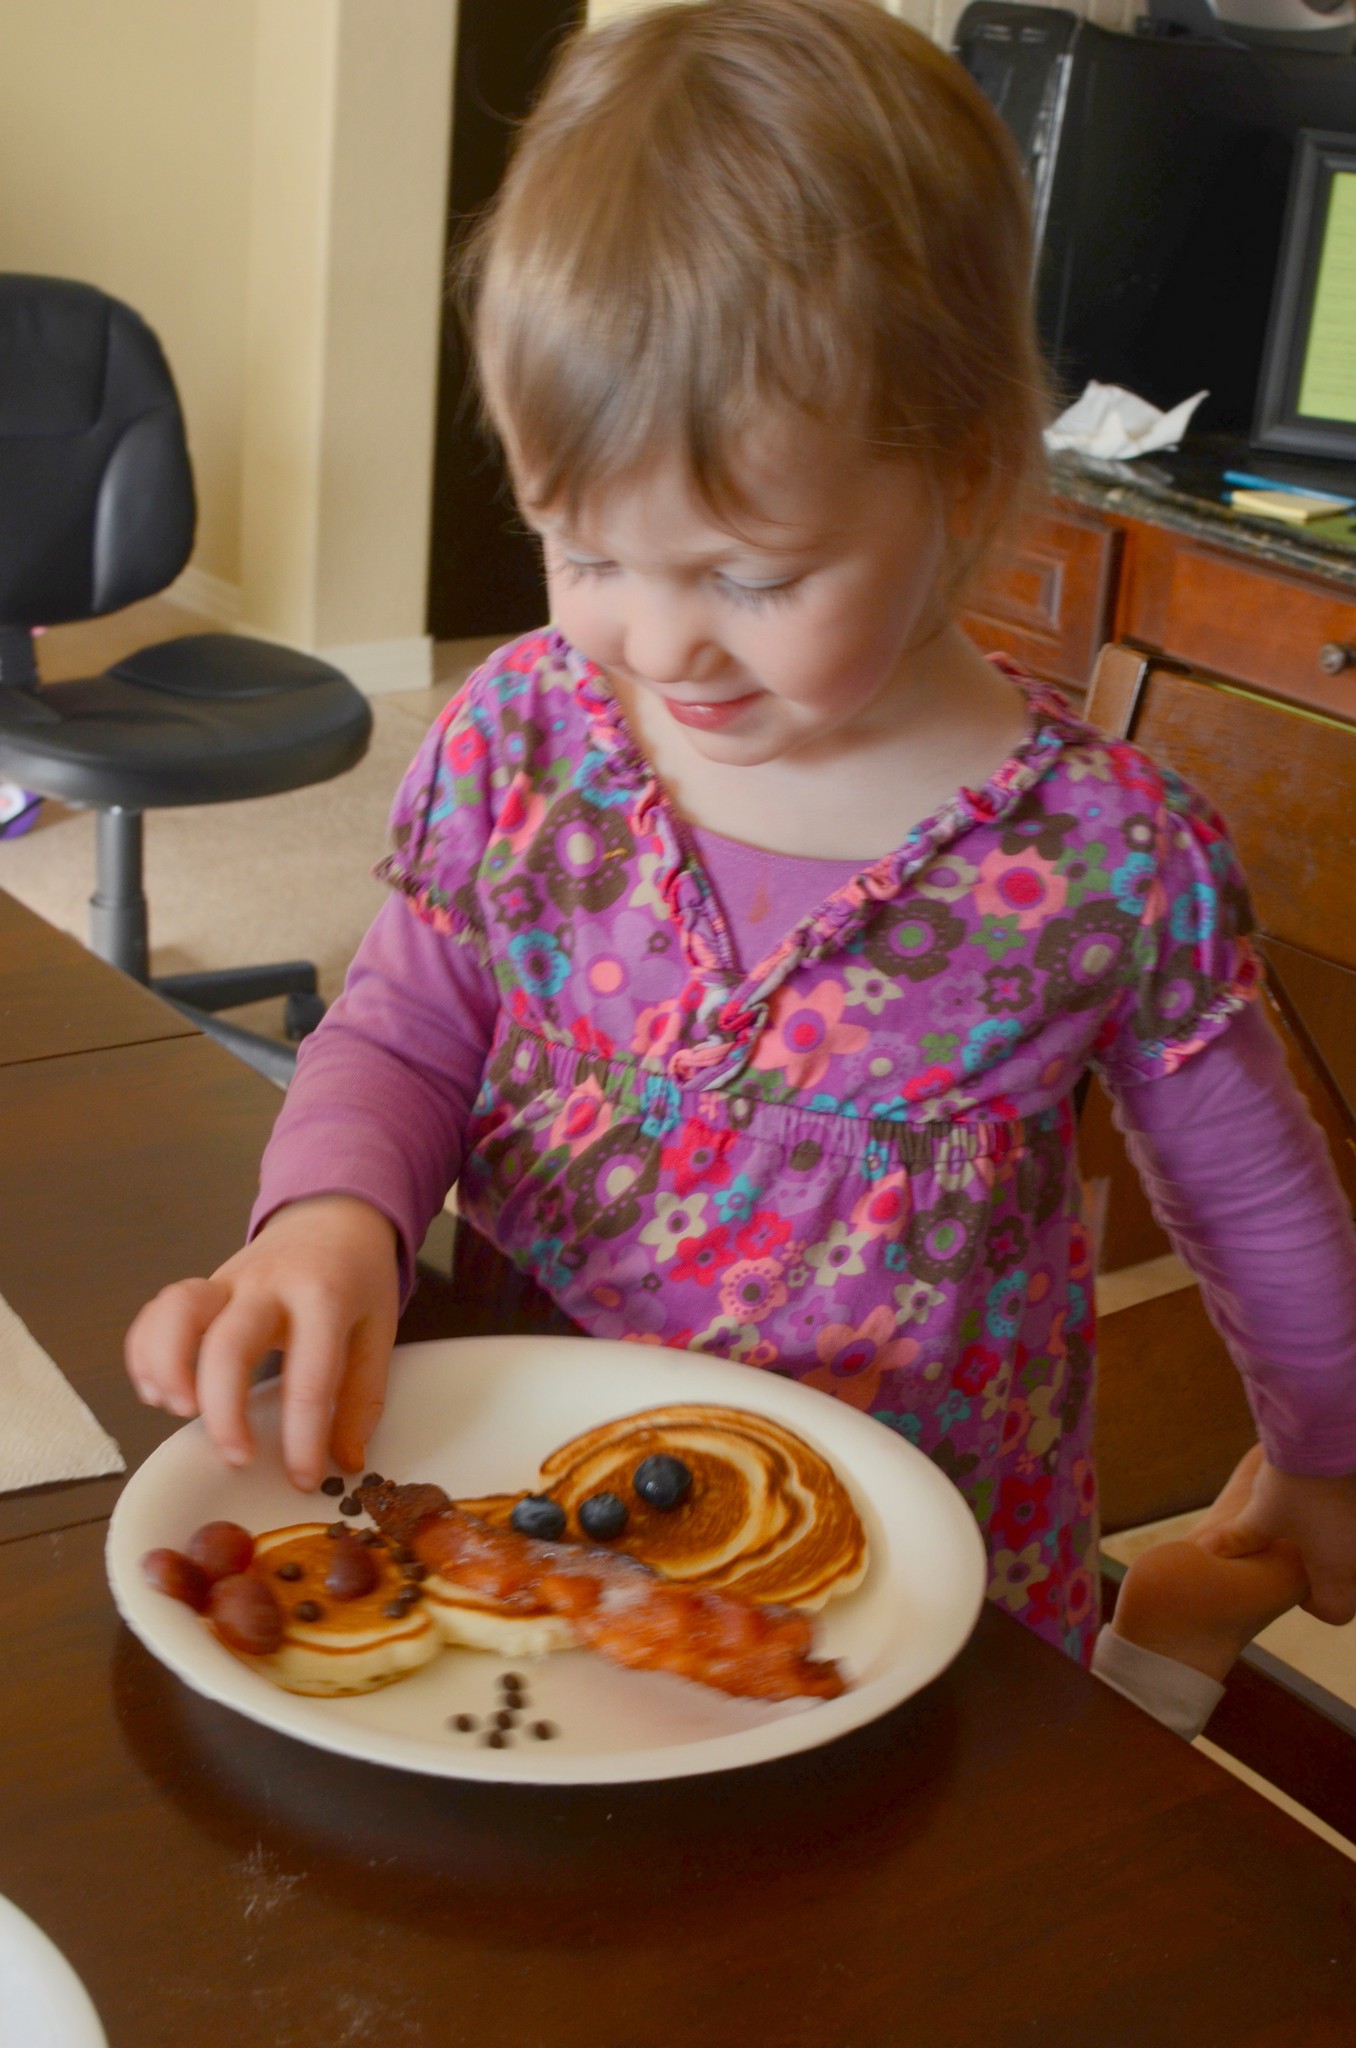
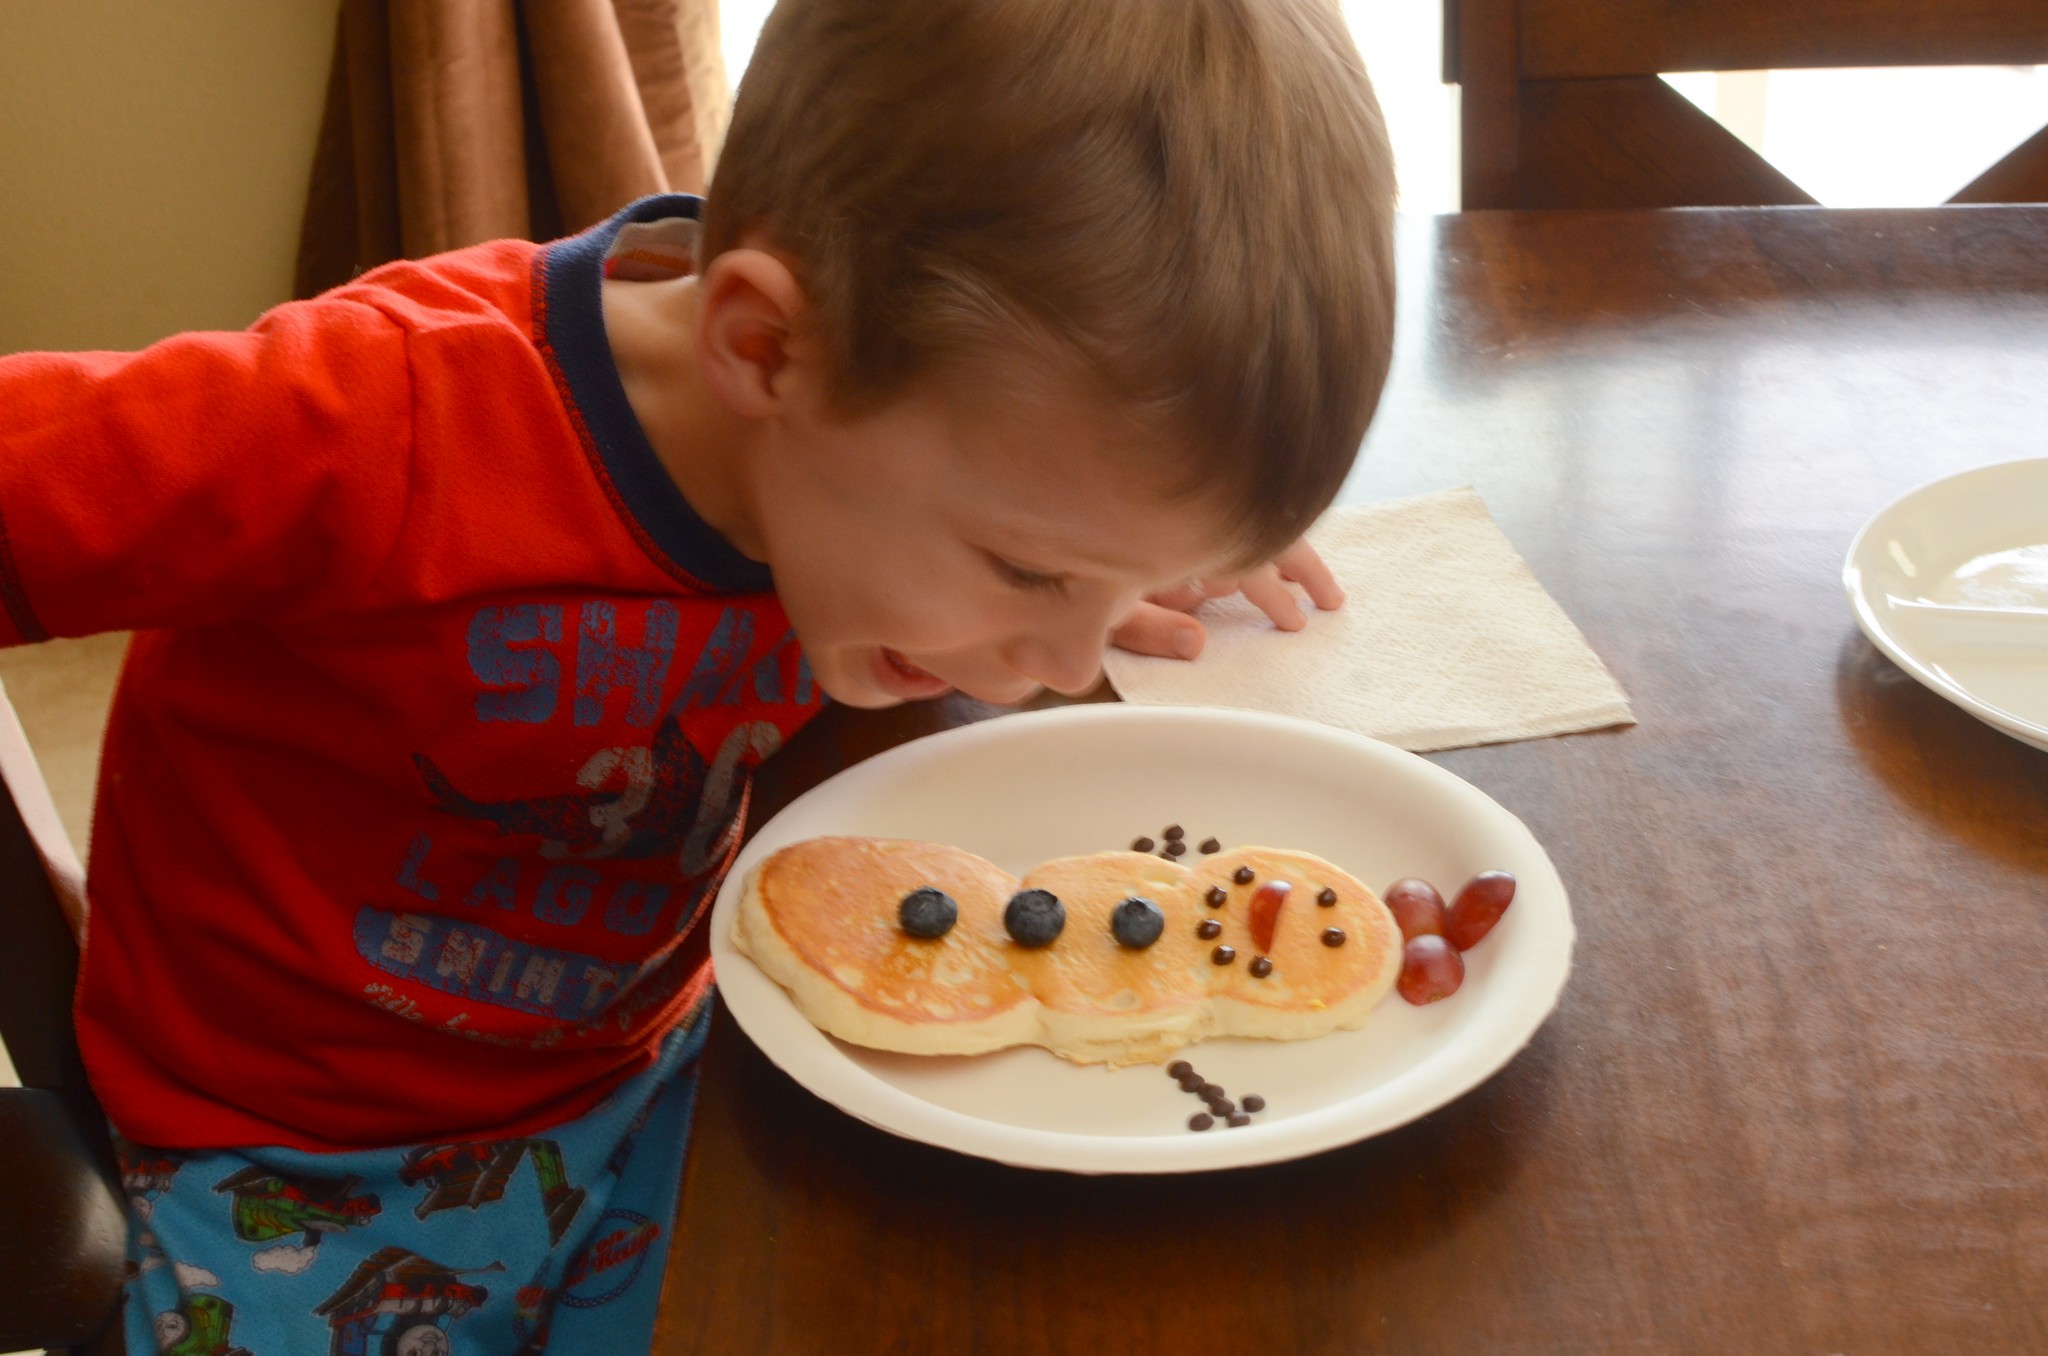
I got these mini snowmen that are supposed to grow in water at Michael’s for $1. Well, they are worth about $1 :). I didn’t realize the instructions said they would take up to 10 days to grow, so they were a bit anticlimactic. Regardless, the kids thought they were cool, and it was (sort of) fun to watch them (sloooooowly) grow over the 10 days.
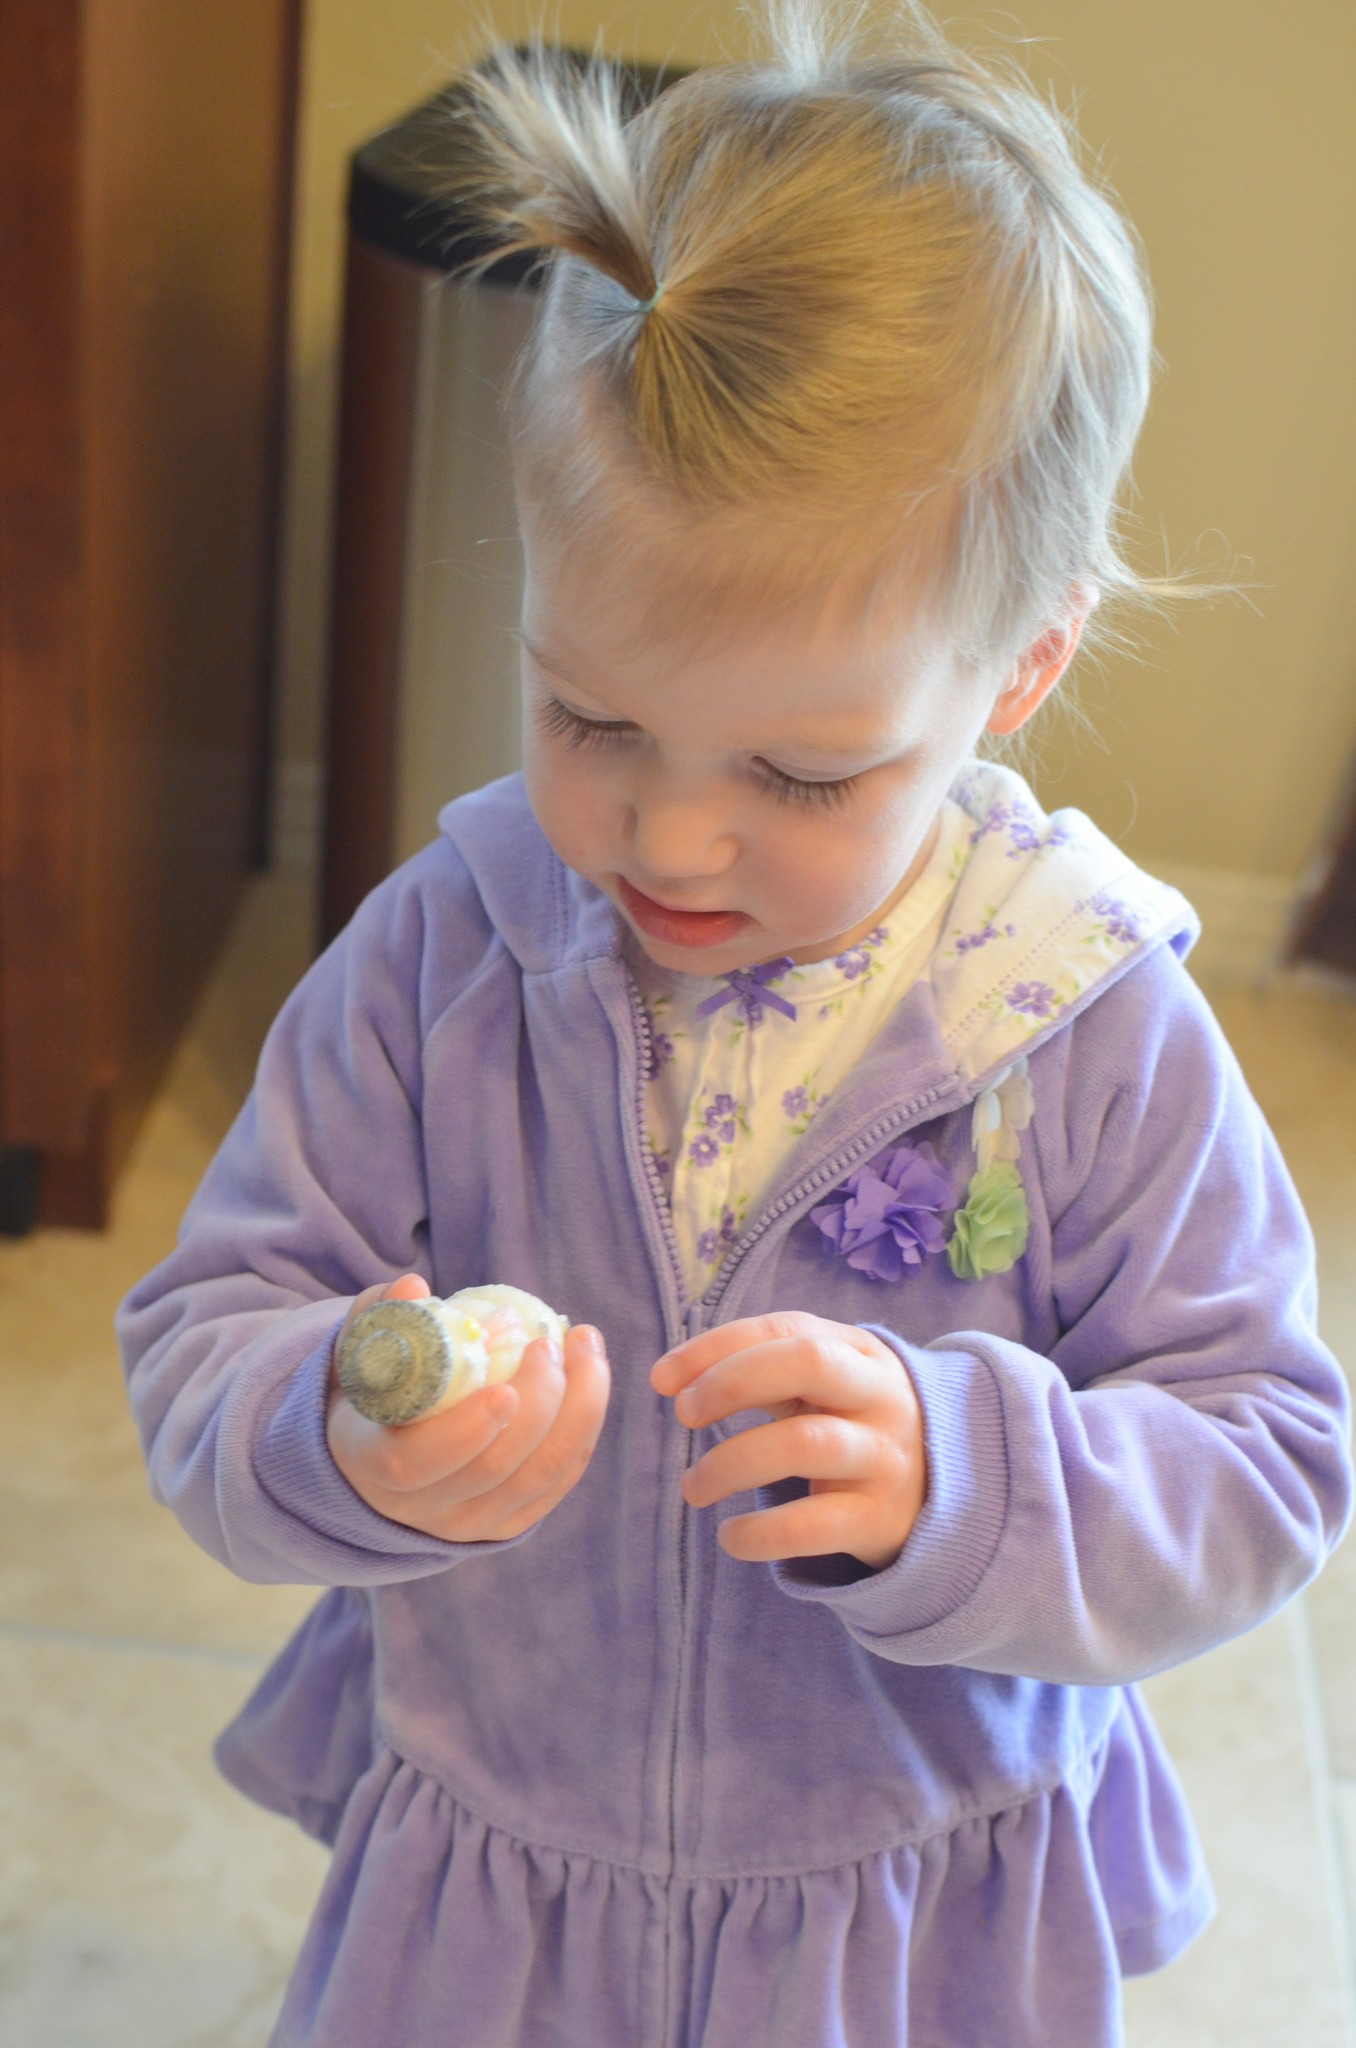
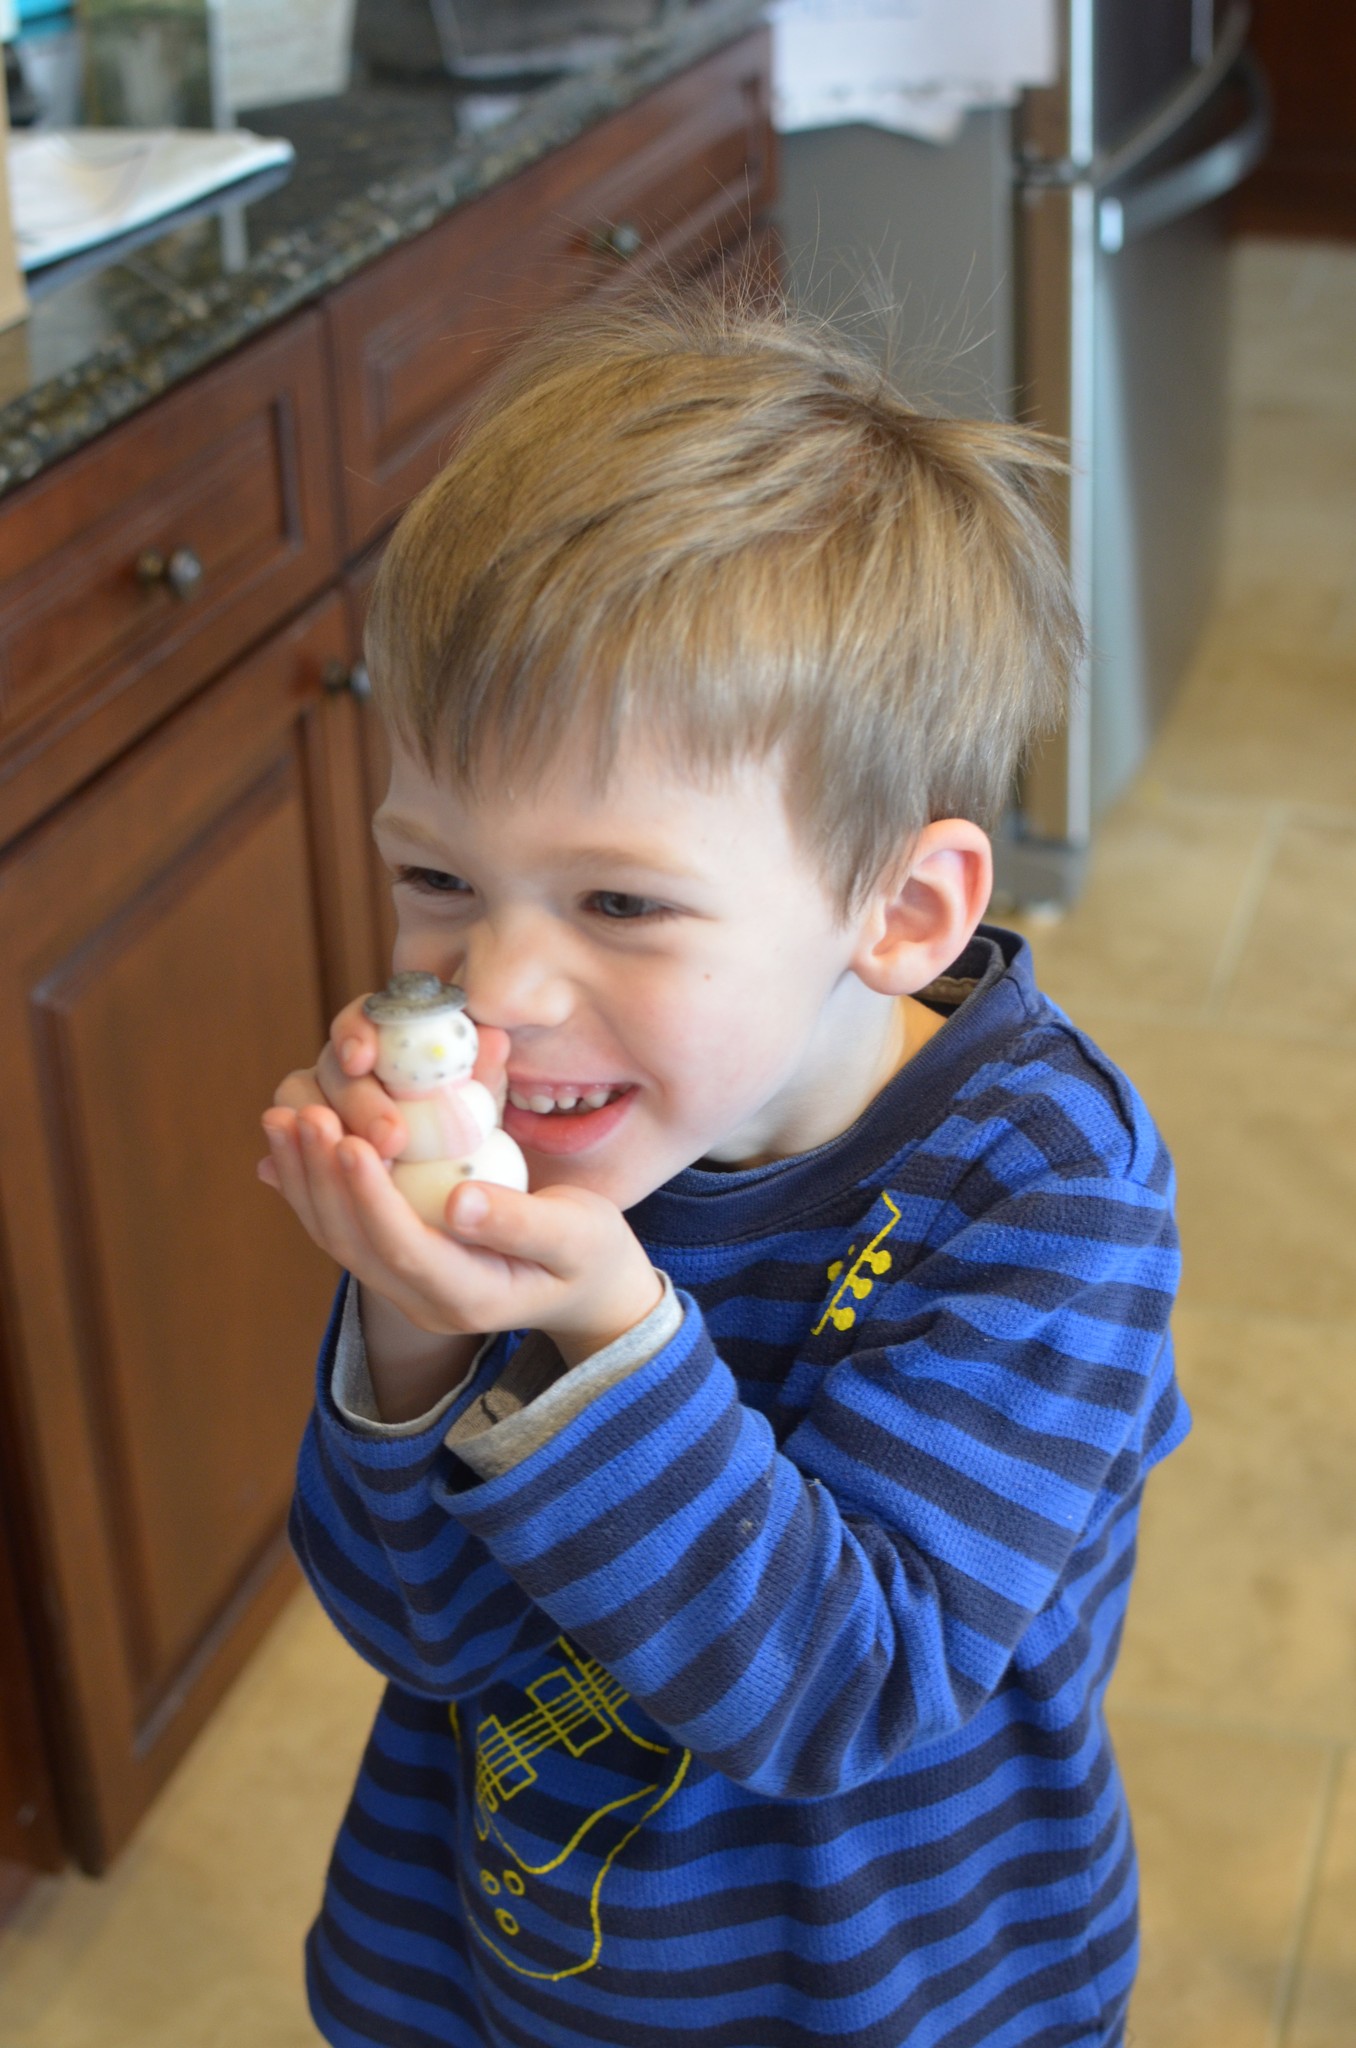
Elliott saw this craft in a magazine and asked if we could do it at some point during Advent. I think they are so adorable! I made a daddy and a mommy snowman, and each of the kids made one for themselves. Adorable!!
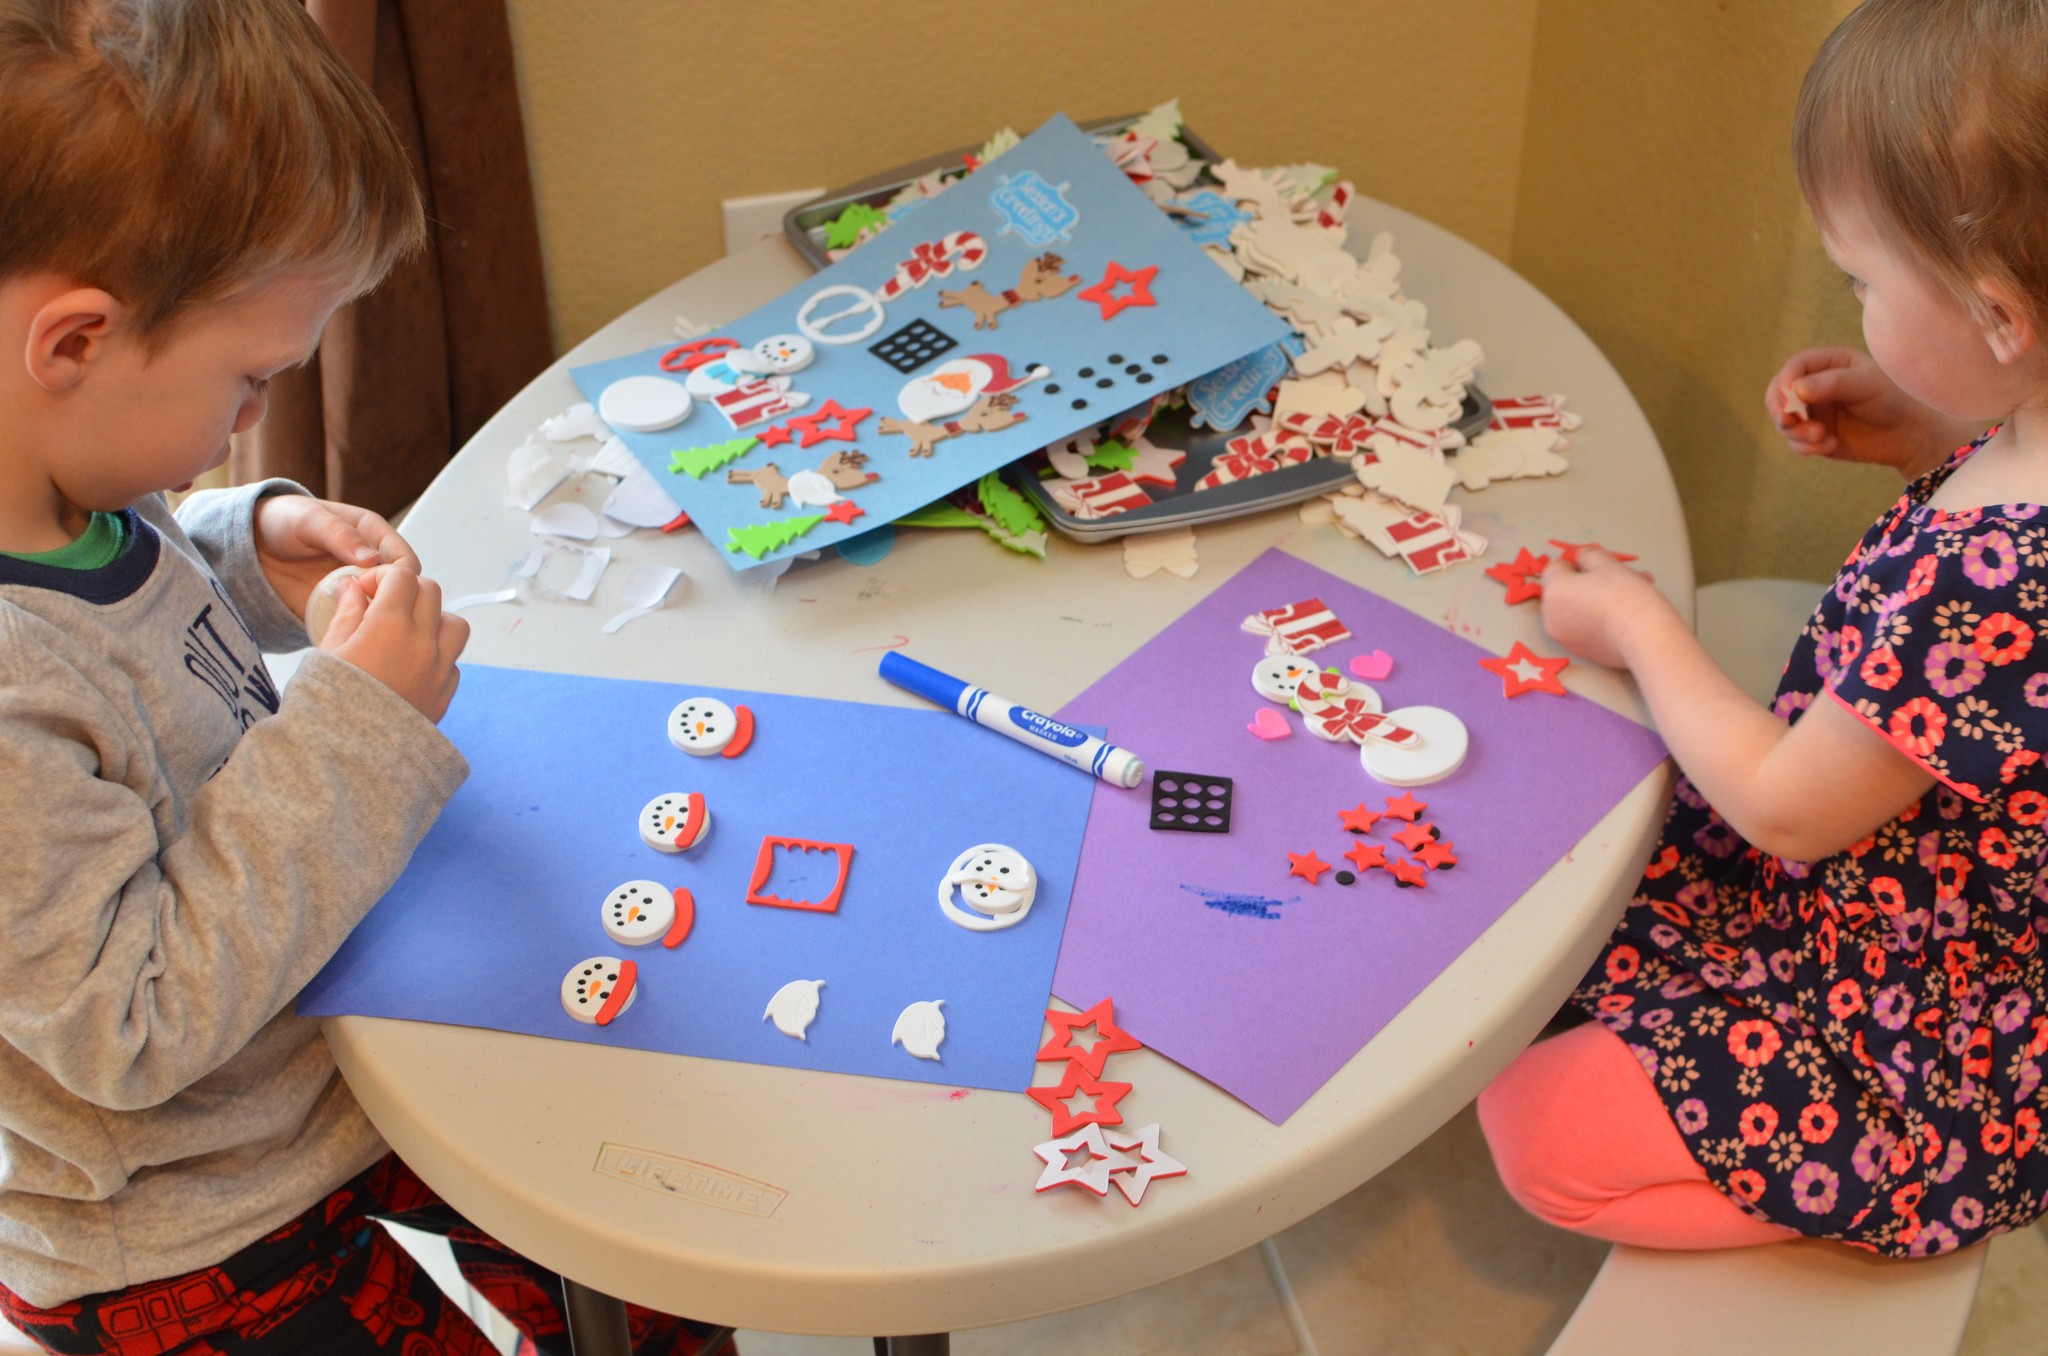
Day 21: Foam stickers & special coloring sheets
The special coloring sheets I got from Michael’s (you use water and q-tips) weren’t necessarily a huge hit but these foam stickers (that I got on clearance last year)?!! Oh. My. Word. The kids LOVED them and have spent HOURS playing with them.
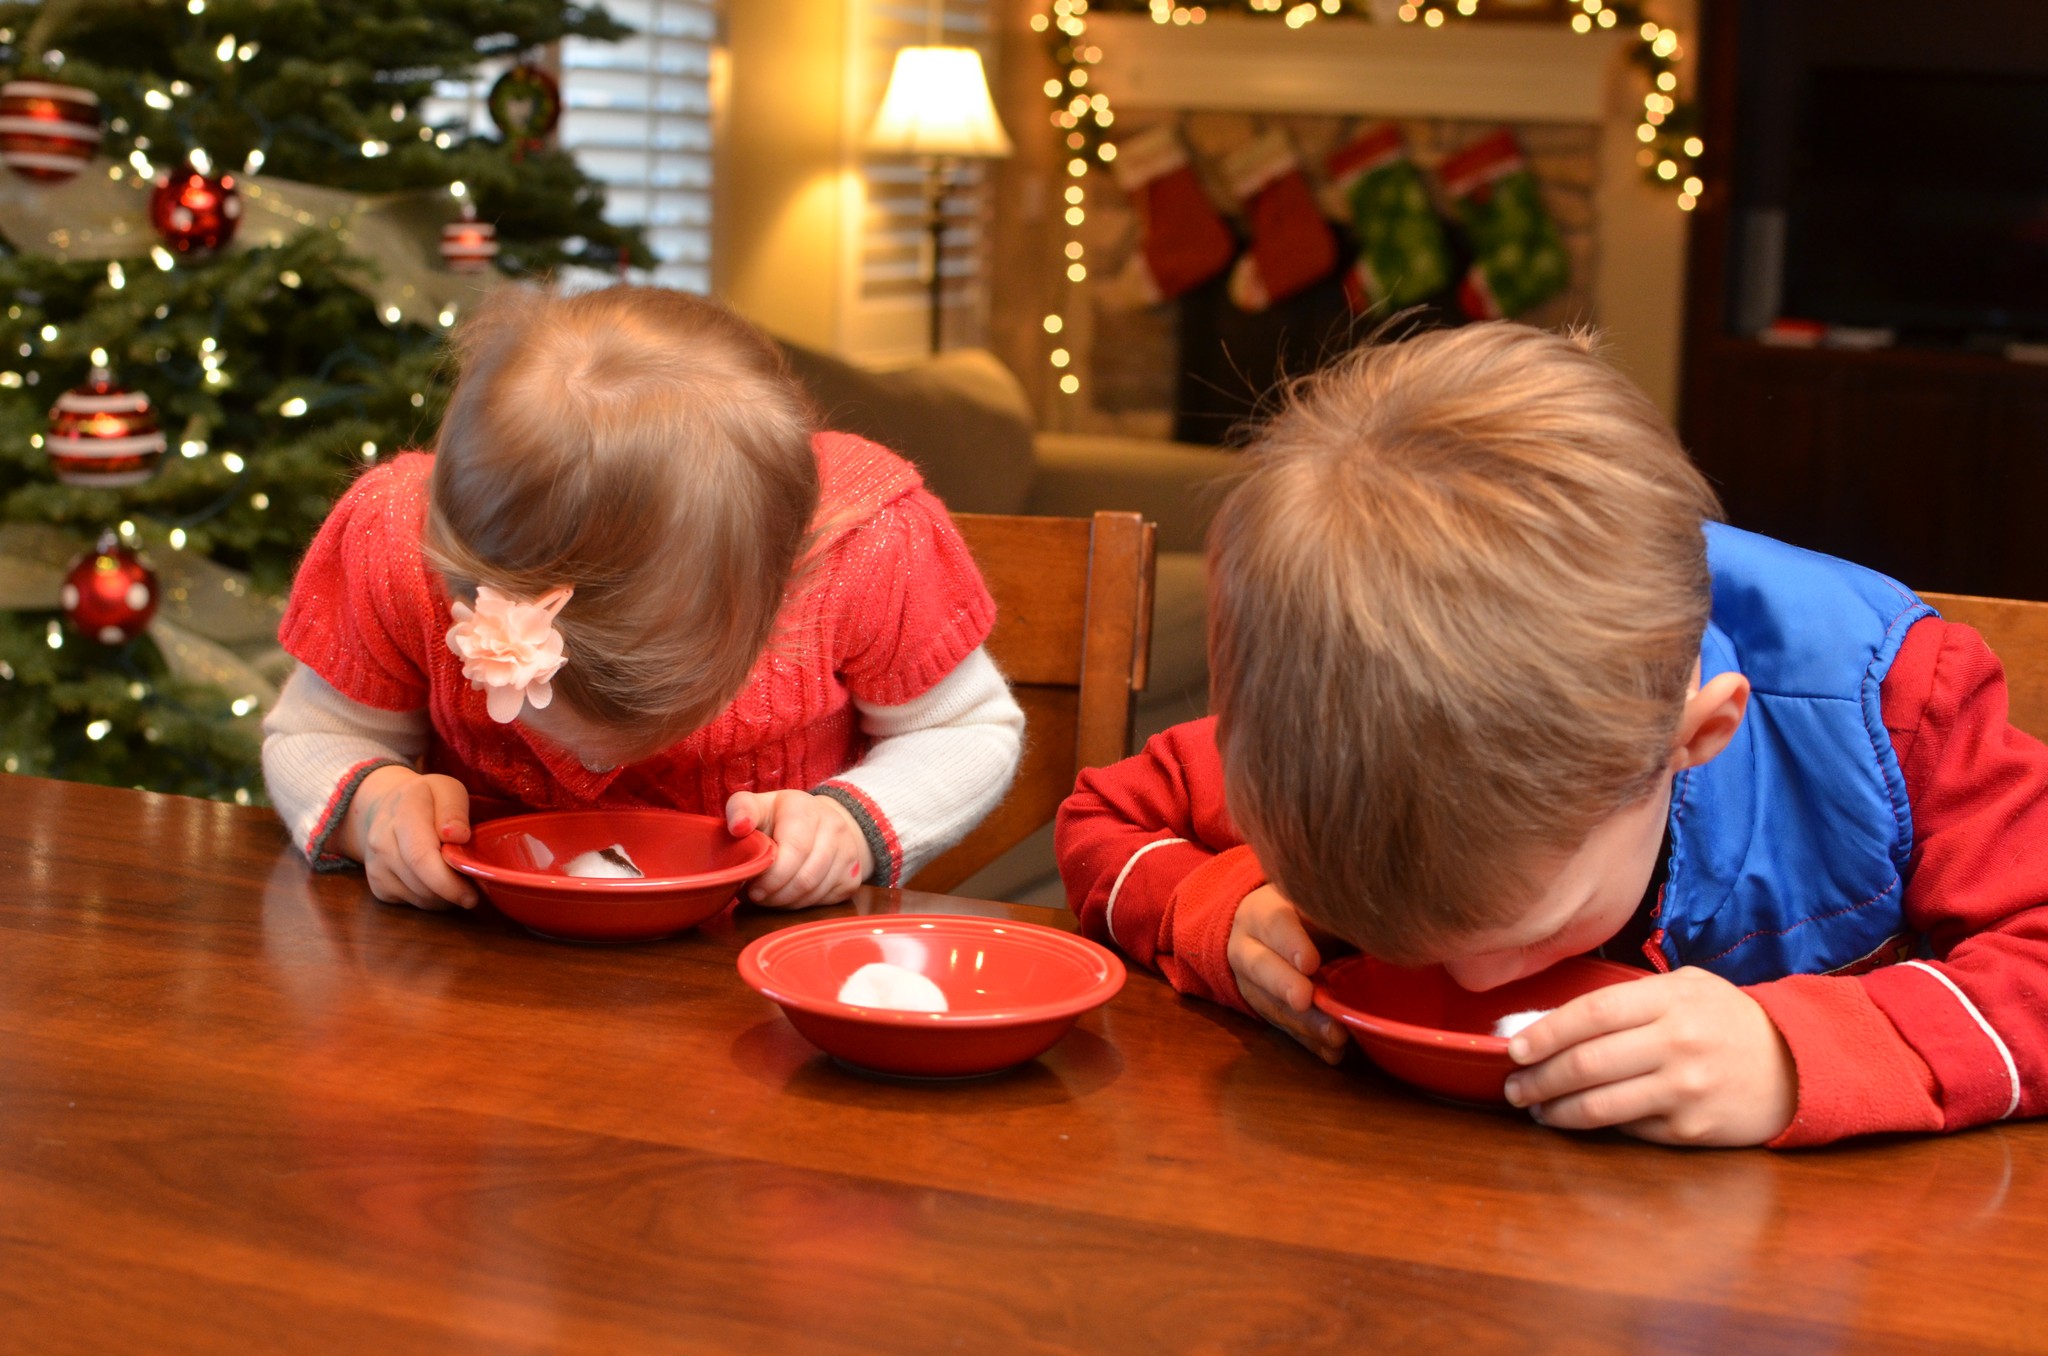
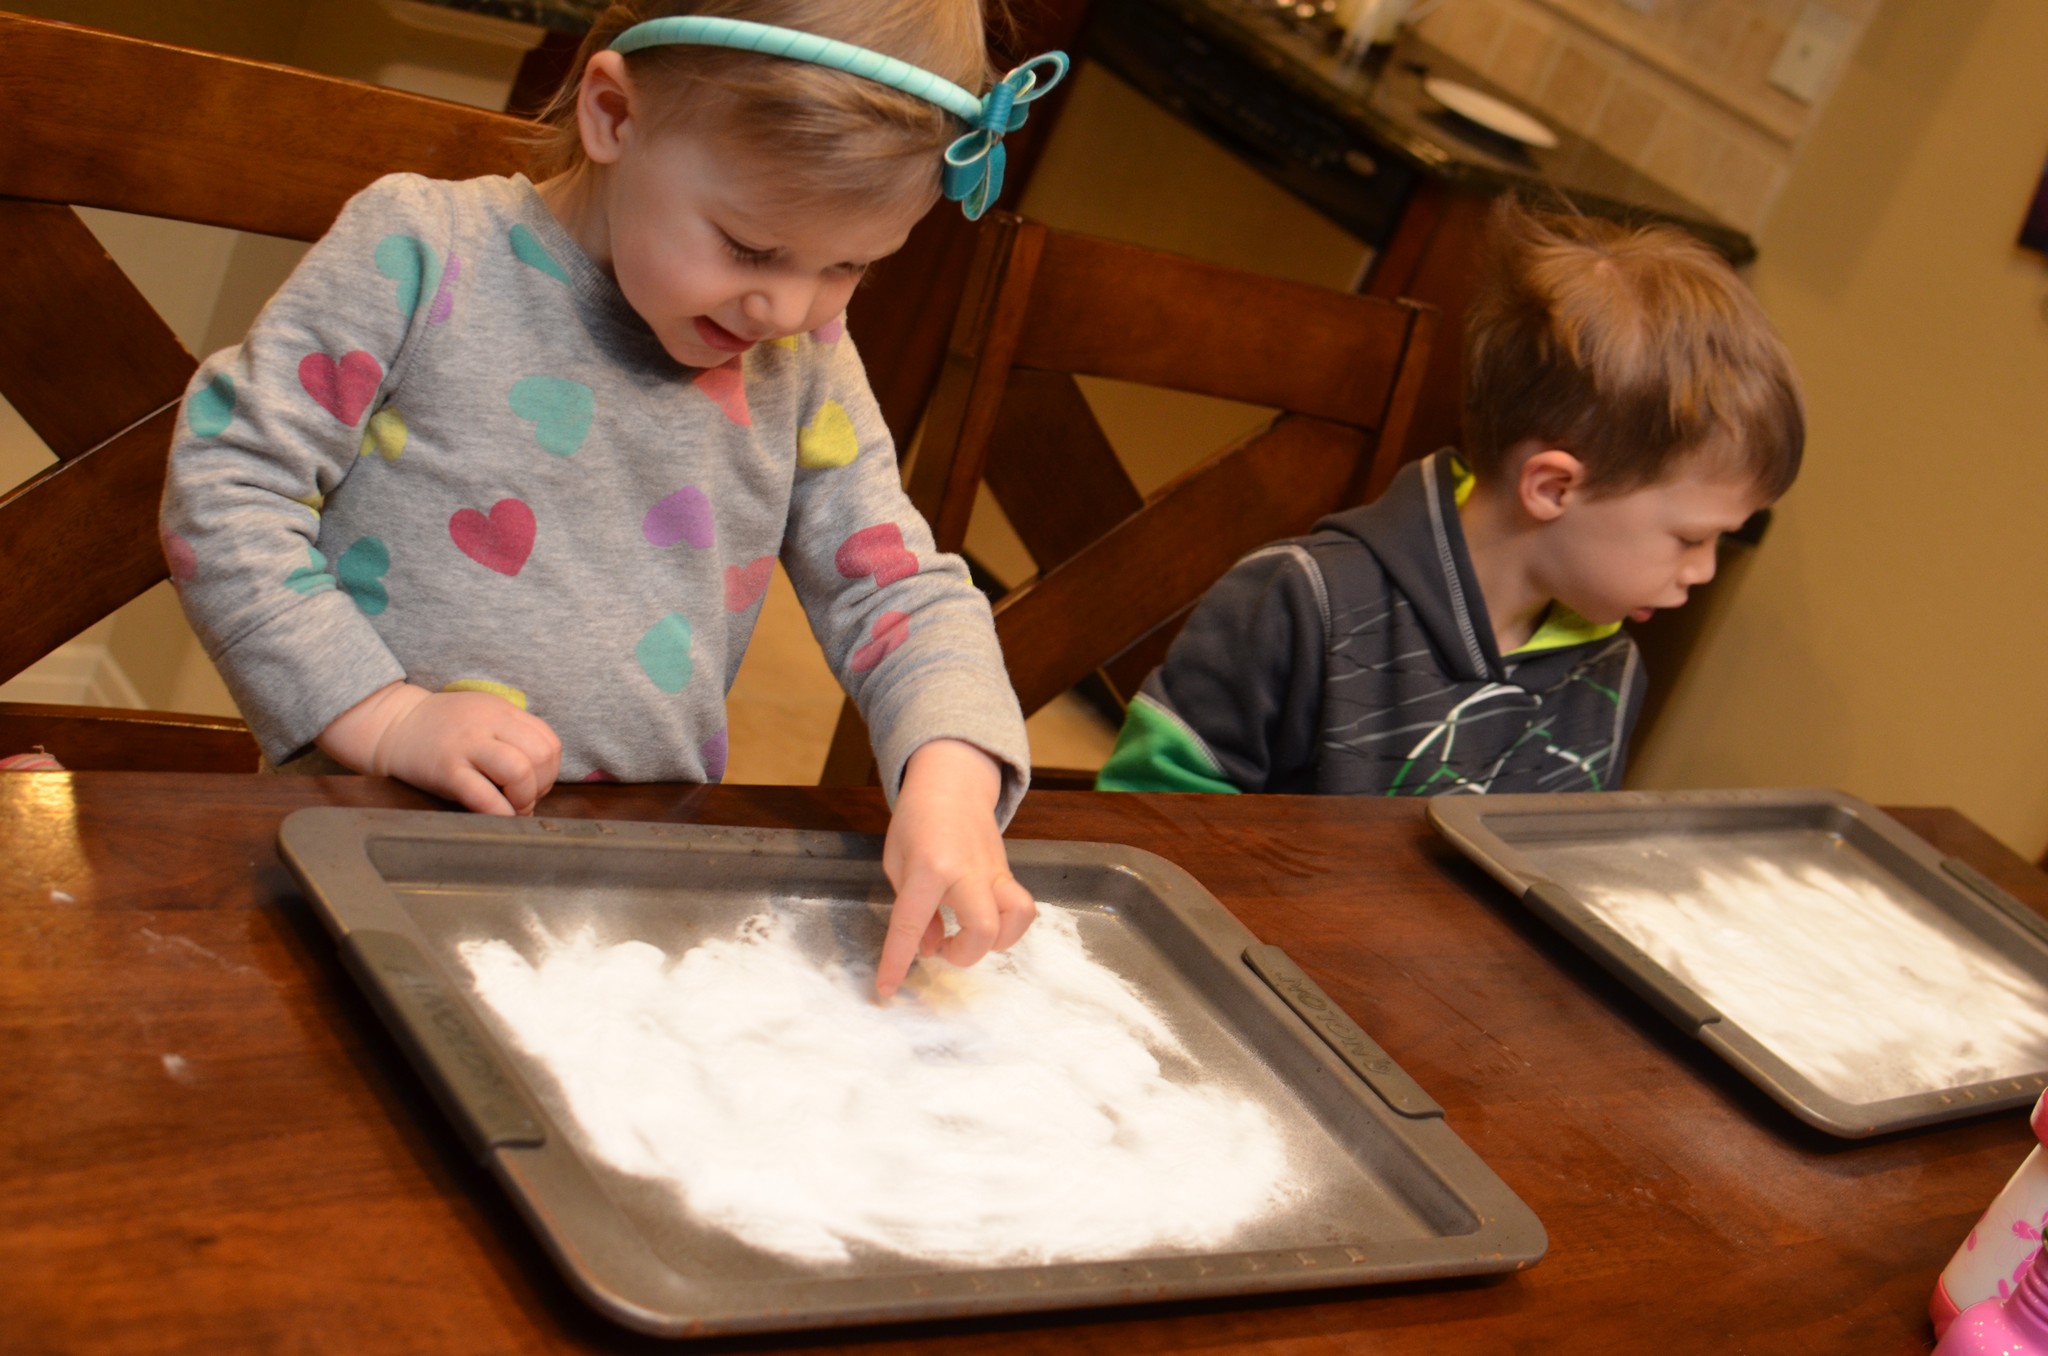
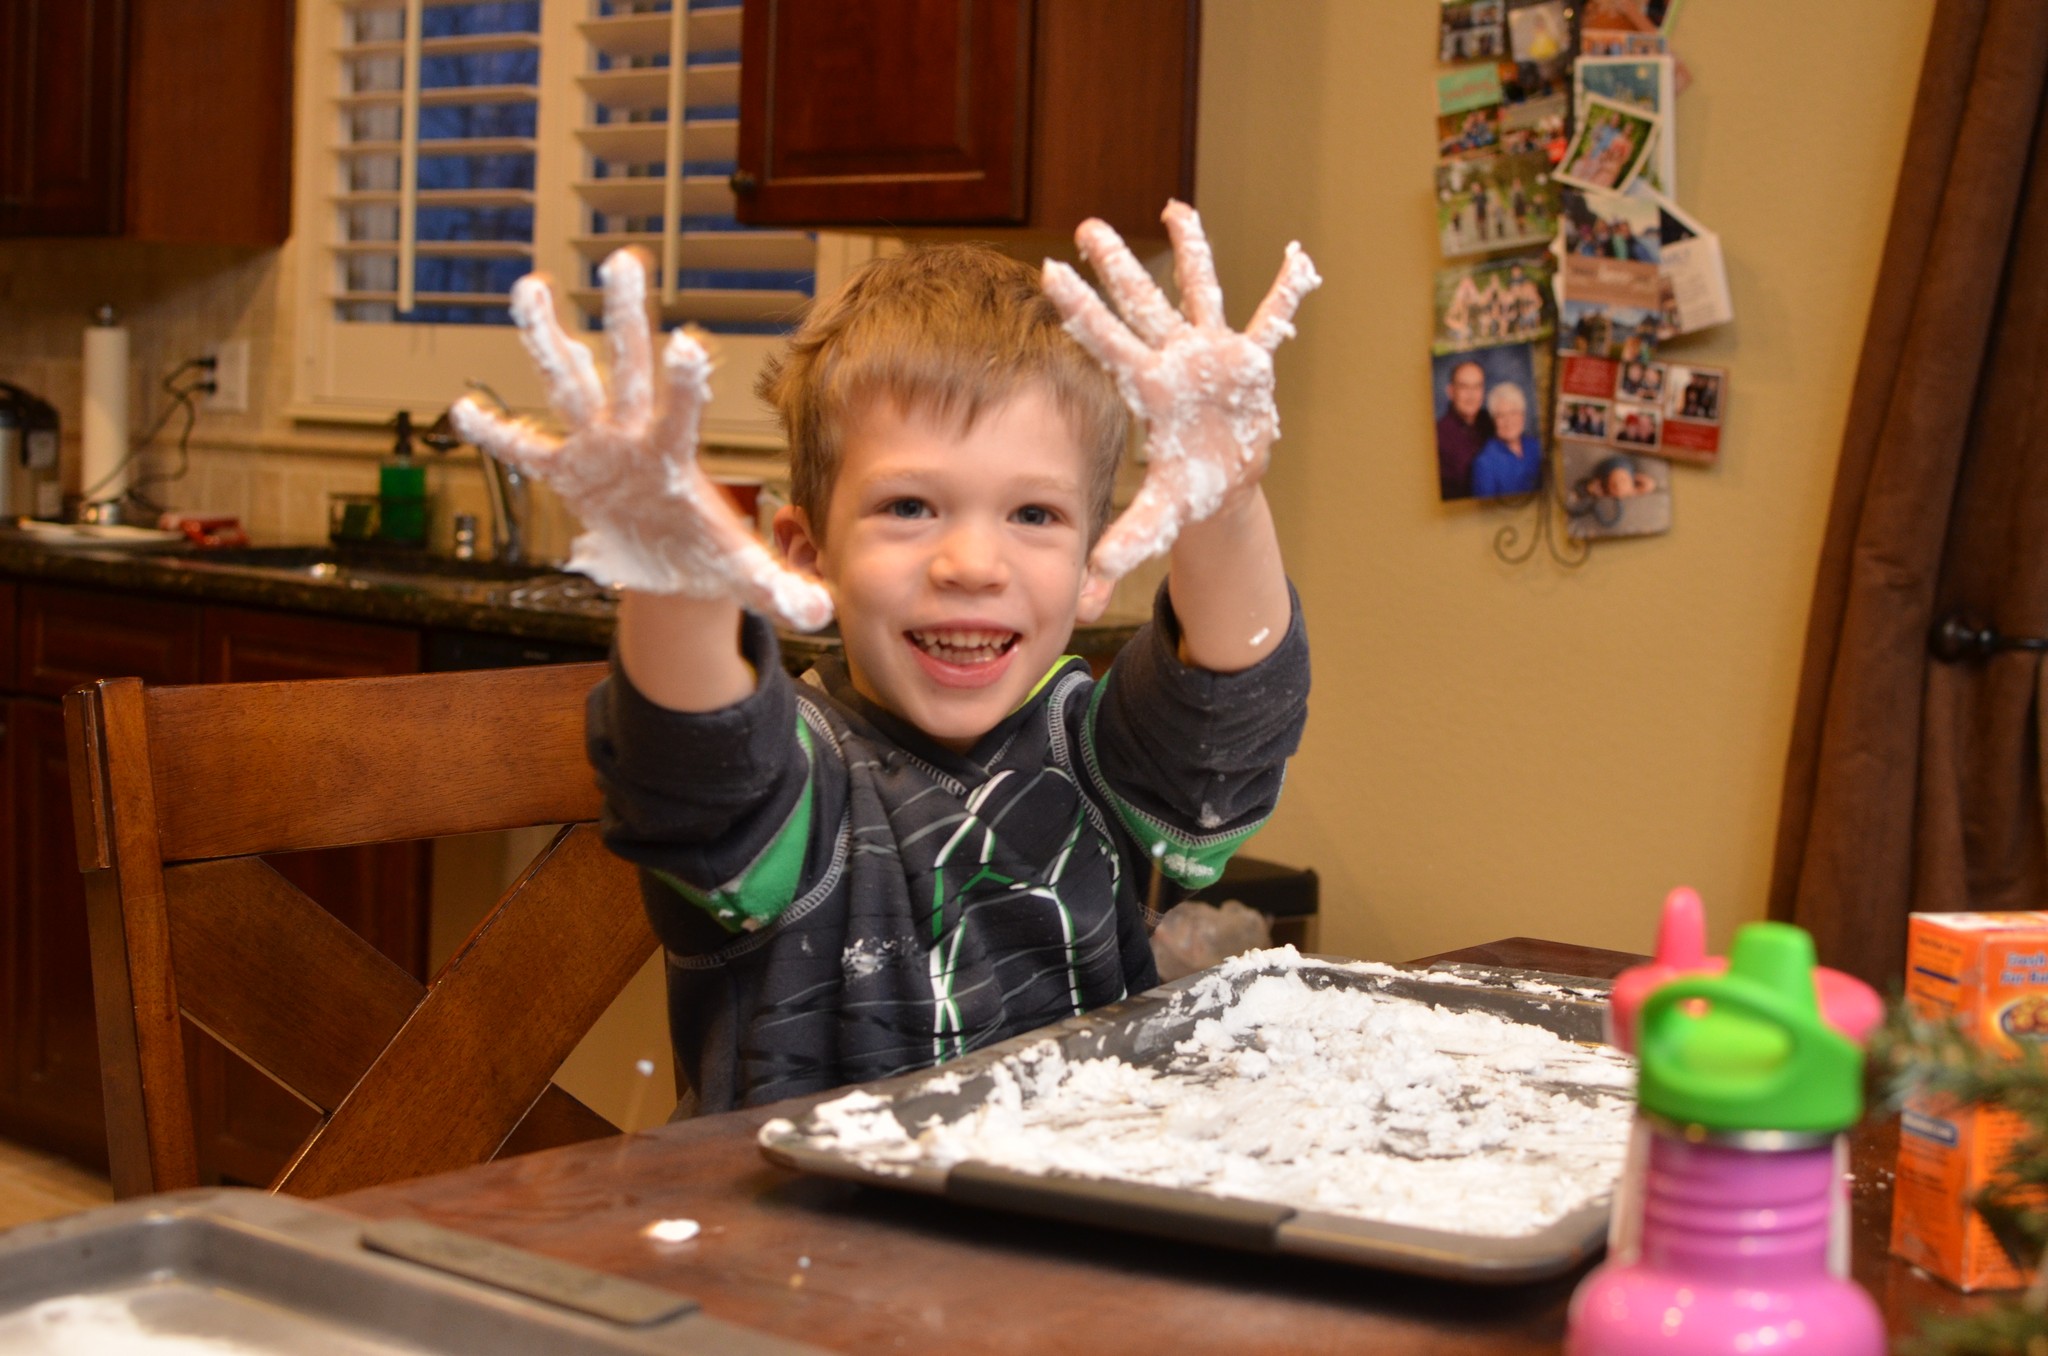
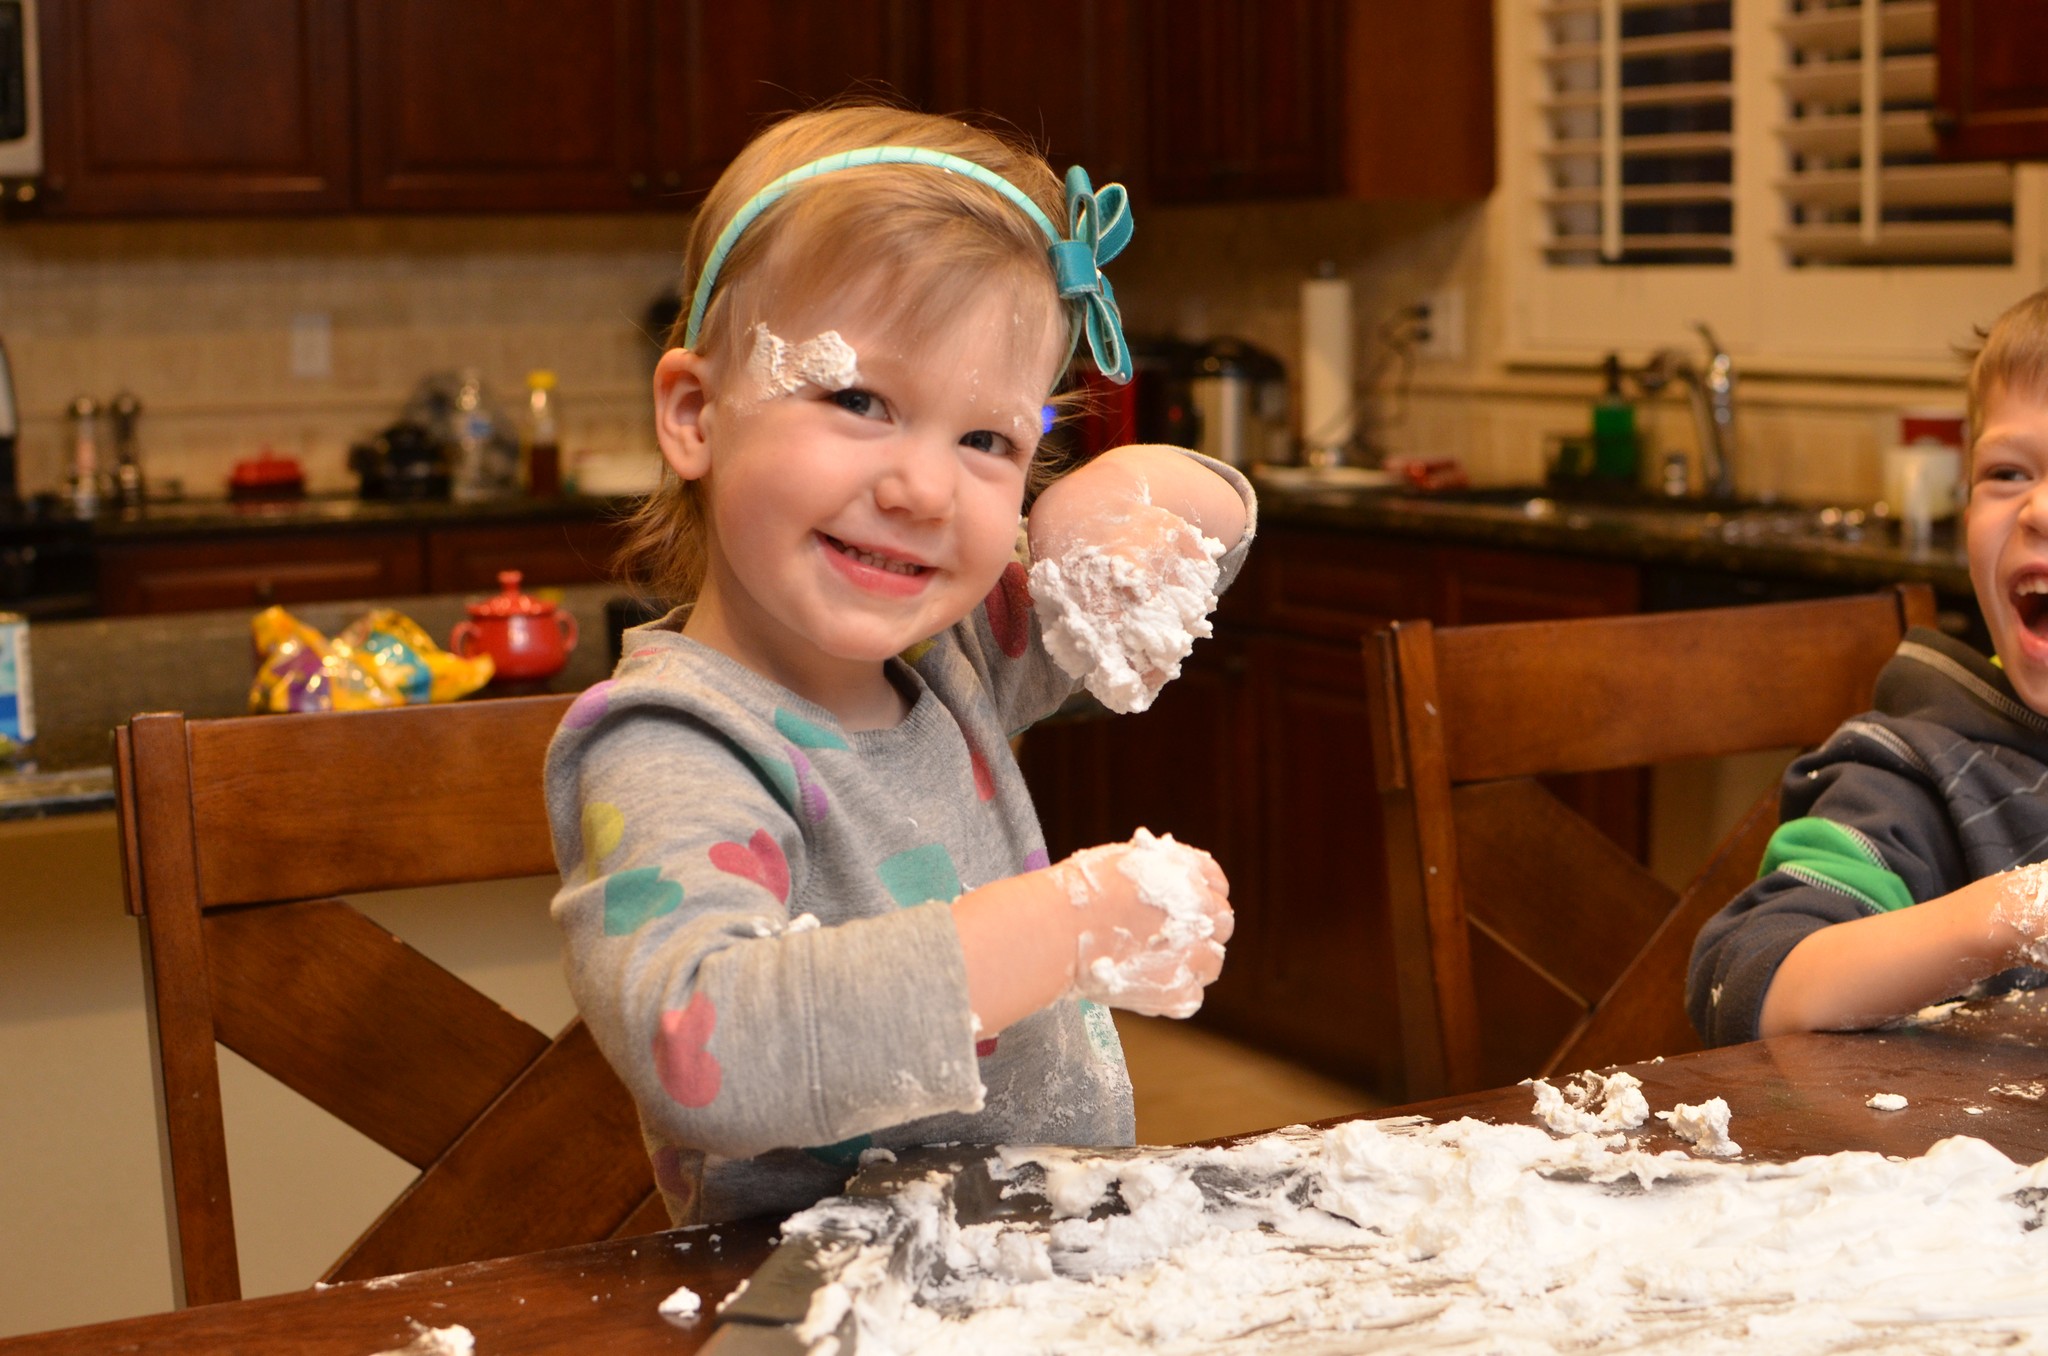
Day 22: Since there’s not enough snow to play with, let’s make our own!
An oldie but a goodie. We did this last year when Selah was still such an itty bitty, and she was much more adventurous this year :).
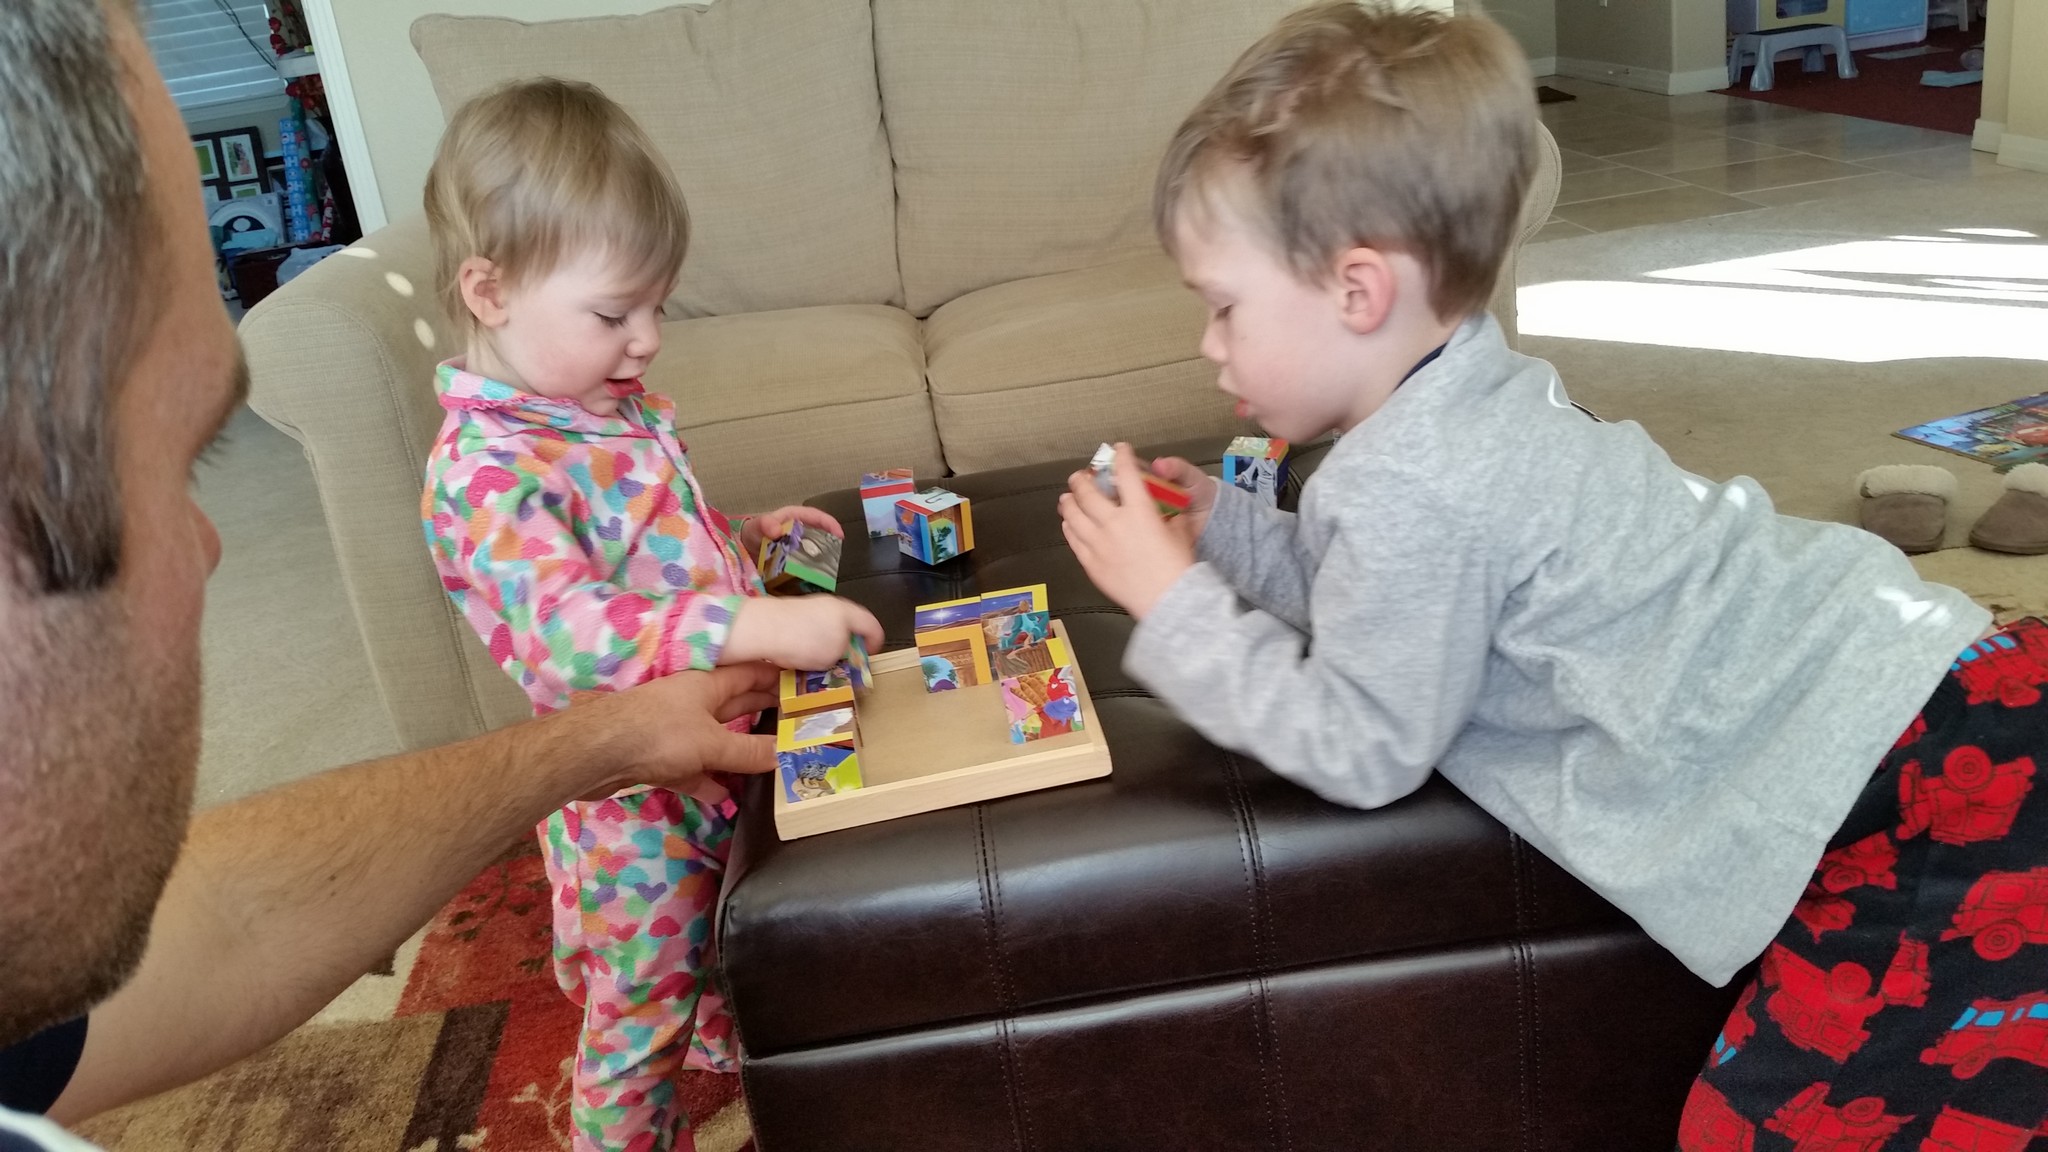
Day 23: Open a gift and, working together, try to find THE NATIVITY!!
Our kids LOVE puzzles. It’s hard to find a challenging one for their ages, but this one did the trick!
Day 24: Bake a cake for Jesus
Yup. Second year in a row, and this didn’t happen AGAIN. Honestly, as much as I hate to admit this, Brian and I just can’t handle the sugar we used to, and we had had SOO MUCH already. The thought of baking an entire cake made us both want to puke. So, instead, we let the kids open one present in the morning, we played all day, and then we got dressed up and went to church! What greater joy is there, than worshiping the One who came to set us free!!!!!!!

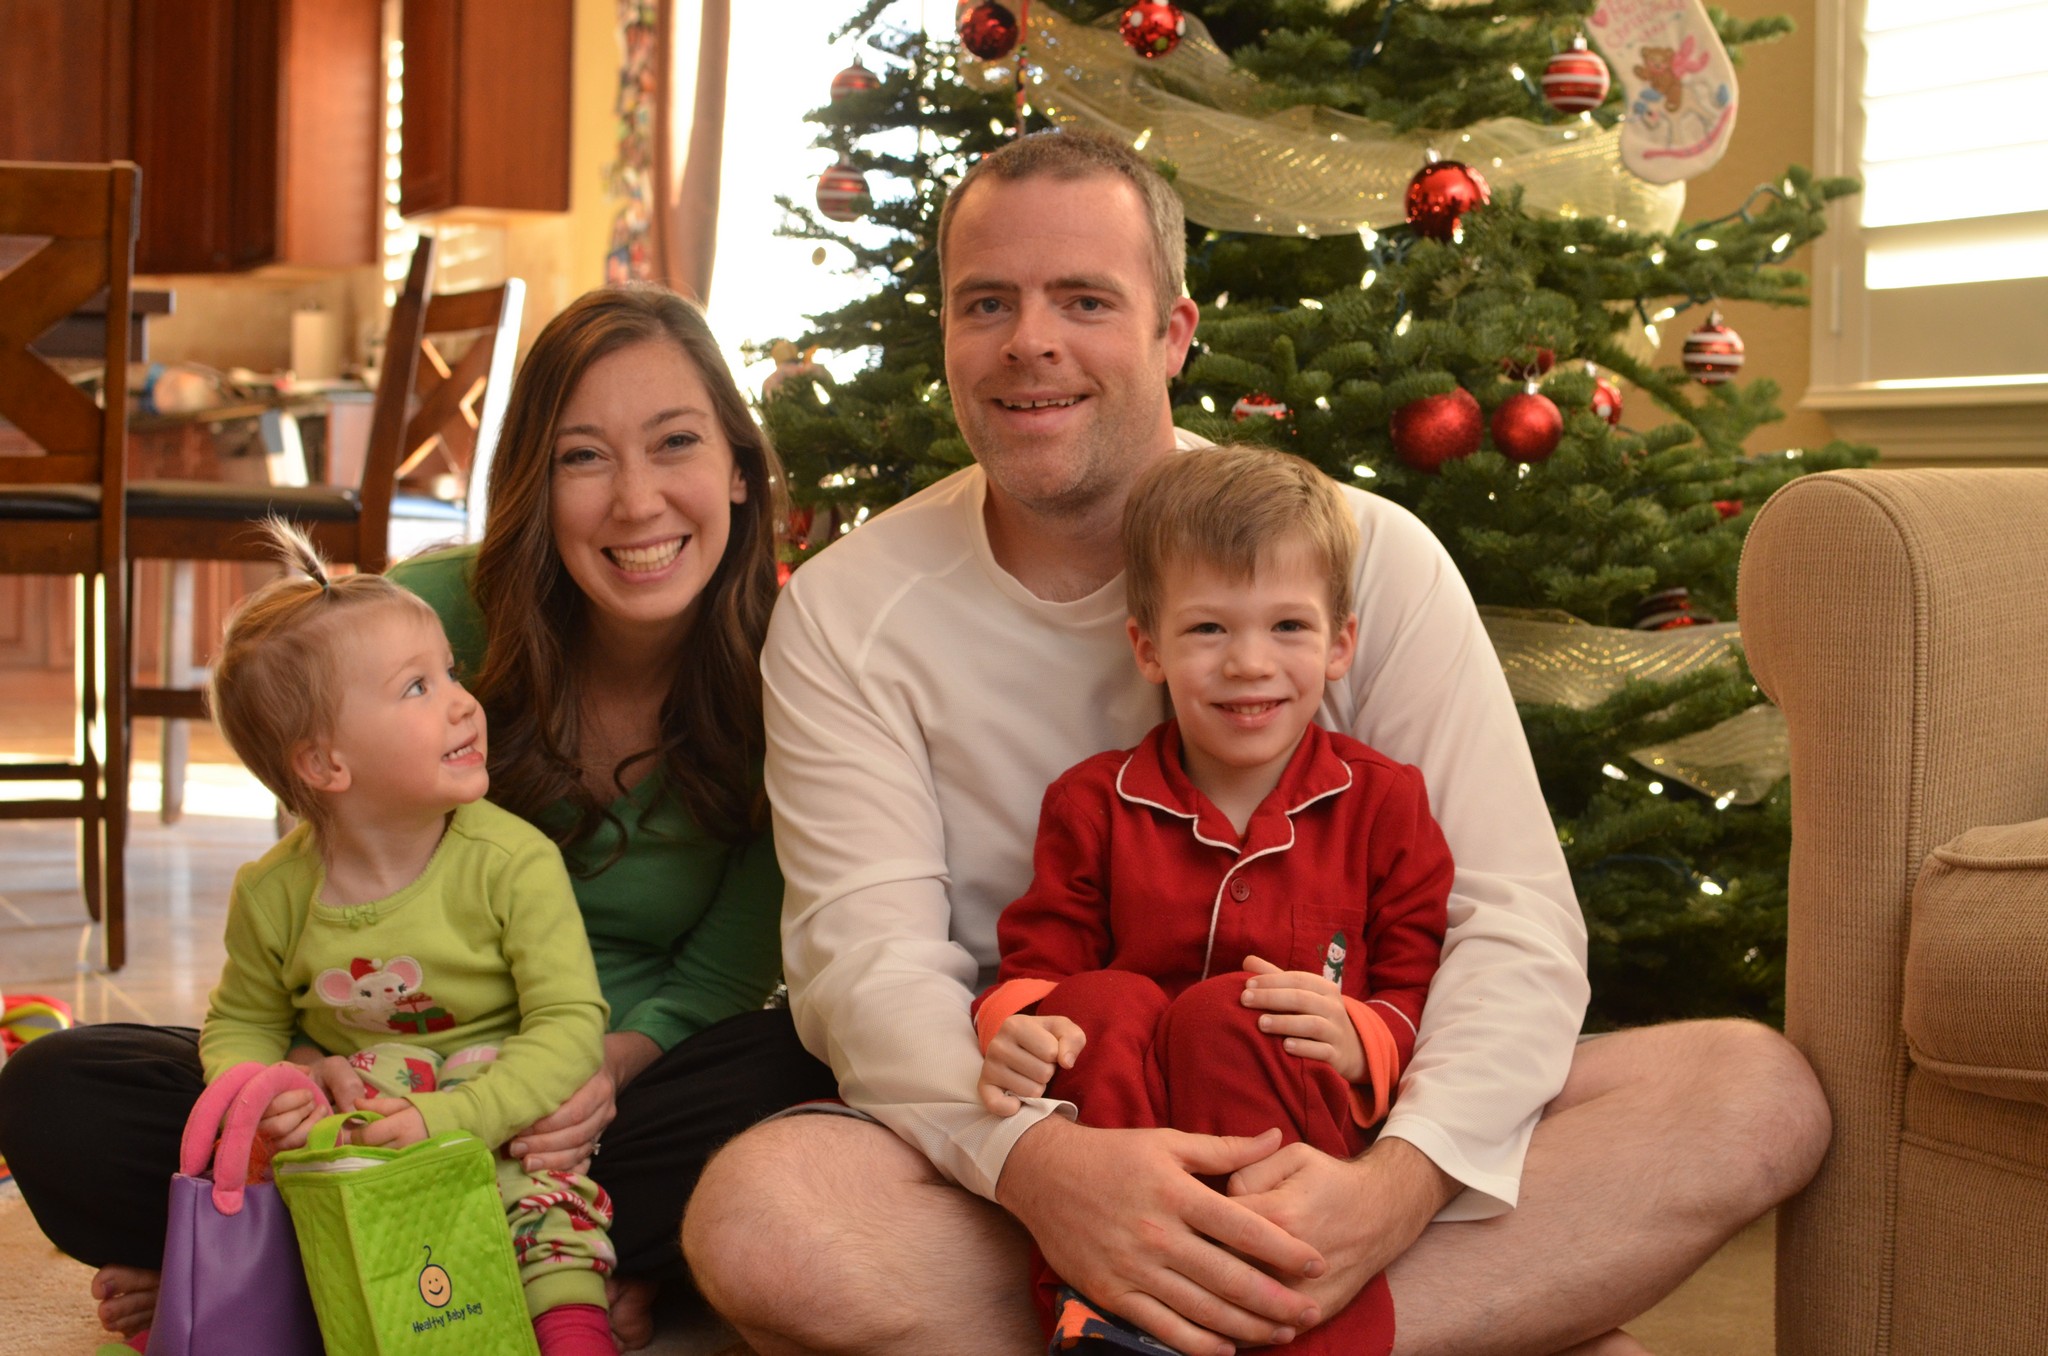
Day 25: It’s Christmas Day!! Celebrate the birth of Jesus and open presents!!
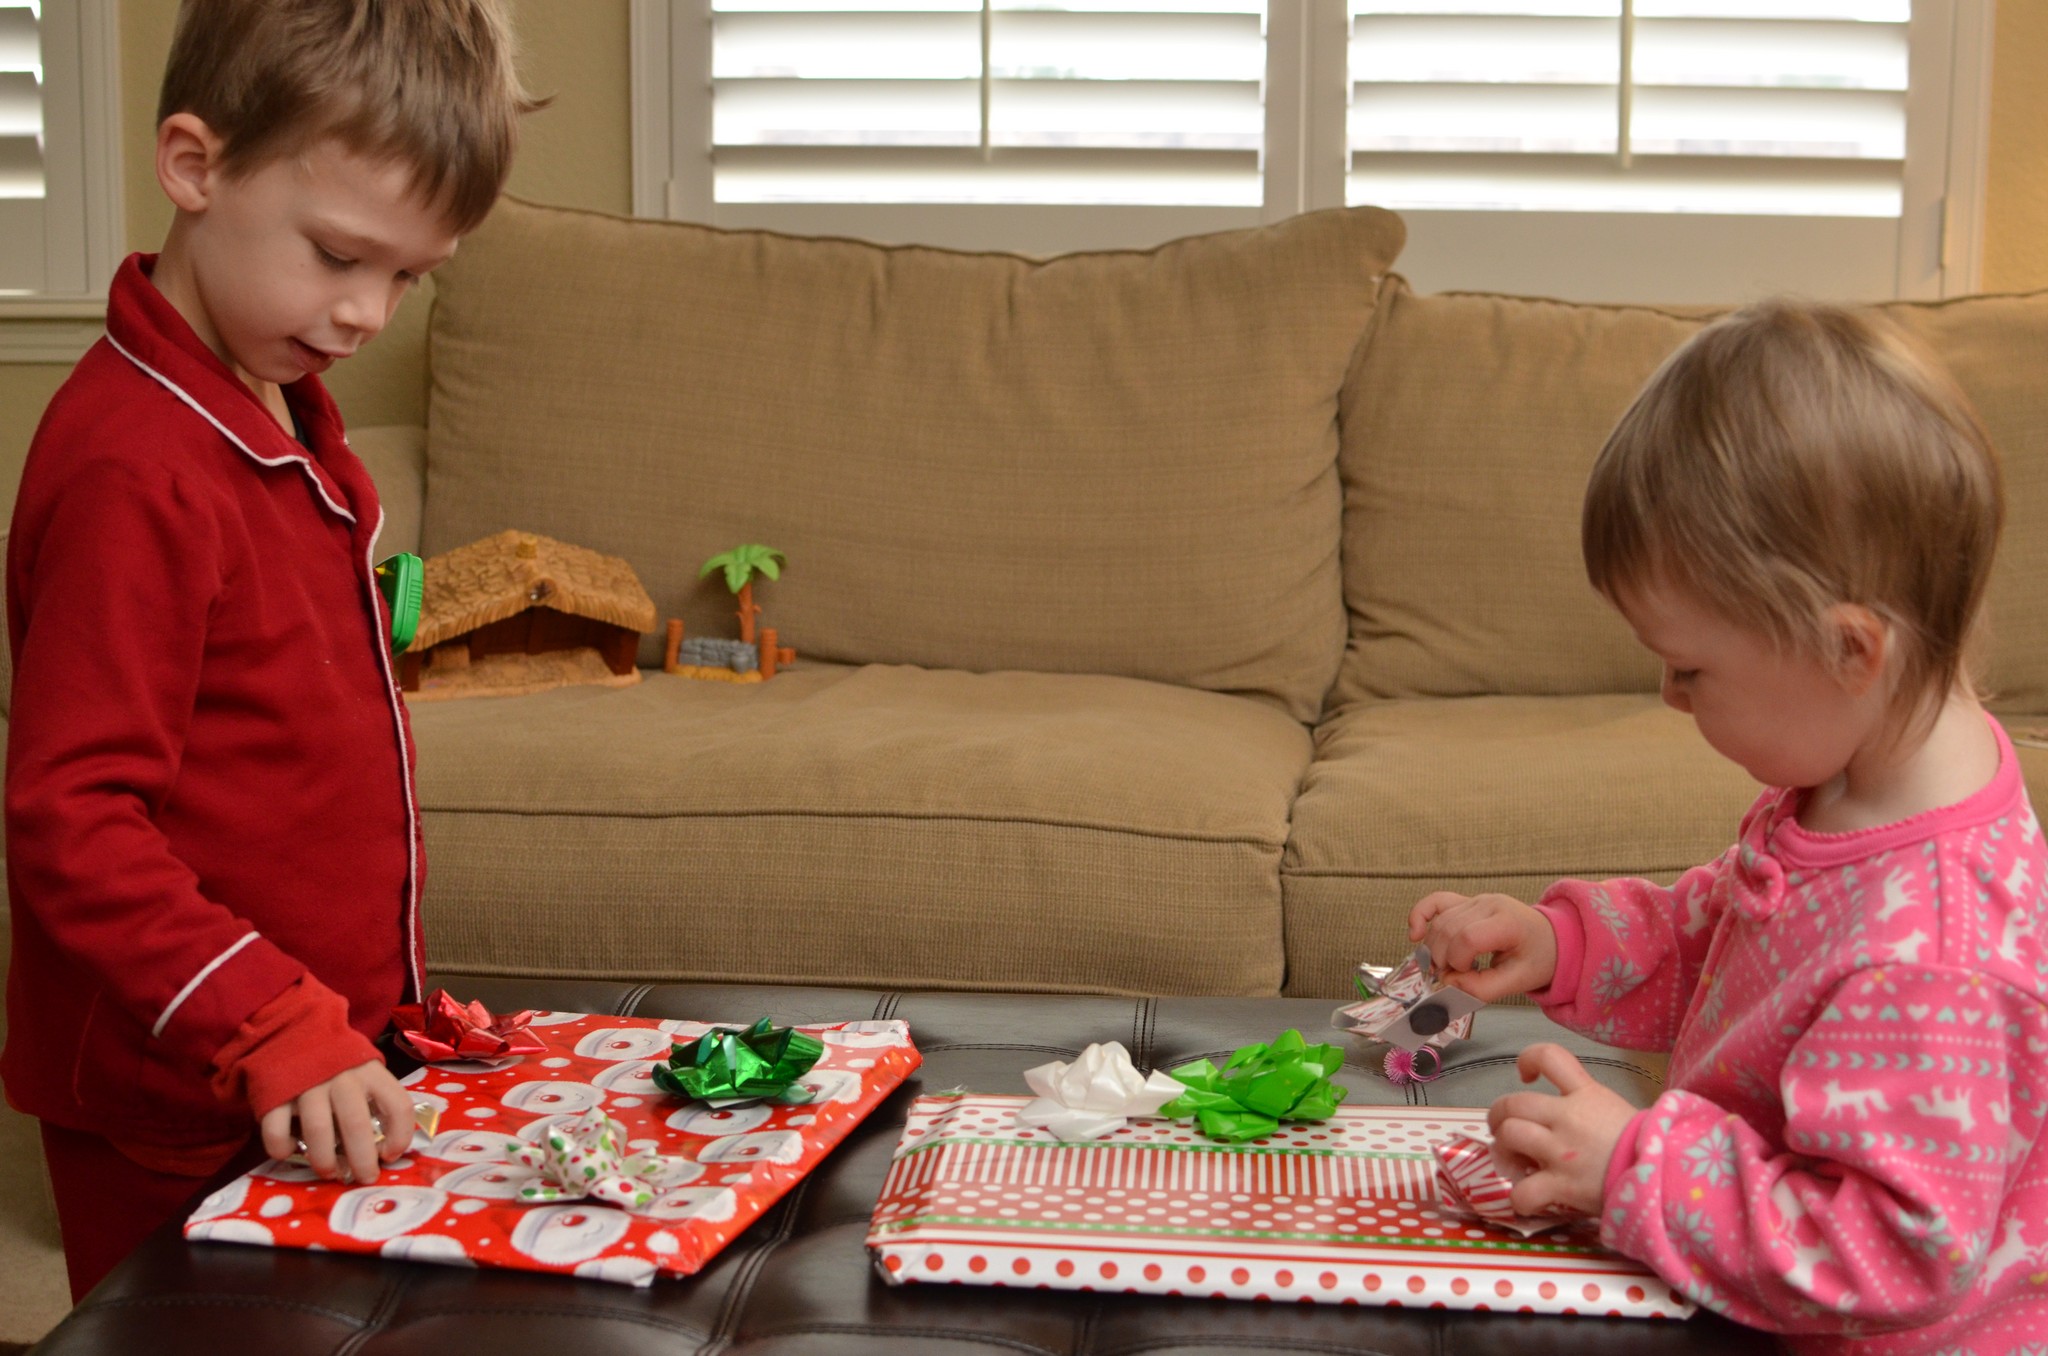
We had such a fun day! Here we are in our pajamas.
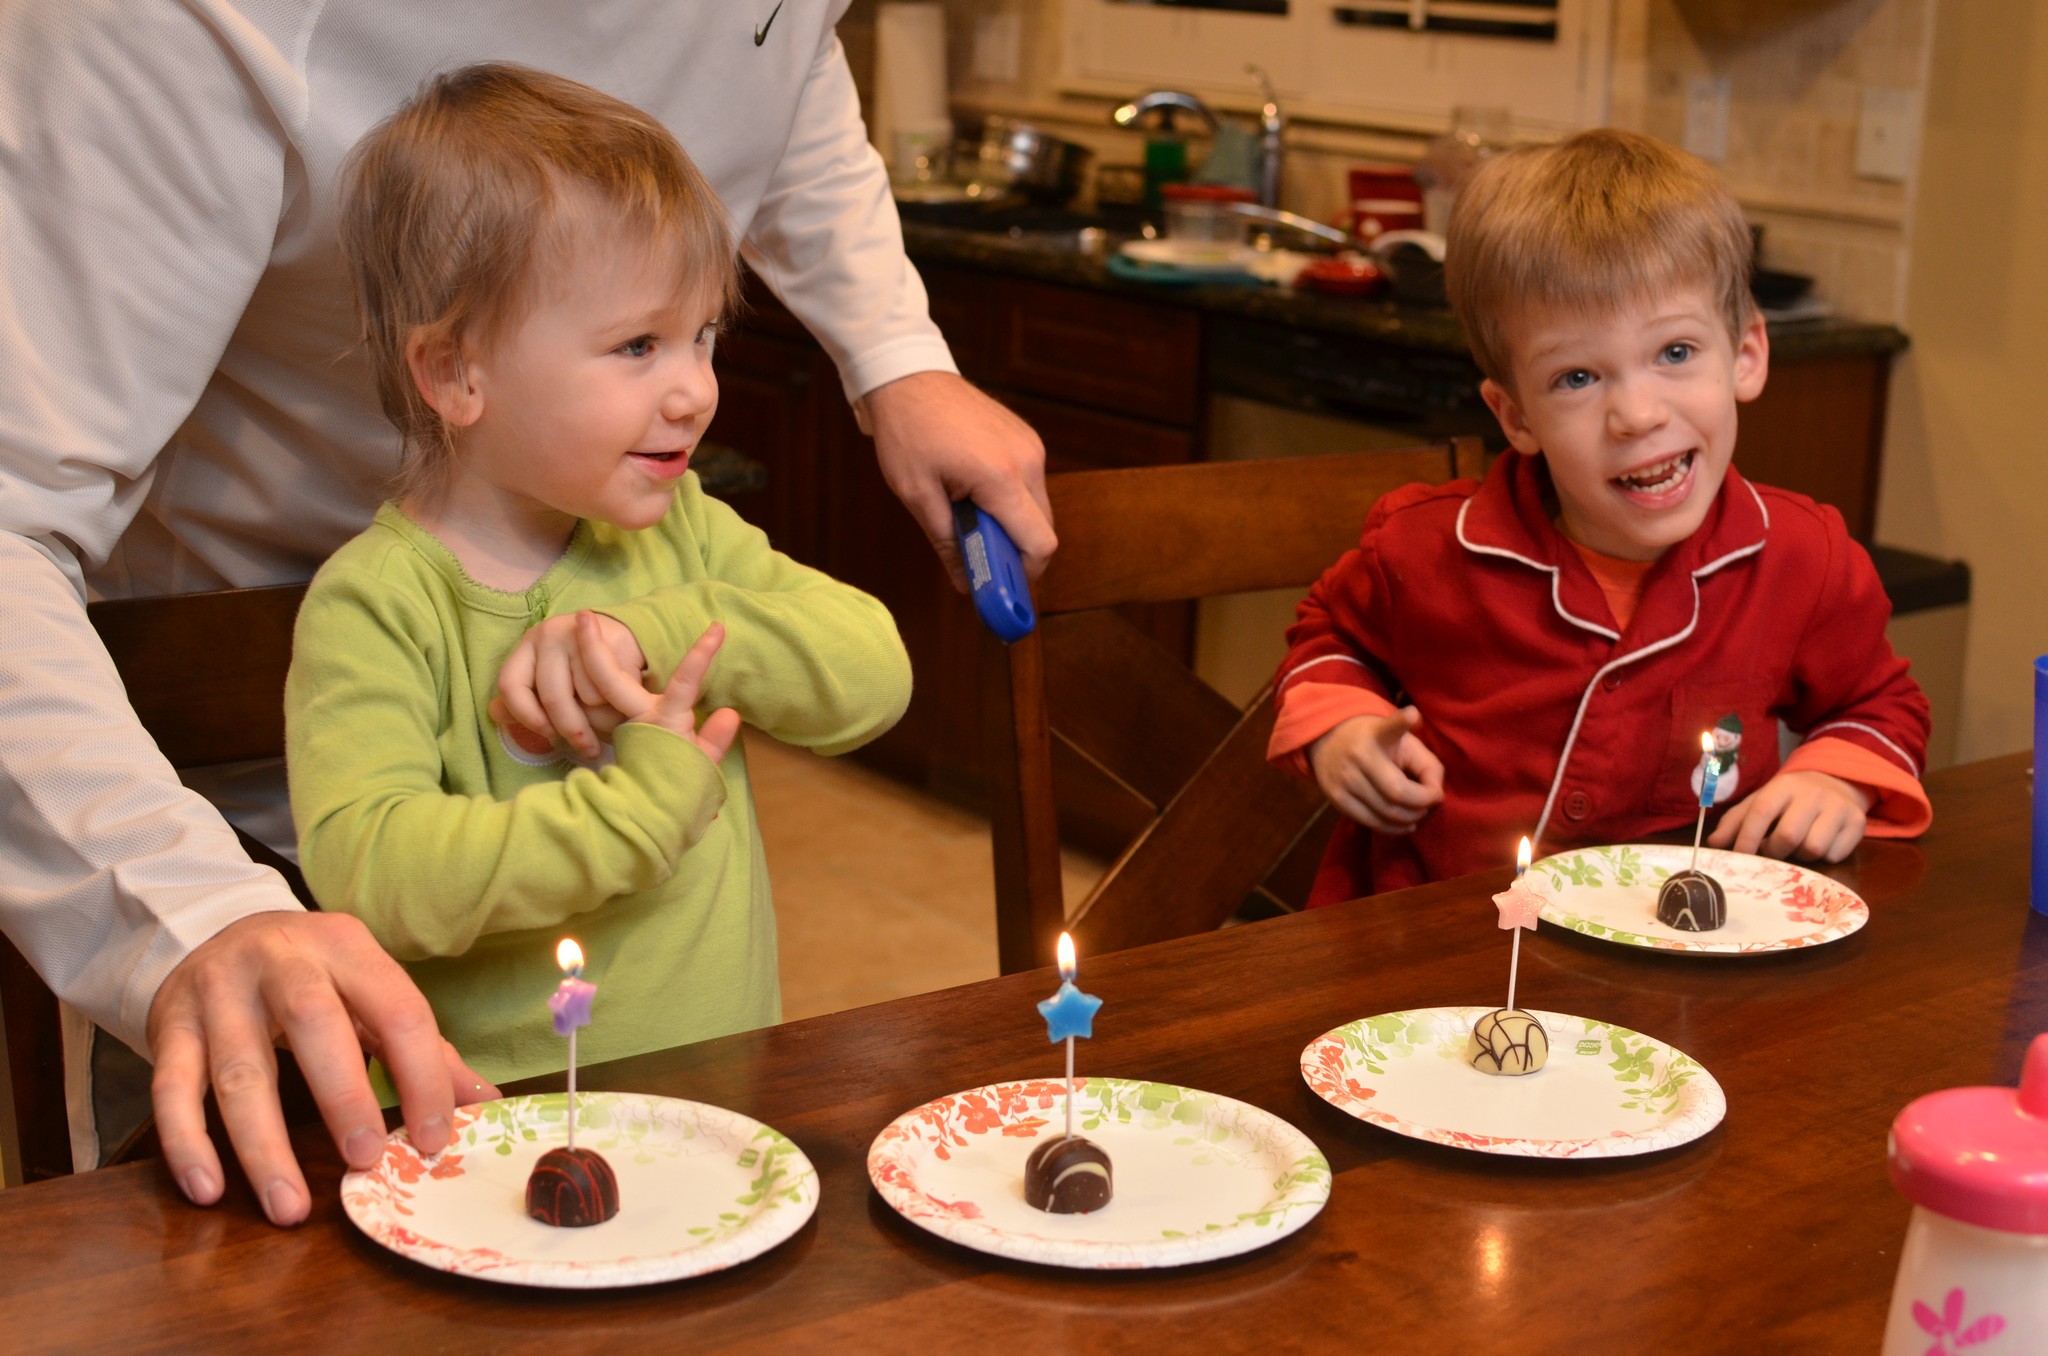
Thankfully, my dear friend Jill and her family sent us this AWESOME box of treats (pears, apples, popcorn, cookies, and…CHOCOLATES!!!) and I realized the chocolates were PERFECT for sticking a little candle in! (Thank you, Jilly-Bean!!!) So, we each stuck a candle in a chocolate, sang Happy Birthday to Jesus, and enjoyed a not-too-sugary treat in His name. Amen :).
Merry Christmas to all, and to all a GOOD NIGHT!!
Leave a Reply to Danielle Cancel reply